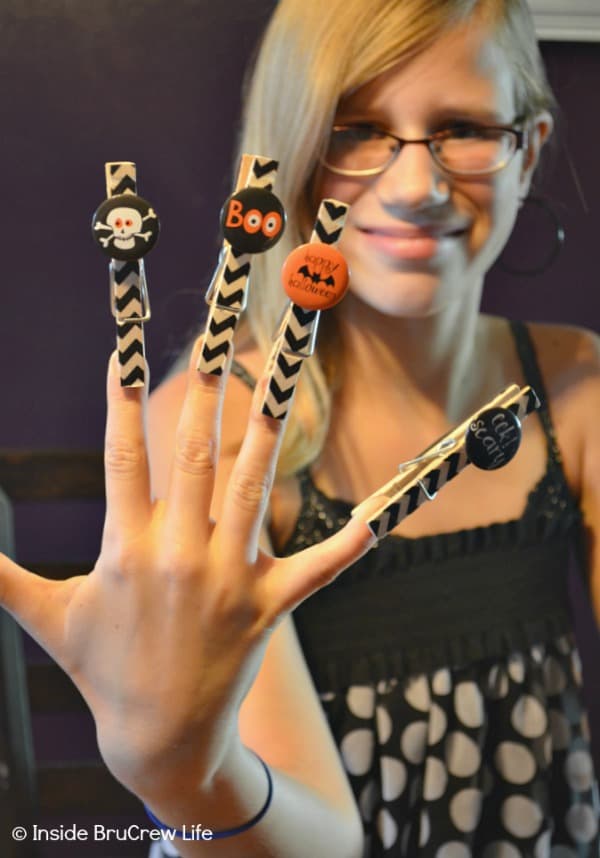
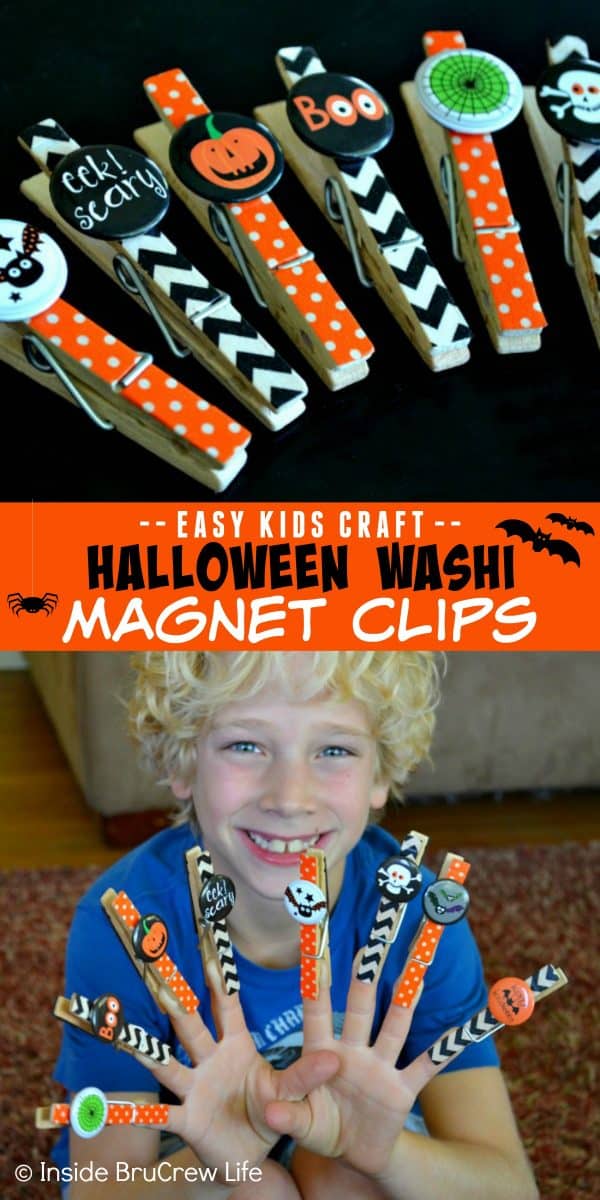
These cute Halloween Washi Magnet Clips are an easy kids craft. Using a few supplies these magnets can be put together in just minutes. They can also be customized for other holidays.
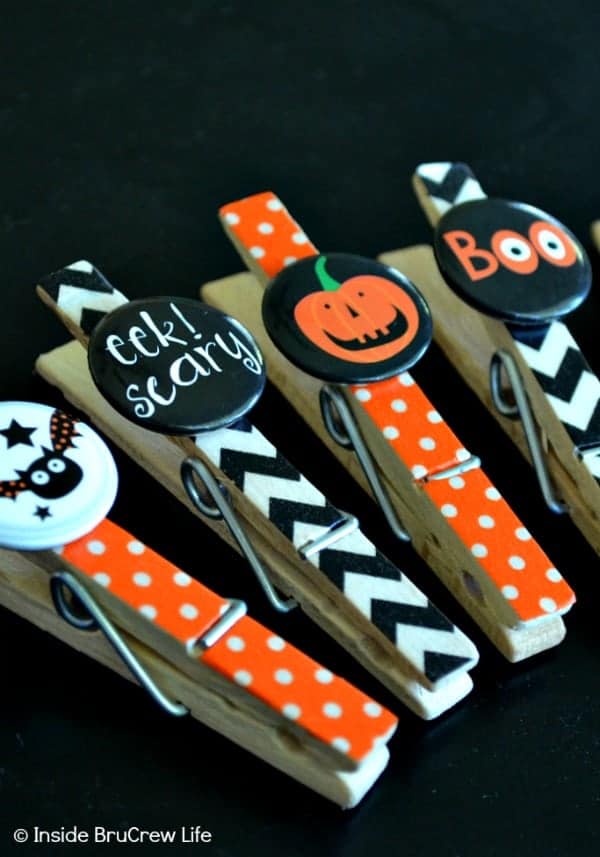
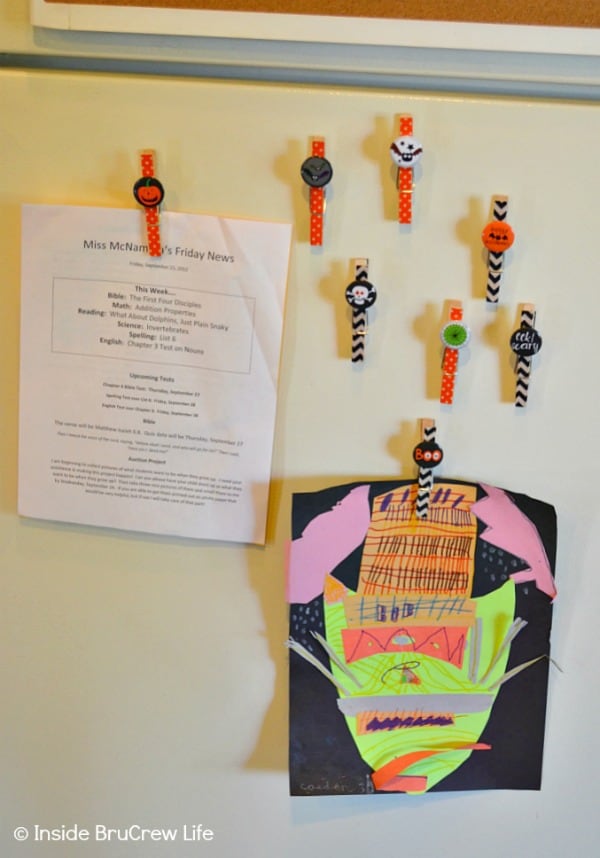
I have been looking for some new magnets for the front of our refrigerator. The problem with most of the magnets that I have found is that they are not strong enough. We need magnets that are strong enough to hold school projects, lists, and artwork without sliding down the door.
The other day I was browsing the craft aisles at Walmart, and I came across some fun things in one of the $1 bins.
There was bakers twine, stickers, mini stamp sets, and these fun Halloween puffy stickers. Immediately I thought they would make great magnets, and for the price I can make more for other holidays when Halloween is over.
These homemade Halloween magnets are so easy to do that I actually didn't even make them. Our two youngest kiddos saw me setting up all the supplies and wanted to help.
They did great helping with these Reese's Owls, so I knew they could handle this fun craft too.
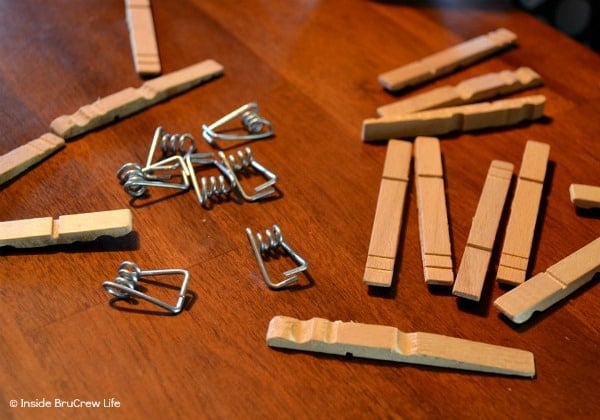
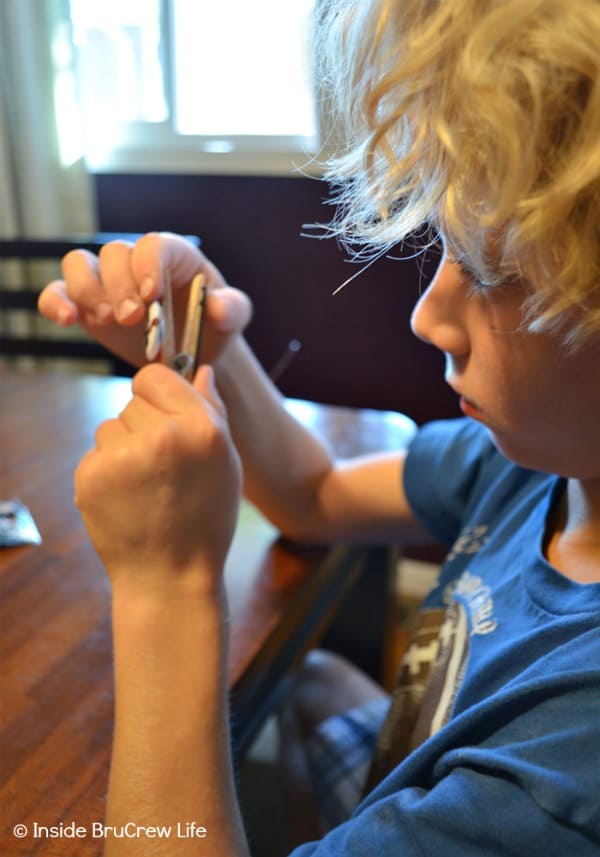
I explained what I wanted them to do, and they got right to work putting the magnets together. It's kind of nice now that they are old enough to use scissors and understand directions. I just helped put the clothes pins back together and manned the glue gun.
If you are looking for easy Halloween crafts for kids to make, this is your project.
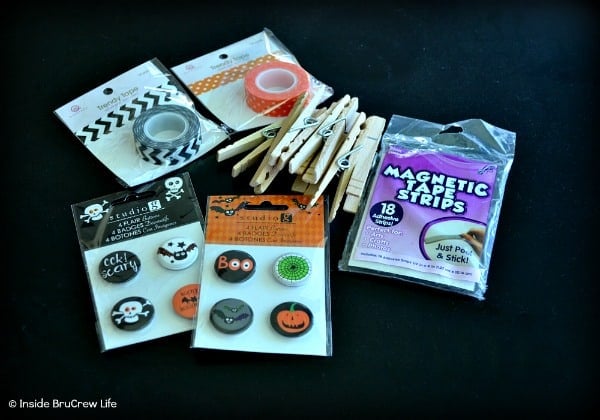
Supplies Needed
- Badges or buttons
- Magnetic tape strips
- Wooden clothes pins
- Washi tape
- Scissors
- Glue gun
1. Separate the clothes pins into three pieces.
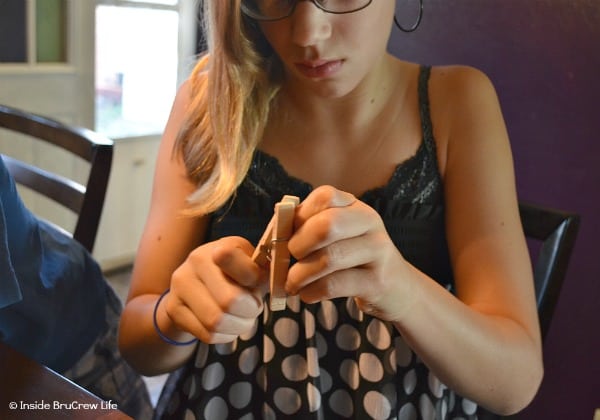
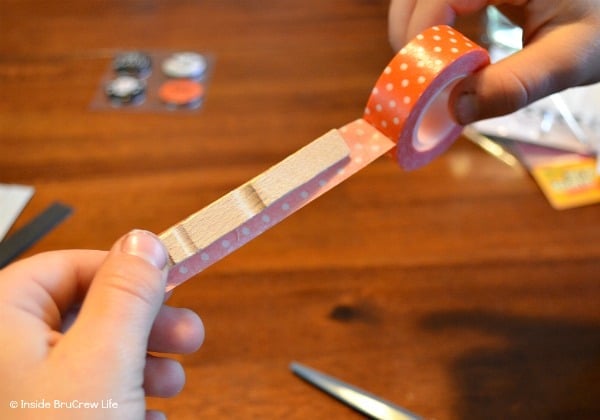
2. Place the front part of the clothes pin on top of the sticky side of the washi tape. Trim the edges that are over the side of the clothes pins with scissors.
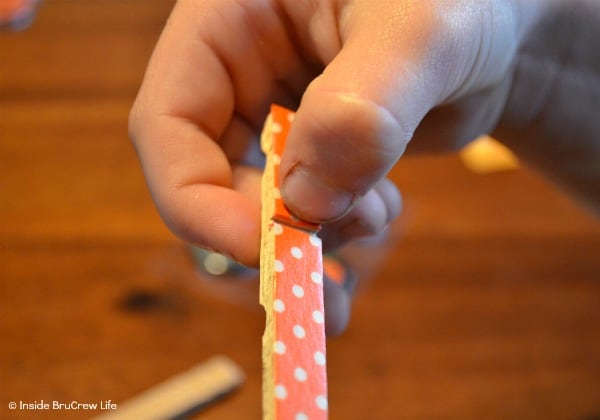
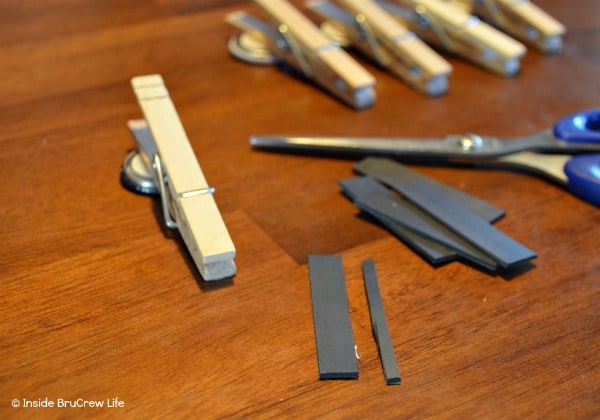
3. Use your fingernail or the edge of the scissors and open up the slot for the metal part. Put the clothes pins back together being very careful not to tear the tape.
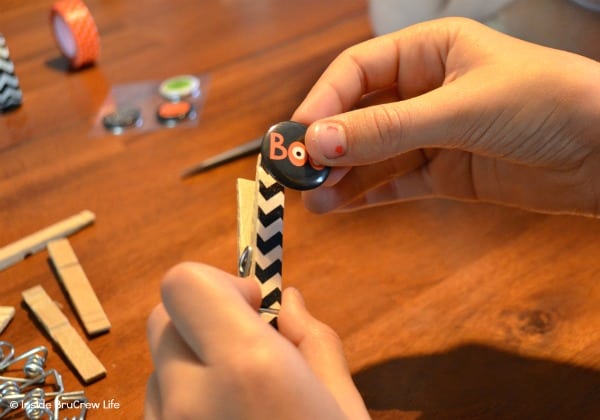
4. Place a sticky button on the top of the clothes pin. (We found that the sticky buttons didn't stay on very well long term, so I recommend using the glue gun to attach the buttons to the clothes pins.)
5. Cut small pieces of magnet tape. Trim the edges, so that it fits on the back of the clothes pin. Use the glue gun to put a small line of glue on the sticky side of the magnet. Press the magnet firmly to the back of the clothes pin.
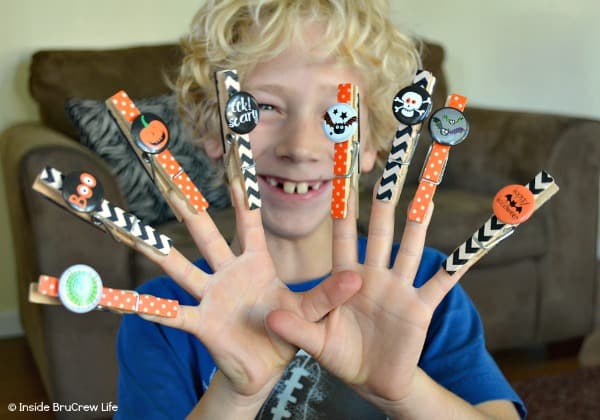
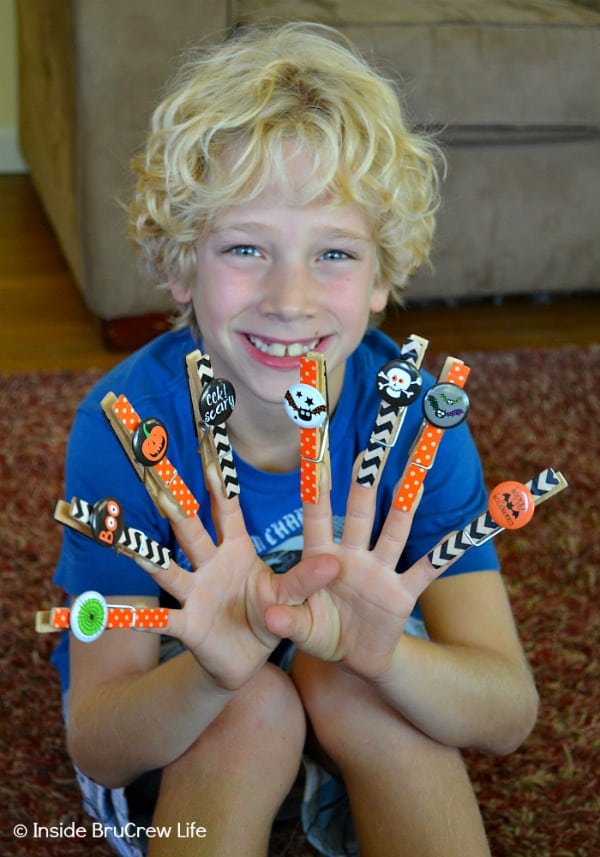
6. Let the kids attach them to their fingers before you put the magnets on the fridge. (I think our kids had more fun playing with the magnets on their fingers than making them.)
I love how easy and fast this Halloween craft was to do with our kids.
These Halloween Washi Magnet Clips are the perfect afternoon craft because they can be made in just a few minutes and can be customized for any holiday.
We have some leftover clothes pins, so I think we need to make some turkey and pumpkin magnets for next month!



WTFab says
Cute! Saw you linked up on some blog hops..Would love if if you linked up on my blog hop and added it to your list! http://www.w-t-fab.com/search/label/bloghop. Also let me know if you'd like to follow each other!
Courtney Tucker says
I made some pins similar to these, but, I love the Halloween look way better, everyday is Halloween for me! <3
Heidi@OneCreativeMommy.com says
Hmm. I was posting a comment, and it disappeared! Sorry if you get this twice.
I love this idea! I think I'll need a set for every holiday, and it looks like a really fun project to do with kids. If you haven’t already, I hope you’ll visit "One Creative Weekend" on OneCreativeMommy.com (open every Fri-Wed) and link up this idea and anything else you’d like to share. This month there are two categories—one for Halloween and one for everything else.
Pinning this great idea!