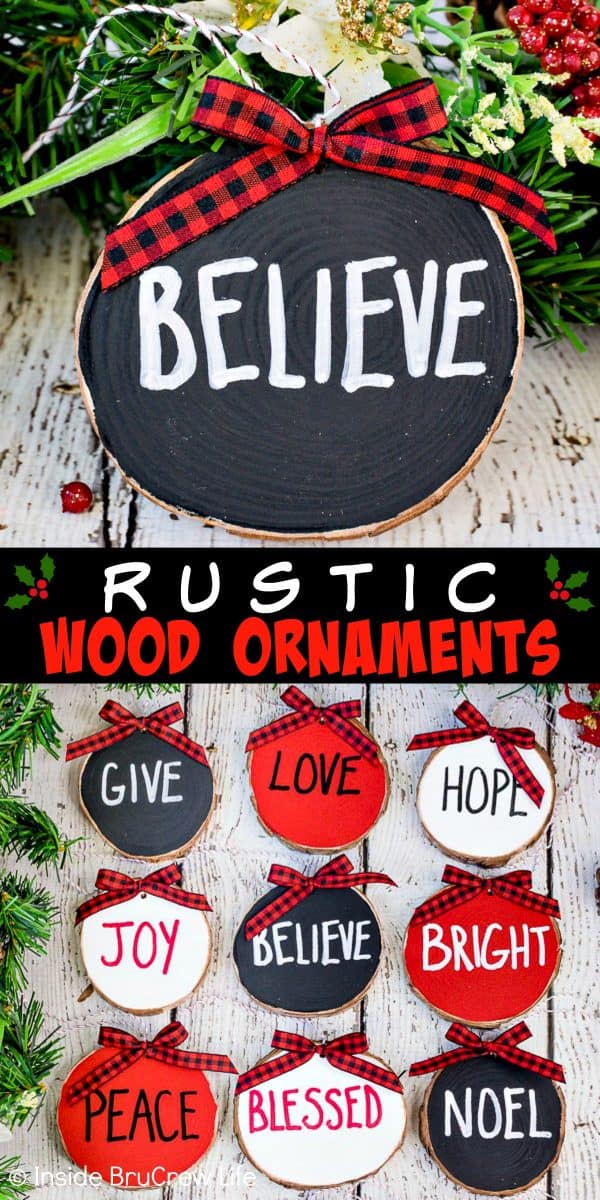
These homemade Rustic Wood Ornaments are a fun and crafty project that you can make and hang on your Christmas tree this year.

A few weeks ago I opened my email to find a message from a company that sells different and random things throughout the year. Their main sale of the day caught my eye, so I clicked through and started looking through all the holiday projects and decor they were offering this year.
These little wood ornaments were one of the things that I was seriously considering buying. Well, until I saw the price tag. Each one was $5 a piece!!!
Now I understand that there are some people that are totally willing to pay any price for something that they love. Sometimes I even fall into that category.
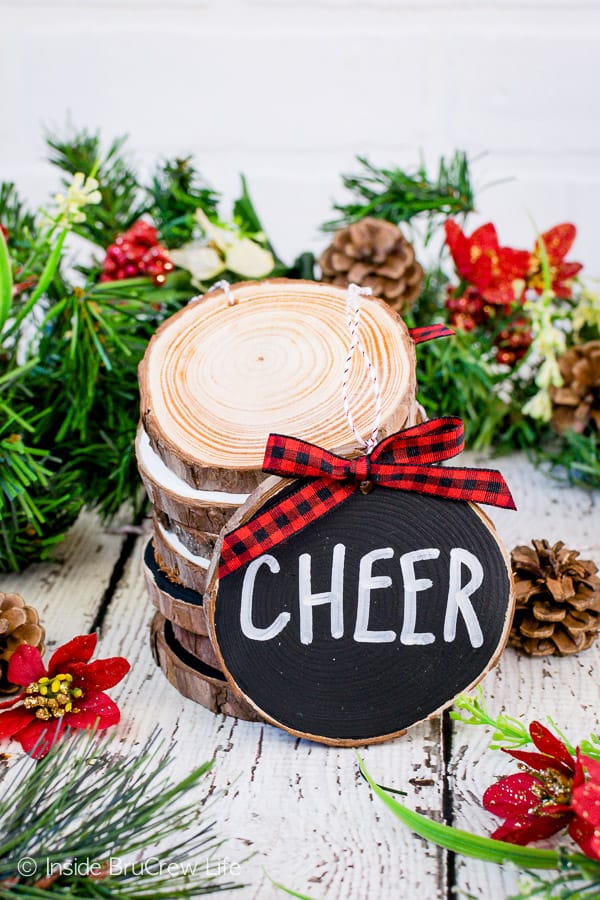
But not this day. I could not in good conscience pay that much for something that I could easily make myself for a fraction of the price.
Especially when I wanted at least 10 different ones to hang on my tree.
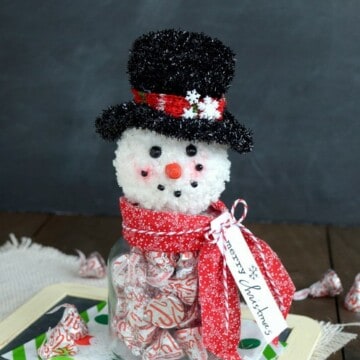
Plus, I love to do all kinds of crafty projects besides baking. This Yarn Snowman and this Snowman Candy Jar are a few easy holiday crafts that I have shared here over the years.

Years and years ago I used to do wood crafts all the time. I also collected Boyd bears and loved sunflowers. So you can imagine what our living room looked like. Very country and crafty.
In fact, at one point a friend of ours stopped by and her reaction was to say that our house looked like a craft store had thrown up in it. LOL!
Over the years, my style and tastes have changed to more of a modern clean line Ikea/Target style with a few farmhouse accents. Which is why these Rae Dunn inspired ornaments appealed to me so much.

I may not have a lot of farmhouse Christmas decor up in our house, but I just had to make these cute little rustic ornaments right away.
So I headed to the craft store later that day to pick up all the items I needed, so that I would be ready to paint these homemade ornaments sometime soon.
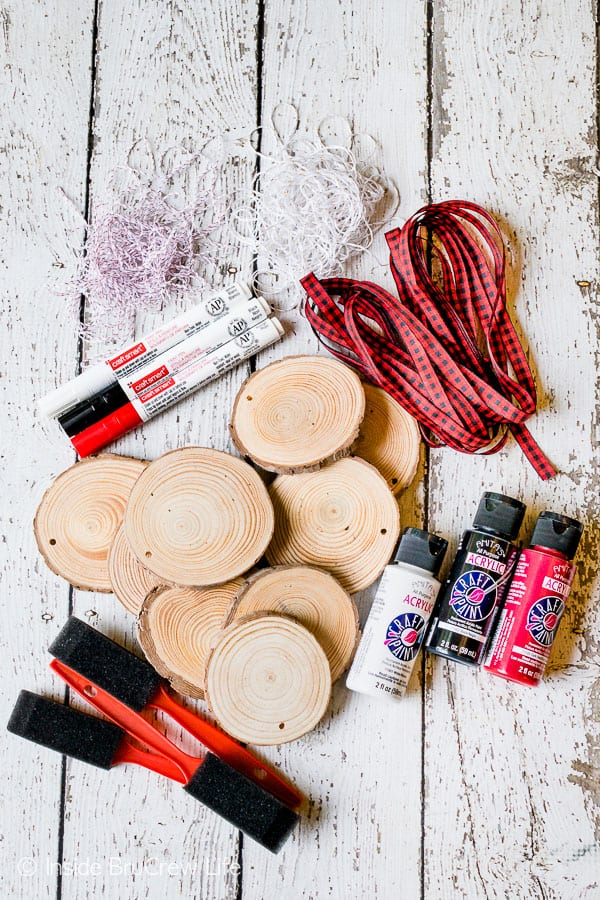
Supplies for Rustic Wood Ornaments:
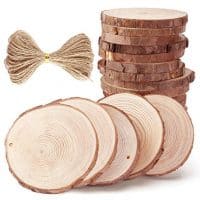
- round wood ornaments (size 2.75 inches - 3.14 inches)
- red, white, and black craft paint
- black and white paint markers
- baker's twine
- red and black checkered ribbon
- foam brushes
The craft store did not have very many of the natural wood pieces that I was looking for, so I ended up ordering these wood ornaments online.
I was able to pick up everything else at the store that day. With all the different sales and coupons, I was able to make 20 ornaments for around $30 dollars. That made each ornament about $1.50 a piece.
Yup! Definitely worth finding all the supplies and making my own instead of buying the already made ornaments.
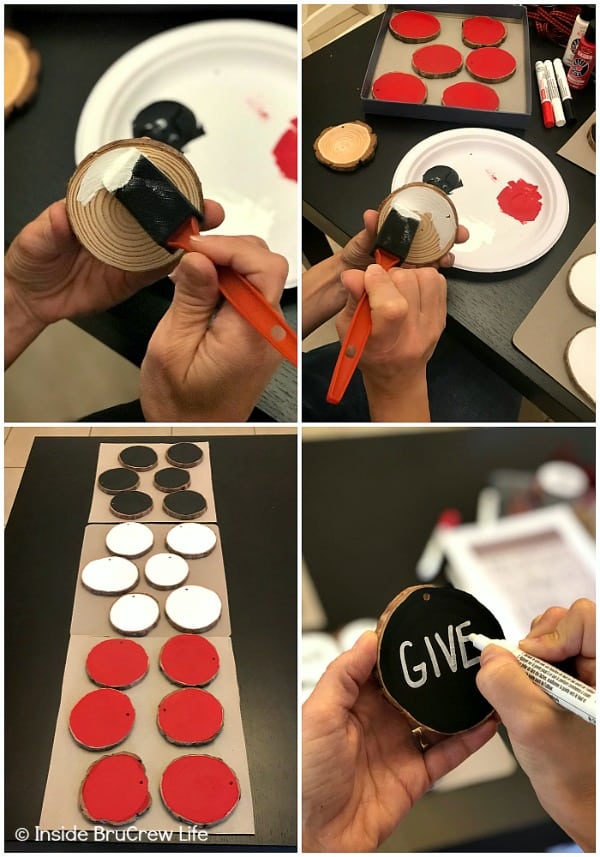
How to make Rustic Wood Ornaments:
Cover your table with newspaper or cardboard pieces to protect it from the paint.
Divide your ornaments into three piles. Paint the fronts of each pile white, black, and red. Let it dry slightly and paint a second coat.
Let the paint dry completely.
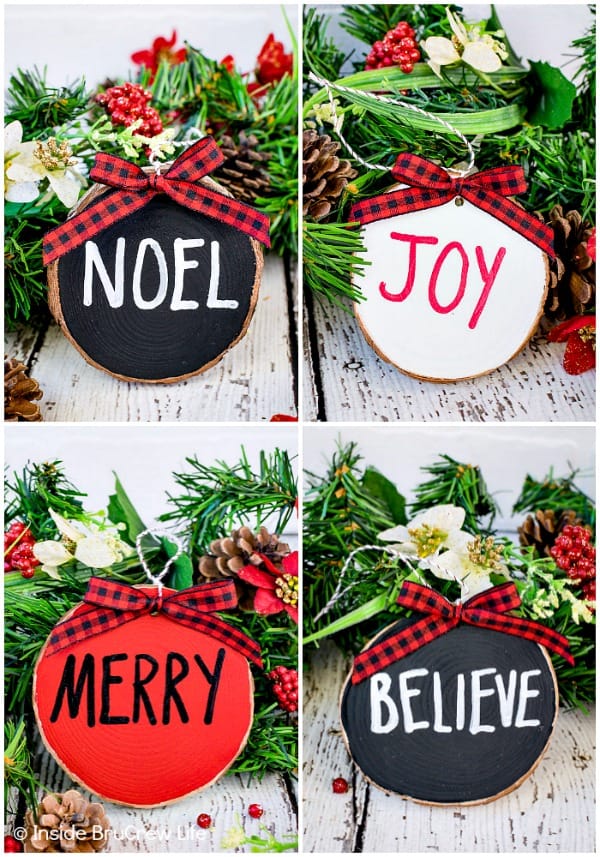
Use the paint markers to write different words on the fronts of the ornaments.
Words to paint on the Rustic Wood Ornaments:
- Joy
- Peace
- Star
- Wish
- Jolly
- Love
- Merry
- Believe
- Bright
- Hope
- Blessed
- Noel
- Bright
- Give
- Warm
- Noel
This is just a list of words I came up with, so feel free to use different words that you prefer for the holidays. You can also personalize the ornaments with family names if you like.
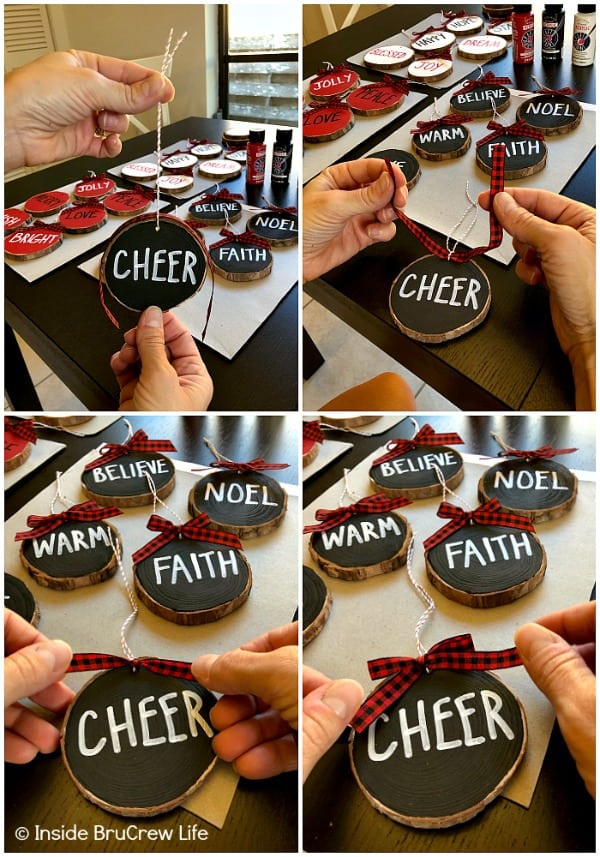
Once the ornaments are dry you can add the string and bows.
Thread a 10 inch piece of bakers twine through the hole. Place the 10 inch piece of checkered ribbon on top of the ornament. Tie a knot in the bakers twine holding the ribbon in place.
Pull the checkered ribbon to the front of the ornament and tie a bow in it.
Tie another knot in the top of the bakers twine creating a loop to hang your ornaments from.

Hang your ornaments on your Christmas tree or any green garland you have hanging in your home. (These ornaments would be so pretty on a pine garland around a fireplace.)
Then sit back and enjoy your creative handiwork.
I have been sitting on our couch with a mug of Nutella Hot Chocolate staring at the lights and ornaments because it is so pretty and festive. I'm so glad I was inspired to get crafty again and make my own set of rustic ornaments. Now I'm wondering what else I should make...

Recipe

Rustic Wood Ornaments
These homemade Rustic Wood Ornaments are a fun and crafty project that you can make and hang on your Christmas tree this year.
Materials
- round wood ornaments (size 2.75 inches - 3.14 inches)
- red, white, and black craft paint
- black and white paint markers
- baker's twine
- red and black checkered ribbon
Tools
- foam brushes
Instructions
- Cover your table with newspaper or cardboard pieces to protect it from the paint.
- Divide your ornaments into three piles. Paint the fronts of each pile white, black, and red. Let it dry slightly and paint a second coat.
- Let the paint dry completely.Use the paint markers to write different words on the fronts of the ornaments.Once the ornaments are dry you can add the string and bows.
- Cut the bakers twine and checkered ribbon into 10 inch pieces.
- Thread a piece of bakers twine through the hole. Place a piece of checkered ribbon on top of the ornament. Tie a knot in the bakers twine holding the ribbon in place.
- Pull the checkered ribbon to the front of the ornament and tie a bow in it.
- Tie another knot in the top of the bakers twine creating a loop to hang your ornaments from.
Recommended Products
As an Amazon Associate and member of other affiliate programs, I earn from qualifying purchases.


Leave a Reply