


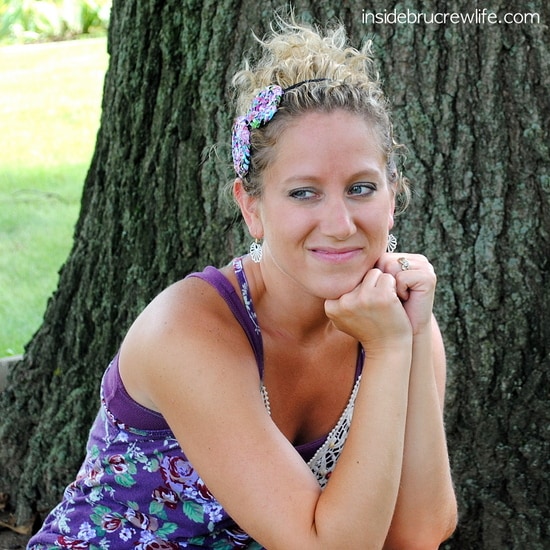
fun braided flower headbands.
I usually cut all my strips
and park on the couch to catch up on
Next Food Network Star
or Cupcake Wars...
or whatever catches my attention
and just braid away.
Now I realize there are 2 types of people:
A. those who won't buy a craft project because you can make it tons cheaper
B. those who have no desire to get crafty and would rather pay someone elseIf you are a B person...you might want to skip those post. I am doing this tutorial for you A's out there.I tried making the rolled flowers that are super popular
and just wanted to change it up a bit.
I remember as a kid braiding strips of fabric and
sewing them into rugs for my sisters doll houses.
So, I thought why couldn't they be flowers for headbands?
And thus began another obsession...
I LOVE these headbands.
They look great on straight or curly hair
and look awesome when worn with an updo.
Supplies needed:
Fabric, needle & thread, glue gun & glue sticks, stretch headband, felt, beads/jewels
1. Cut out 6 strips of fabric.
3 strips - 24 inches long, slightly wider than ½" wide
3 strips - 16 inches long, slightly wider than ½" wide
Let it fray...it looks so shabby chic when done.
2. Sew the tips of 3 - 24 inch strips together and cut at an angle.
Repeat on the other 16 inch strips.

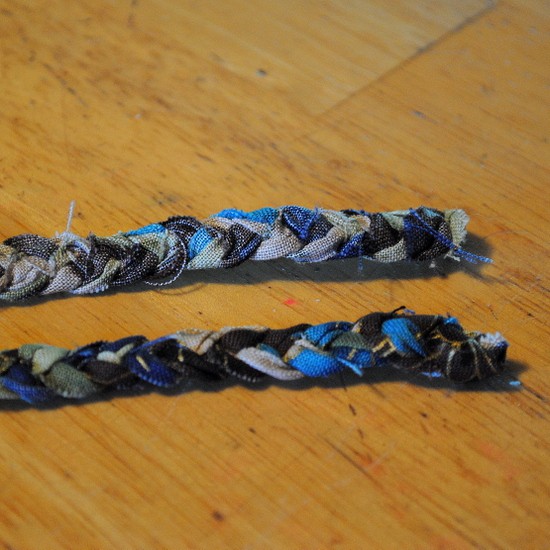
3. Braid the strips.
Sew the ends when you reach the bottom and
cut at an angle like the top.
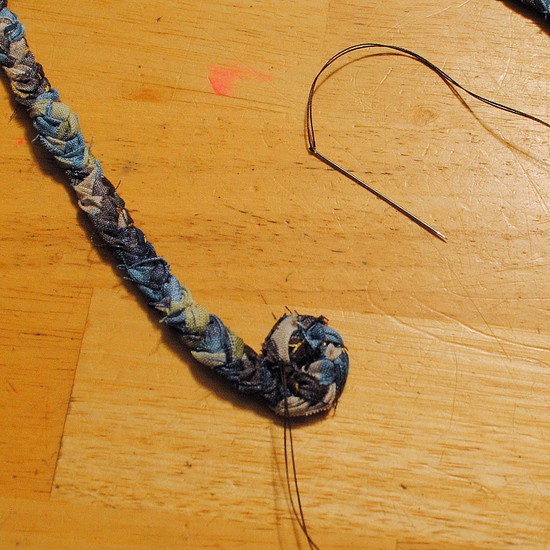
4. Start rolling the braid up FLAT and stitch it in place.
As you continue wrapping the braid around,
keep stitching in place on the back side.
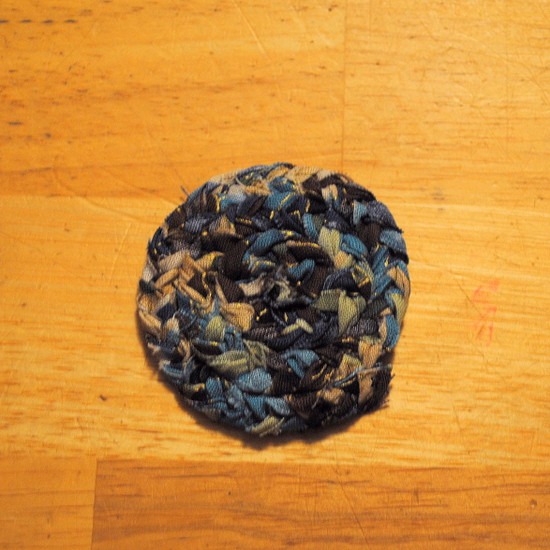
5. When you finish wrapping, you should have 2 discs
that look like this.
6. Glue a stretch headband on the back of both braided discs, overlapping the discs slightly if you wish.
Glue a round piece of felt on top
of the headband to hide it.
(sorry I forgot to take a pic of this step)
Glue on beads or jewels on the front of the braided discs for some bling.
7. Put on your new headband and
go out for an impromptu shoot
with the resident helper photographer...
aka...the 11 yr. old 🙂

See how cute these are for dressing up a pony tail????

Tanyia says
Really adorable idea!
★All Thingz Related★ says
I have some headbands waiting for me to get inspired so I want to say THANKS! I am not inspired! Thanks for joining us for another great Anything Related! ~Bridgette
Room to Inspire says
What a great headband and an awesome tutorial! Thanks so much for linking up to Be Inspired this month.
Chelsea
Haupi says
I live in headbands so this is so much what I was looking for!! Thank you. I found your blog over on Carol's Christmas in July link and I'm definitely following you now. I'm #22 on her Link and I certainly would like it if you come follow me too. I'd love it if we got to be blogging buddies. You have a lot of great things over here!
Haupi
http://hauplighty.com/
Kuzak's Closet says
Great project! Thanks for linking up to Sister Sister Sunday! Come back this week!
Amanda
The Answer Is Chocolate says
Thanks so much for linking up to my Holiday Open House! Glad you could make it. These would make great gifts!
kati says
AH I love it, i found your blog from Crystal's Craft Spot and I must say I love the headband.... as well I am decorating a little play house for my daughter and needed some rug ideas... so 2 birds one stone. THANKS!
Jessica Hills says
Just wanted to let you know I featured this today on Favorite Things Friday! If you would like a Featured button stop by and pick one up! Thanks!
Kim @ seven thirty three says
I did a tutorial for braided ribbon/fabric flowers back in February. I also made a no-sew version and they've been very popular on my site.
Love the way they look on your headband. ABSOLUTELY gorgeous. I use mine for headbands, wreaths, etc. They are so versatile.
Thanks for linking with Sugar & Spice.
Helena says
So cute! And I choose C. All of the Above! Half the time I'll make it myself, and the other half I'm so busy, I just buy it!
Thank you for participating in the Creative Therapy Session with Life in the Pitts!
The Harris Family says
Gorgeous! I love this new version and really want to try it.
-Crystal
p.s. I'll be featuring this on Friday-hope you don't mind.
crystalscraftspot.blogspot.com
Ashlee @ I'm Topsy Turvy says
Thanks for linking up to my party! Your headband is SO cute! And what a great thing to get done while watching TV
Brimful Curiosities says
Adorable craft...kind of like mini braided rugs. Stopping by via round robin. Your photographer did an awesome job.
Amy says
thanks for linking up to my Round Robin I am so glad to have you. I hope you enjoyed it..
Have a great weekend..
Dawn says
stopping by from Round Robin-love these headbands-I want to make some for my girls-thanks for sharing!
Megan - A Ruffle In Time says
i LOVE these headbands and since i'm on a headband kick i've got to make some!! thanks for sharing and stopping by my blog dear!
Leslie says
So so cute! Thanks for the tutorial and for linking up to Hoo's got talent!
Aimee Cotton Bogush says
Thanks for this great tutorial! We made the braided flower headbands as part of our Mommy Camp last week. They came out so beautifully - and you are right, the fraying just adds to the appeal!
Here's the link to our experience:
http://www.mymidlifecreativities.org/2010/07/mommy-camp-at-shaggyhill-farm-where_06.html
Thanks again! I look forward to trying out more of your wonderful ideas.
Aimee
Brianna! says
so so sSOOOO simple
and even more pretty!
xoxo
bB
Tere says
I love this great idea! You are a fav in this weeks It's Party Time Thursday @PonyTails&FishScales
terelauritsen.blogspot.com
Grab an I ROCK button!
Have a great weekend!