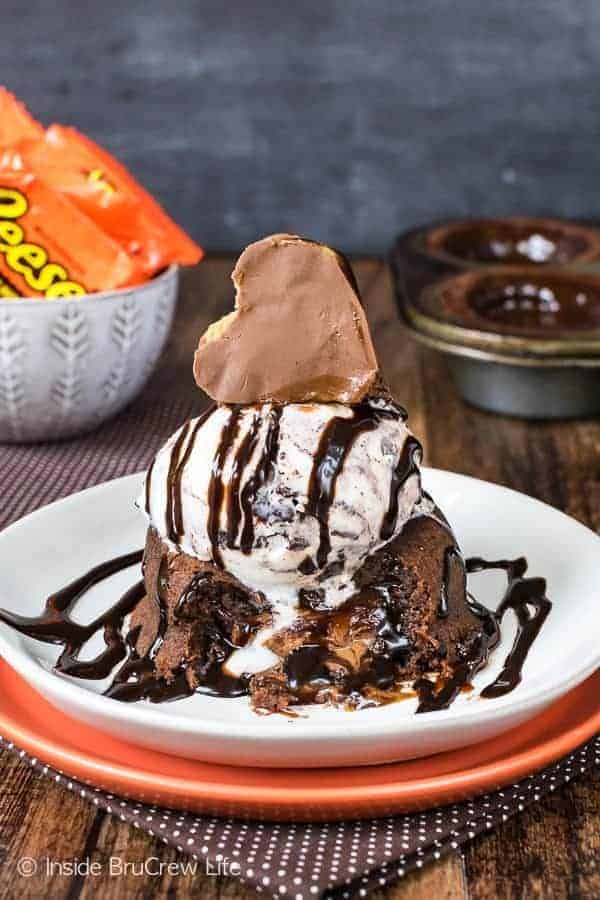
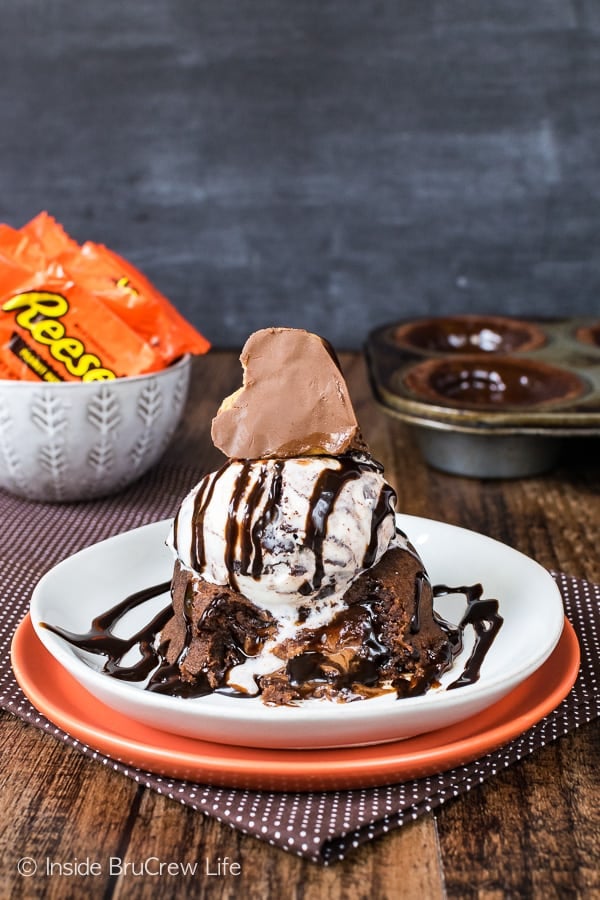
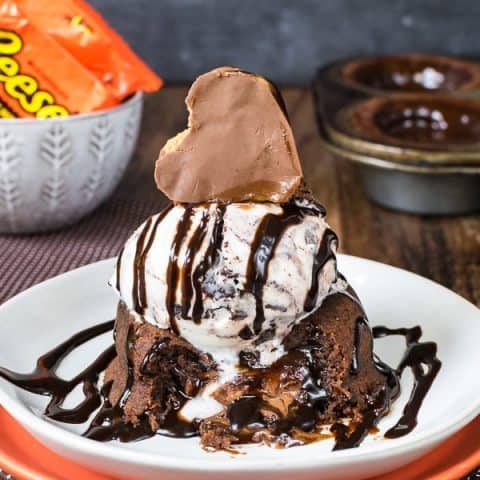
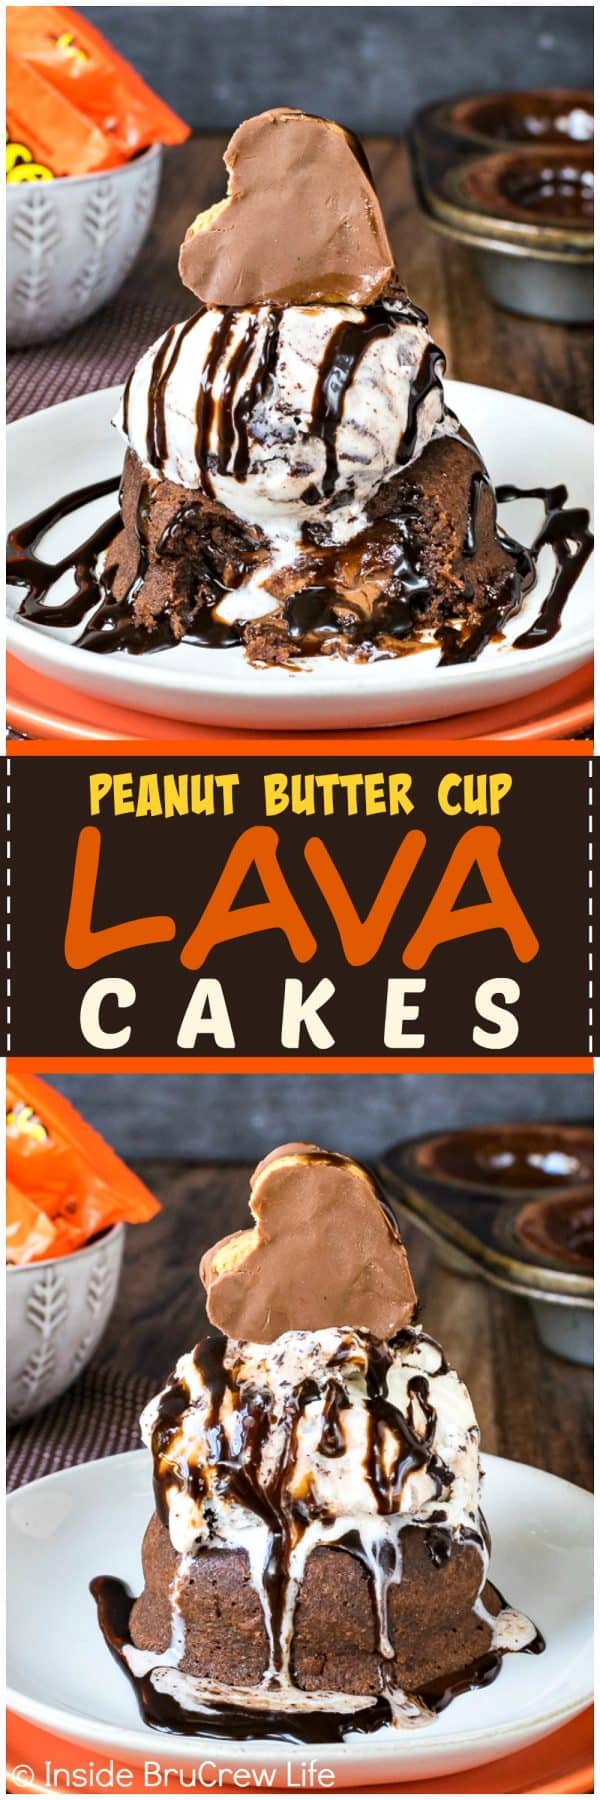
The gooey center in these Peanut Butter Cup Lava Cakes will have you reaching for another plate of dessert. Add a scoop of ice cream and chocolate drizzles for a decadent ending to any meal.
Most days I do pretty good at eating healthy. I have reached the age where I just can't eat all the things that I want to when I want to. Oh, to have the metabolism of a teenager again. Our kids can pretty much devour anything they want and never gain an ounce. I remember those days.
Although, the healthy habits that we have been setting for our kids is starting to sink into them. Yesterday our kids had off school, so we headed over to Universal for a day of fun and rides. The kids had sugar cookies for breakfast, Chick-fil-A for lunch, and a cup of butter beer in the park.
As we headed to dinner later that night, our daughter asked for salad. She knew that her body needed some healthy veggies to balance out her food choices from earlier. Yay for healthy habits forming young. I wish I had known those things when I was younger. It would have made my later years a little easier in the weight department.
This month we have really been trying to make more healthy dinner recipes to share here. It's what we normally eat, so I'm trying to photograph a few of them. I realize that most people like to look at the yummy desserts, but they really just want to make a good dinner. AT least I hope so because I'm trying to balance out the sugar recipes here with some more healthy options.
But then there are days when all I want is chocolate!!! I was looking through some old pictures, and I came across these chocolate lava cakes. Cue all the drooling!
Immediately I had this uncontrollable urge to make a gooey decadent dessert. As I pulled out the ingredients from our pantry, the open bag of peanut butter cups started talking to me. Yes, I hear voices. Usually just sugar voices though. I still haven't heard from the veggies in the crisper. LOL!
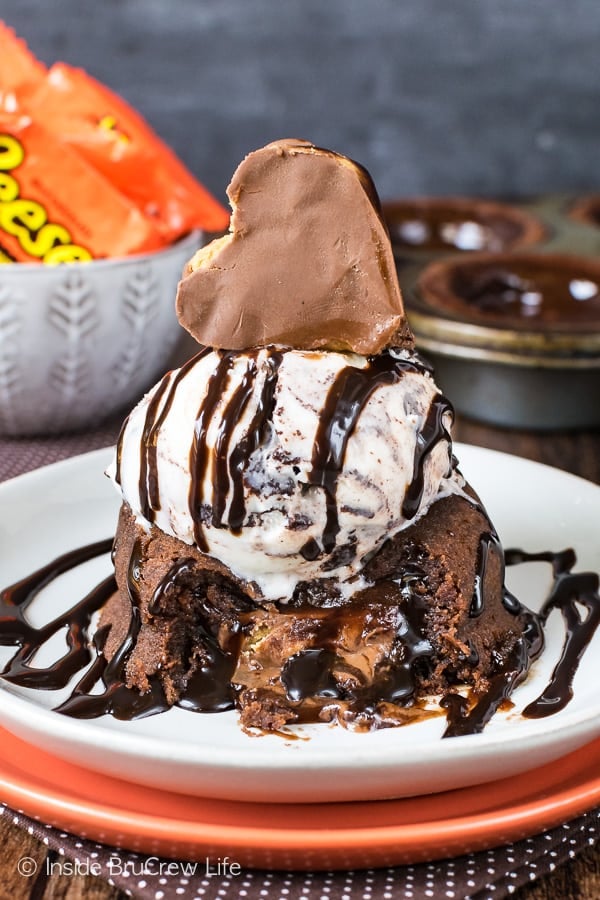
A candy bar in the center of these gooey peanut butter cup lava cakes makes them so decadent and delicious.
And a scoop of moose tracks ice cream on top totally made it my new favorite dessert. Chocolate peanut butter gooeyness and melty ice cream is a must have right now! I'm totally sitting here drooling and craving them again right now!
A couple of things to know when making your own peanut butter cup lava cakes.
-
-
- Make sure you spray your baking pan with nonstick spray. You want these little chocolate cakes to fall out easily.
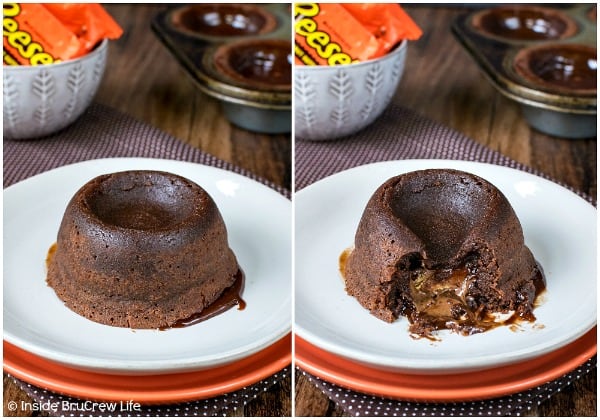
- Do not over bake these cakes! The center is supposed to fall in, and it is supposed to be gooey. It's a LAVA cake. They will look under done. It's ok. Trust me on this one. The chocolate from the peanut butter cup stays melted on the top.
- Let the cakes rest for about 5-6 minutes before putting a baking sheet on top and flipping them all out at once.
- Use a flat metal spatula to gently get under each cake and move them to a dessert plate. Yes, some of the gooey chocolate will come off on the spatula. Just clean it off in between each cake.
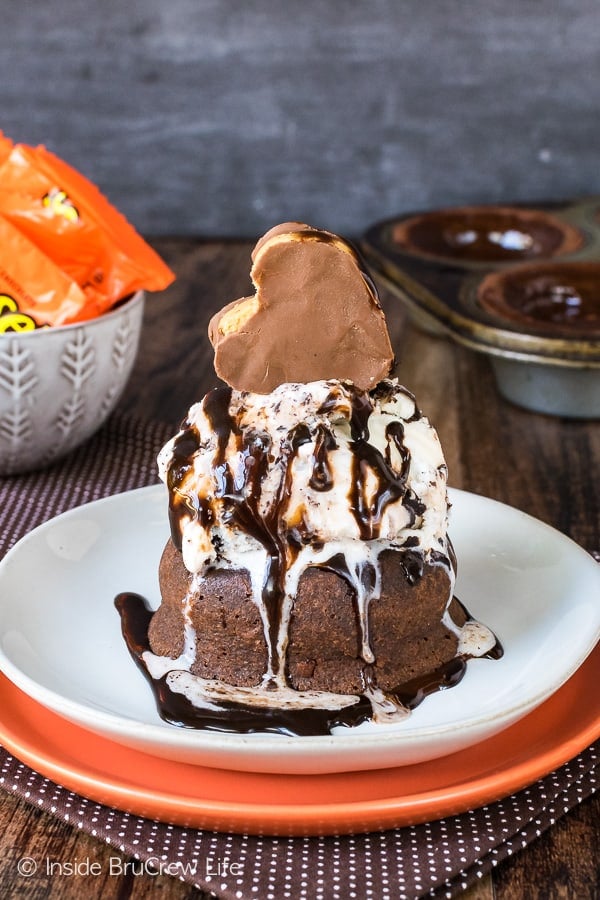
- Add a scoop of ice cream and chocolate drizzles on top of your lava cakes and dig in immediately.
- Or let the cakes cool completely in the pan and reheat them later. The gooey tops will set up eventually, and you can use a butter knife to gently pop them out of the pan.
- Place them on a plate upside down and microwave for 10-13 seconds to make them gooey again.
- Items used in this recipe:
Check out these awesome chocolate recipes for when that craving hits:
-
-
- My cookie jar is begging for a batch of these Hot Chocolate Cookies from Love From the Oven.
- I'm totally dying over all the goodness drizzled on this Chocolate Turtle Bundt Cake from Melissa's Southern Style Kitchen.
- Extra chocolate inside these Chocolate Crinkle Cookies from Spend with Pennies? Oh, yeah.
-
CLICK HERE TO PIN THIS RECIPE FOR LATER!
Recipe
Peanut Butter Cup Lava Cakes
Yield: 6 cakesPrep Time: 10 minutesCook Time: 7 minutesTotal Time: 17 minutesThe gooey center in these Peanut Butter Cup Lava Cakes will have you reaching for another plate of dessert. Add a scoop of ice cream and chocolate drizzles for a decadent ending to any meal.
Ingredients
- ½ cup butter
- ⅔ cup semisweet chocolate chips
- ½ cup powdered sugar
- ¼ cup flour
- 2 eggs
- 1 teaspoon vanilla
- 12 peanut butter cups, divided
- Moose Tracks ice cream
- chocolate syrup
Instructions
- Preheat the oven to 425 degrees. Spray a 6 cavity muffin tin with nonstick spray.
- Place the butter and chocolate chips in a microwave safe bowl. Heat for 45 seconds. Remove and stir until melted and creamy.
- Add the powdered sugar and flour and stir until mixed in.
- Whisk the eggs and vanilla and add to the chocolate mixture. Stir until completely incorporated.
- Spoon half the mixture into the prepared muffin tin. Place an unwrapped peanut butter cup in the center of each one. Cover the peanut butter cups with the remaining batter.
- Bake for 7-8 minutes. Do not over bake! The tops will look gooey and under done. This is normal.
- Let the cakes rest 5-6 minutes in the muffin tin. They will settle as they cool.
- Cut the remaining peanut butter cups into heart shapes.
- Place a baking sheet on top of the muffin tin and flip all the cakes out. Use a flat metal spatula to gently slide under each cake and place them on a plate. Clean the spatula off after each one.
- Top with ice cream, chocolate syrup, and peanut butter cup heart and serve immediately.
Notes
*You can also let the cakes cool in the pan completely. The gooey tops will evenly set up. Use a butter knife to gently loosen the cakes and remove them. Place them upside down on a plate and heat in the microwave for 10-13 seconds.
Recommended Products
As an Amazon Associate and member of other affiliate programs, I earn from qualifying purchases.
Nutrition Information:
Yield: 6 Serving Size: 1
Amount Per Serving: Calories: 564Total Fat: 36gSaturated Fat: 19gTrans Fat: 1gUnsaturated Fat: 15gCholesterol: 113mgSodium: 308mgCarbohydrates: 56gFiber: 3gSugar: 45gProtein: 8g - *This post contains affiliate links. Inside BruCrew Life may receive a very small percentage from sales made through these free links. As always, these do not cost you any extra. Thank you for letting us share products we use this way.
-


 Check out these awesome chocolate recipes for when that craving hits:


Leave a Reply