


fun braided flower headbands.
I usually cut all my strips
and park on the couch to catch up on
Next Food Network Star
or Cupcake Wars...
or whatever catches my attention
and just braid away.
Now I realize there are 2 types of people:
A. those who won't buy a craft project because you can make it tons cheaper
B. those who have no desire to get crafty and would rather pay someone elseIf you are a B person...you might want to skip those post. I am doing this tutorial for you A's out there.I tried making the rolled flowers that are super popular
and just wanted to change it up a bit.
I remember as a kid braiding strips of fabric and
sewing them into rugs for my sisters doll houses.
So, I thought why couldn't they be flowers for headbands?
And thus began another obsession...
I LOVE these headbands.
They look great on straight or curly hair
and look awesome when worn with an updo.
Supplies needed:
Fabric, needle & thread, glue gun & glue sticks, stretch headband, felt, beads/jewels
1. Cut out 6 strips of fabric.
3 strips - 24 inches long, slightly wider than ½" wide
3 strips - 16 inches long, slightly wider than ½" wide
Let it fray...it looks so shabby chic when done.
2. Sew the tips of 3 - 24 inch strips together and cut at an angle.
Repeat on the other 16 inch strips.

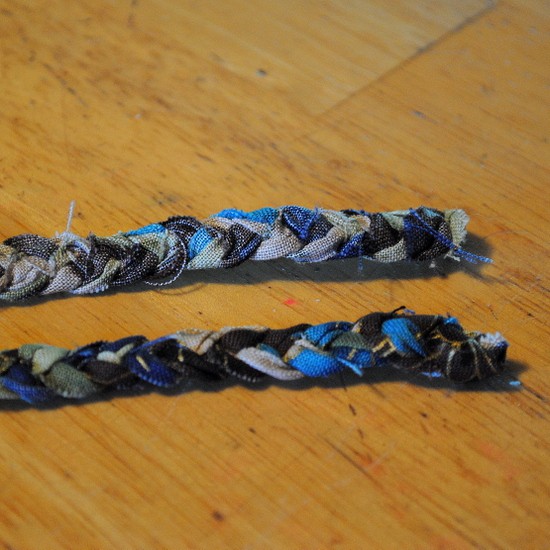
3. Braid the strips.
Sew the ends when you reach the bottom and
cut at an angle like the top.
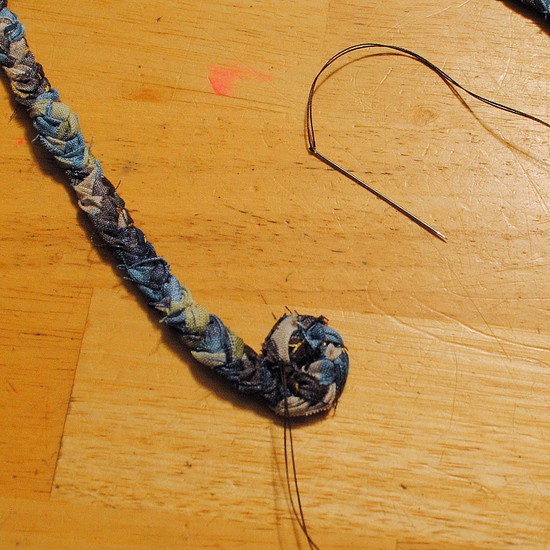
4. Start rolling the braid up FLAT and stitch it in place.
As you continue wrapping the braid around,
keep stitching in place on the back side.
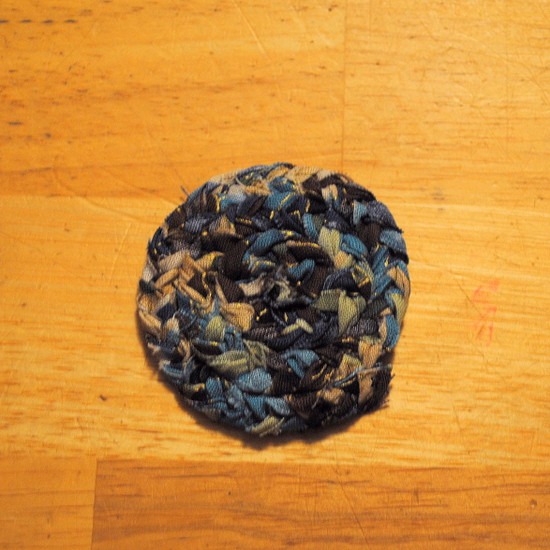
5. When you finish wrapping, you should have 2 discs
that look like this.
6. Glue a stretch headband on the back of both braided discs, overlapping the discs slightly if you wish.
Glue a round piece of felt on top
of the headband to hide it.
(sorry I forgot to take a pic of this step)
Glue on beads or jewels on the front of the braided discs for some bling.
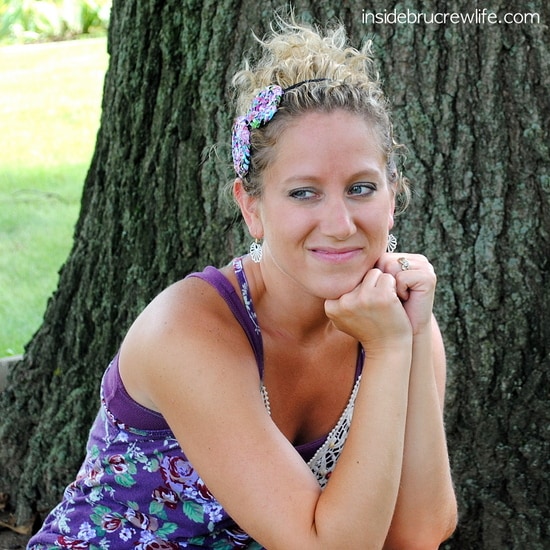
7. Put on your new headband and
go out for an impromptu shoot
with the resident helper photographer...
aka...the 11 yr. old 🙂
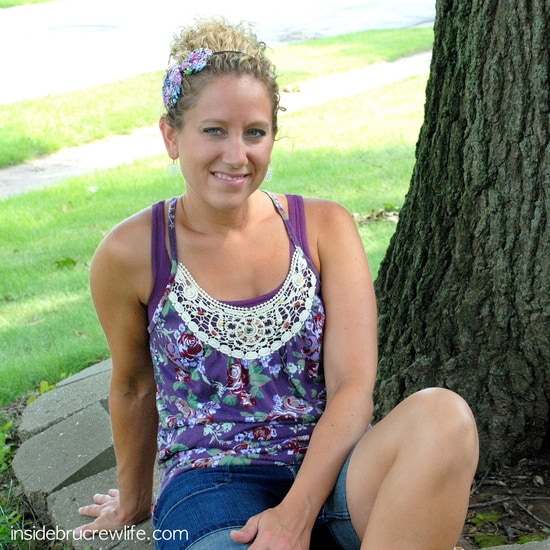
See how cute these are for dressing up a pony tail????

Kristen Duke Photography says
I love how you wrote: there are 2 kinds of people...that is SO true!! I stink at crafty stuff--I try, I just stink! So I usually buy. Cute blog:)
Jennychick says
Thanks so much for sharing! I am totally an "A" type person, and have been wanting to try and make these fabric flowers. I have some left over fabric, so I totally want to try making these this weekend!
Liz @ Perfect Chaos says
I ♥ ♥ ♥ these! I will definitely give these a try SOON! I found you through a little blog hopping, but I'm so glad I did. And you're a scrapbooker to boot! Thank you for the inspiration. I look forward to coming back for some more eye candy!
ShadowCase says
I love these and all of your posts so far. Glad to be your newest follower. I'll be checking out your shop for sure!
ShadowCase with Ruth and Rose
http://www.shadowcase.blogspot.com
Larissa says
So cute. I LOVE it.
I would love for you to link up at my first linky party for my month long Christmas in July homemade gifts event.
These would make great presents.
I hope to see you there.
Just Another Day in Paradise
http://www.zitzmanfam.blogspot.com
Heather says
Beauty! Thanks for sharing and linking up with Inspiring Creativity at Dragonfly Designs!
CraftyMummy says
These are so cute! A nice twist on the flowers around the blogosphere 😉 I'm a "craft on the couch" kind of girl too.
Found you over at Not So Crafty...
Chase and McKell says
really really cute! the girls in my church would love to make these for an activity! i'll have to save this for sure. thanks for sharing 🙂
*come check out my blog too if you'd like.
Tara says
This is adorable. I love it and would love to have you link this up at my Creative Link Share Party over at Trendy Treehouse
http://thetrendytreehouse.blogspot.com/2010/06/creative-share-blog-hop_29.html
Hope your having a great week. Tara
Fawnda says
Now those ARE CUTE! I love it! THanks for sharing! 🙂
Olivia says
Those are great! I love them!
Jenny says
Sooo cute LOVE IT!! 🙂 🙂 🙂 🙂 🙂
Annette says
Those are so cute, following you now!
Terra H. says
Hello! Stopping by via Tuesday Tag-Along and am now a follower.
I'm not a crafty person so I usually purchase my handmade items, but I like these headbands and they seem simple enough to make.
The Homesteading Apartment says
So cute!!! Great tutorial (: I just recently became a follower and so glad I did! I look forward to reading future posts (: By the way...thanks for stopping my blog. It was good to see you (:
Michele
XOXO
Mystee says
...Newest follower ♥
http://amomentwithmystee.blogspot.com/2010/06/follow-me-back-tuesday.html
Ginger says
Great work! Thanks for linking up to Mad Skills Monday!
Jenni says
I have been making rosettes similar to these, but they are hard work! I love how simple these are! Going to try one soon! Thanks for sharing!
Amber says
What fun and FYI this is the first braided ones I've seen so fun I'm going to try it!
kirsten michelle says
These are SO cute. Though I'm often the first type of person (would rather do it myself), this is something I'd rather leave to an expert. Those are super adorable!!