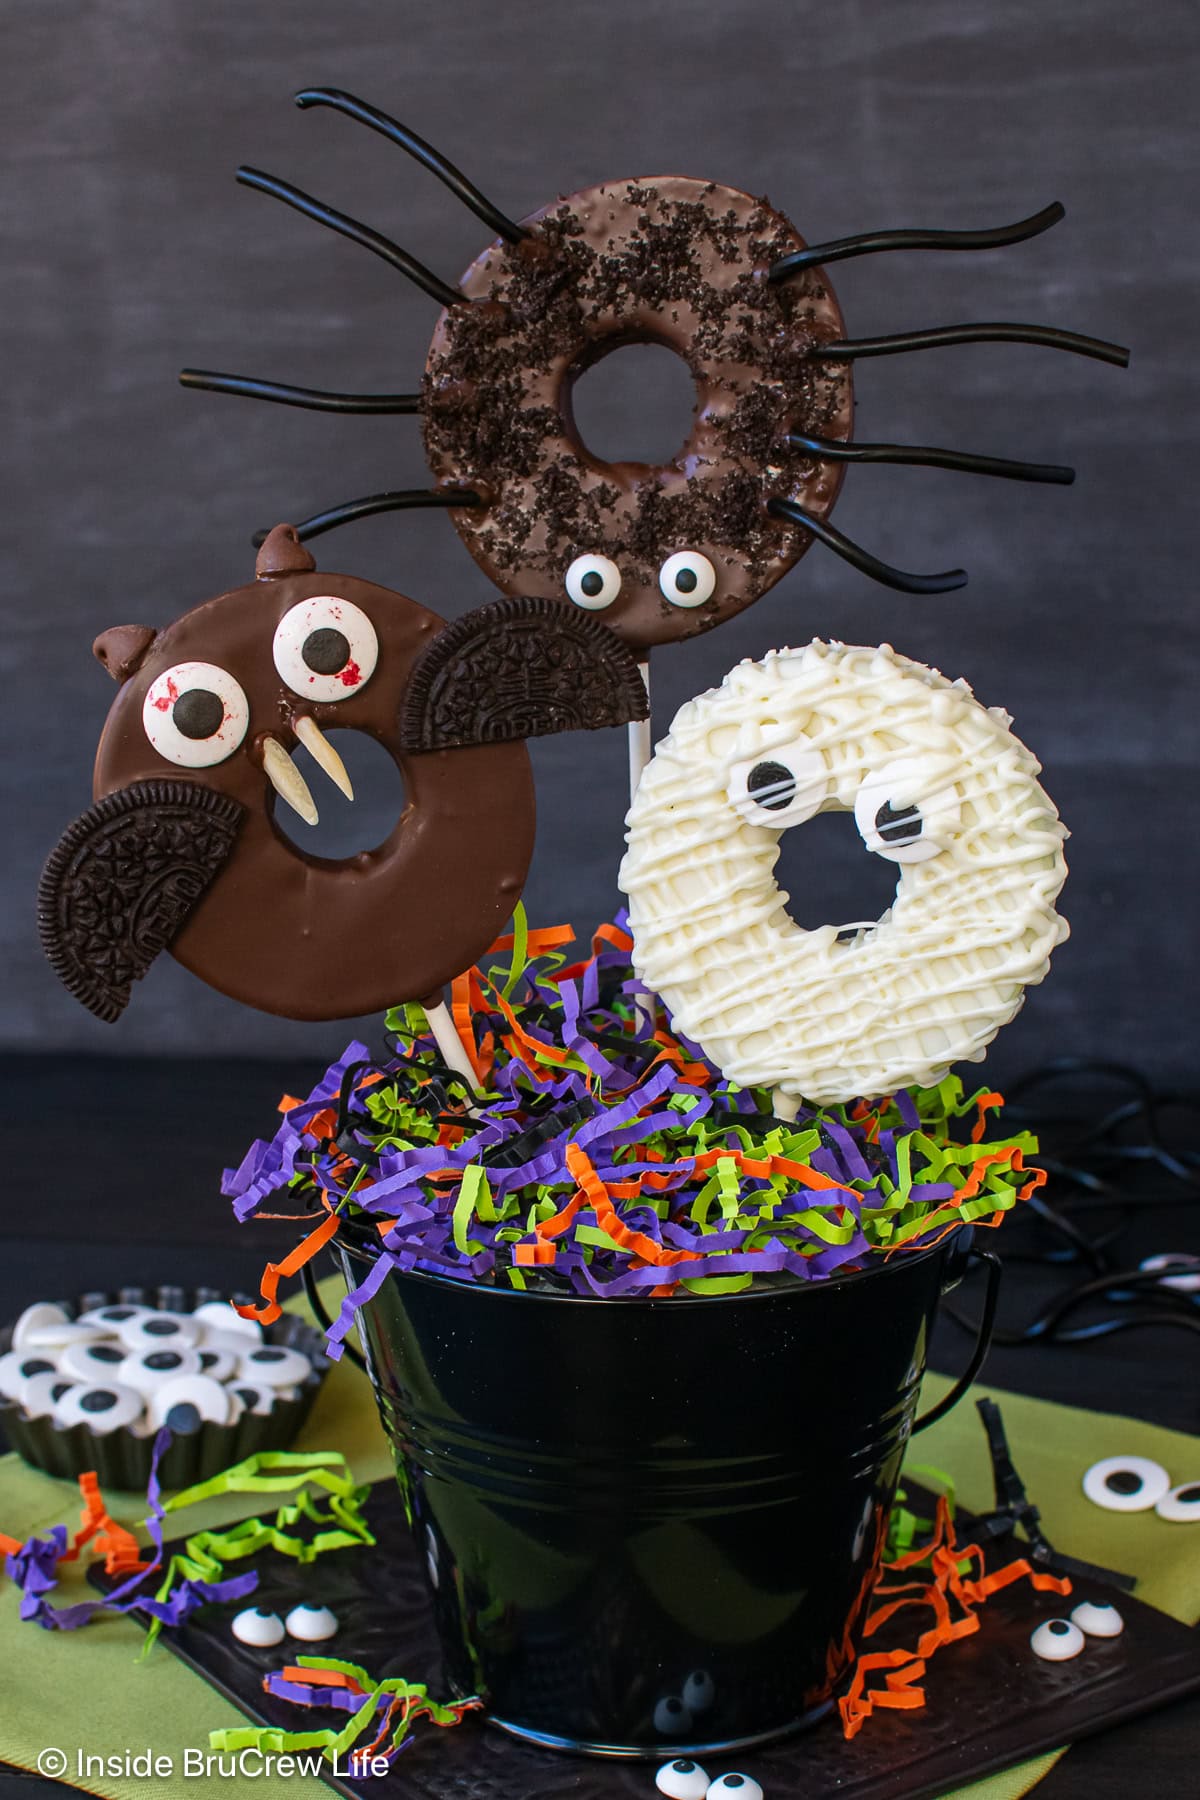
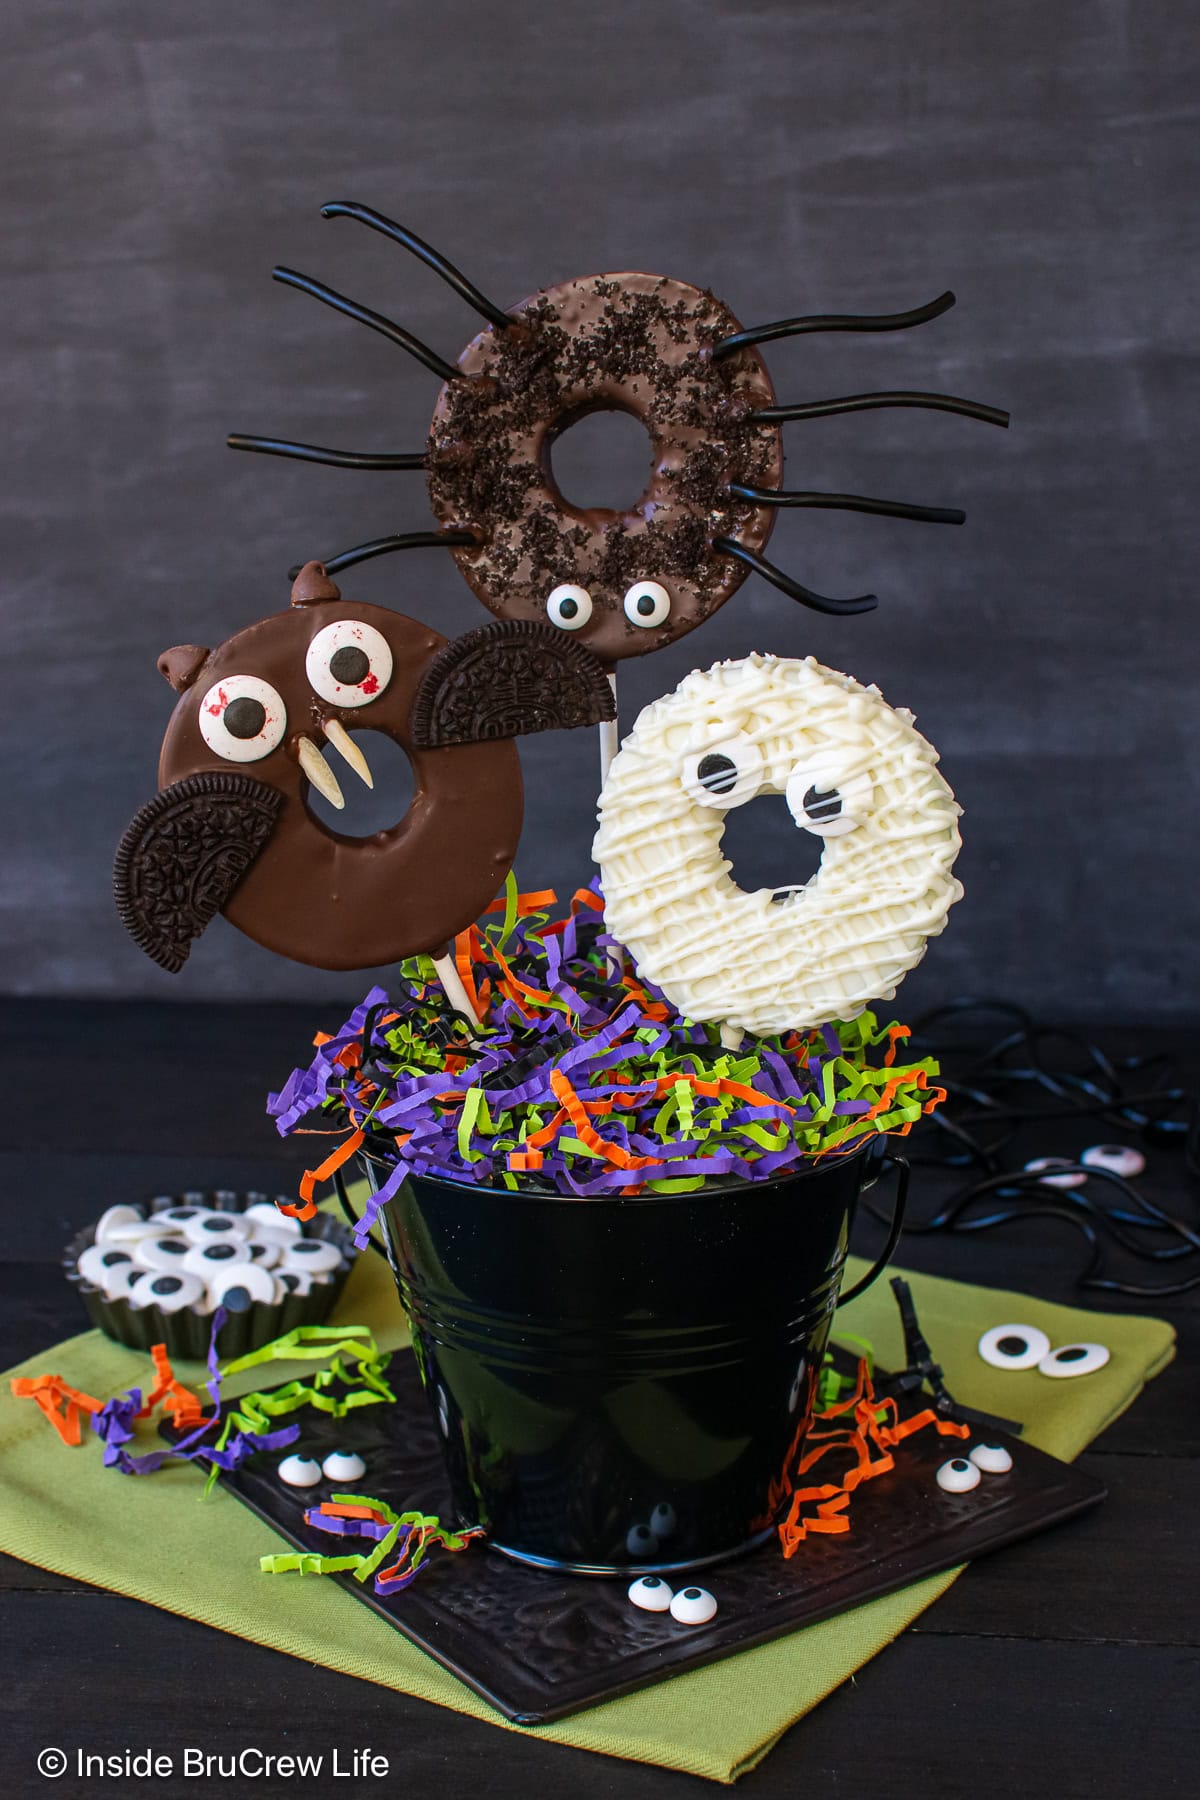
These Halloween Apple Slices are a simple and creative way to bring creepy fun to your kitchen. The spooky apples are always a hit at parties and a fun treat for all ages!
Jump to:
Halloween is one of my favorite holidays. It's the best time to add candy eyeballs to treats to make them look creepy and fun!
I was going to make large chocolate-dipped caramel apples for a Halloween party. However, serving and eating a whole apple can be challenging and messy for kids.
Apple slices are a great alternative to this treat! They're easy to make, and kids of all ages love them. Share these candy apple slices, Frankenstein marshmallows, and Halloween eyeballs to get everyone into the spooky spirit.
Why You'll Love These Halloween Apples
- Festive and Fun: This spooky snack is a great way to celebrate Halloween with a twist! They add the perfect festive touch to any Halloween spread.
- Quick & Easy: You only need to slice, dip, and decorate. There is no baking, no fancy tools-just a few ingredients and a little imagination!
- Kid-Friendly Activity: Decorating these apple slices is perfect for little ones! They'll love turning apples into their favorite Halloween creatures.
- Healthier Halloween Treat: These candy apples are lighter than regular candy, and the coating makes them taste great.
Main Ingredients
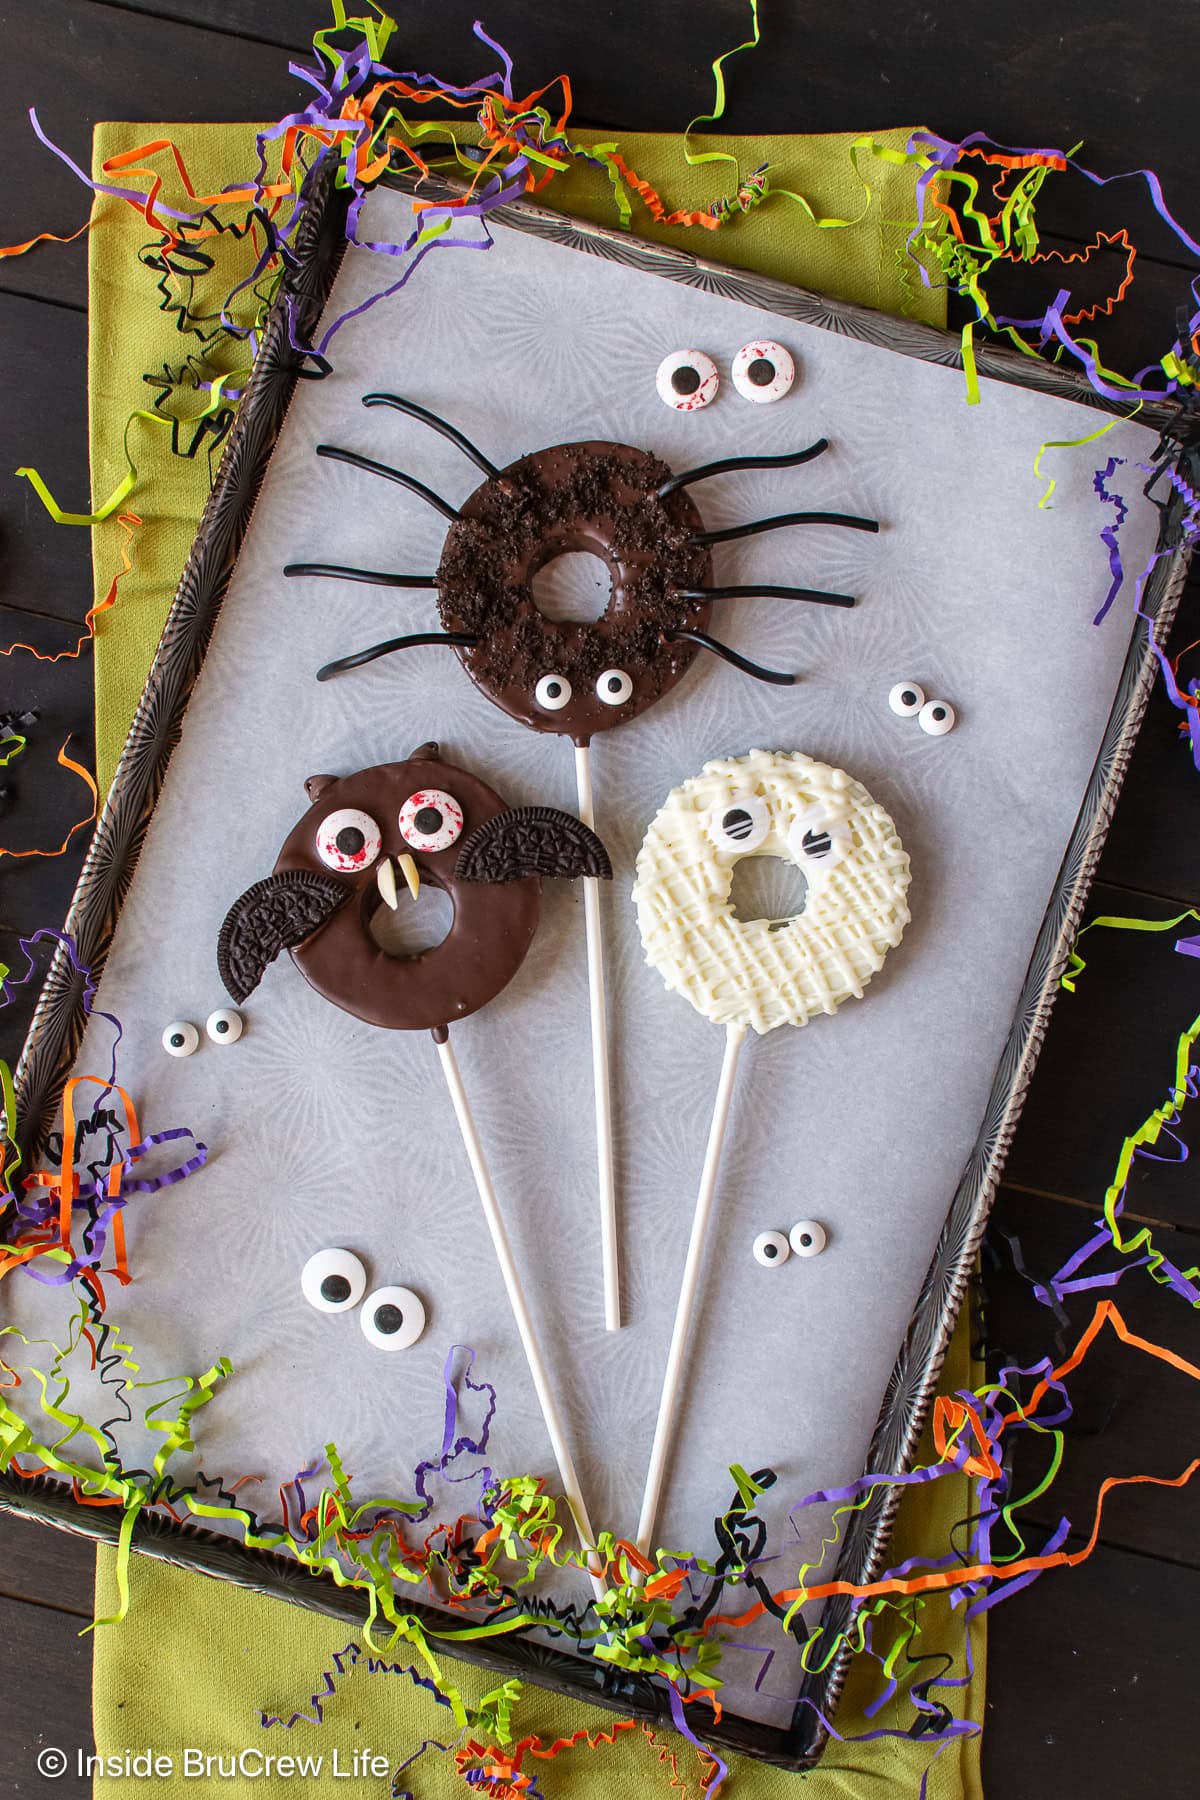
- Apples: You can purchase apple rings at the grocery store or cut large apples into thick slices. Remove the seeds or use a small round cookie cutter or icing tip to remove the center core.
- Chocolate: I love using Ghirardelli chocolate wafers for all my candies and truffles. They melt quickly and taste great.
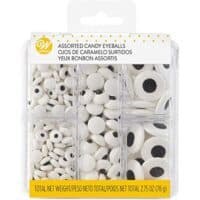
- Decorations: Have fun and use whatever you like. We used Oreo cookies, almond slivers, edible candy eyes, chocolate chips, and black licorice for this easy recipe.
How To Make Halloween Apple Slices
Making these decorated apple slices is simple; just follow these steps for consistent results.
- Use a sharp knife to make easy, even slices. Just be sure the slices aren't too thick (about ¼ inches), so they're easy to bite.
- Sandwich the slices between paper towels for at least 10 minutes before dipping them. This removes moisture from the surface because water and chocolate don't mix.
- Prep all your different pieces for each creature before you melt the chocolate. I like to set out bowls for each item. These include cookie bat wings, crushed cookie fur, licorice spider legs, almond silver fangs, chocolate chip ears, and candy eyeballs.
- Use a sharp knife to cut a small slit in the bottom of the rings, then insert the sticks. Make sure to have a paper towel handy because more juice will come out as you do this.
- Melt your chocolates according to the package directions, then use a spoon to pour melted chocolate over each side of the apple rings. Allow the chocolate to go over the edge of the apple and around the stick to seal it in better. Tap the sticks gently on the side of your bowl to remove excess chocolate.
- Place on a piece of parchment paper, then add wings, eyes, or legs. Let dry before adding other decorations.
BruCrew Tip: You can use lollipops or cookie sticks, but they fall off more easily. I found that wooden popsicle sticks were a better option.
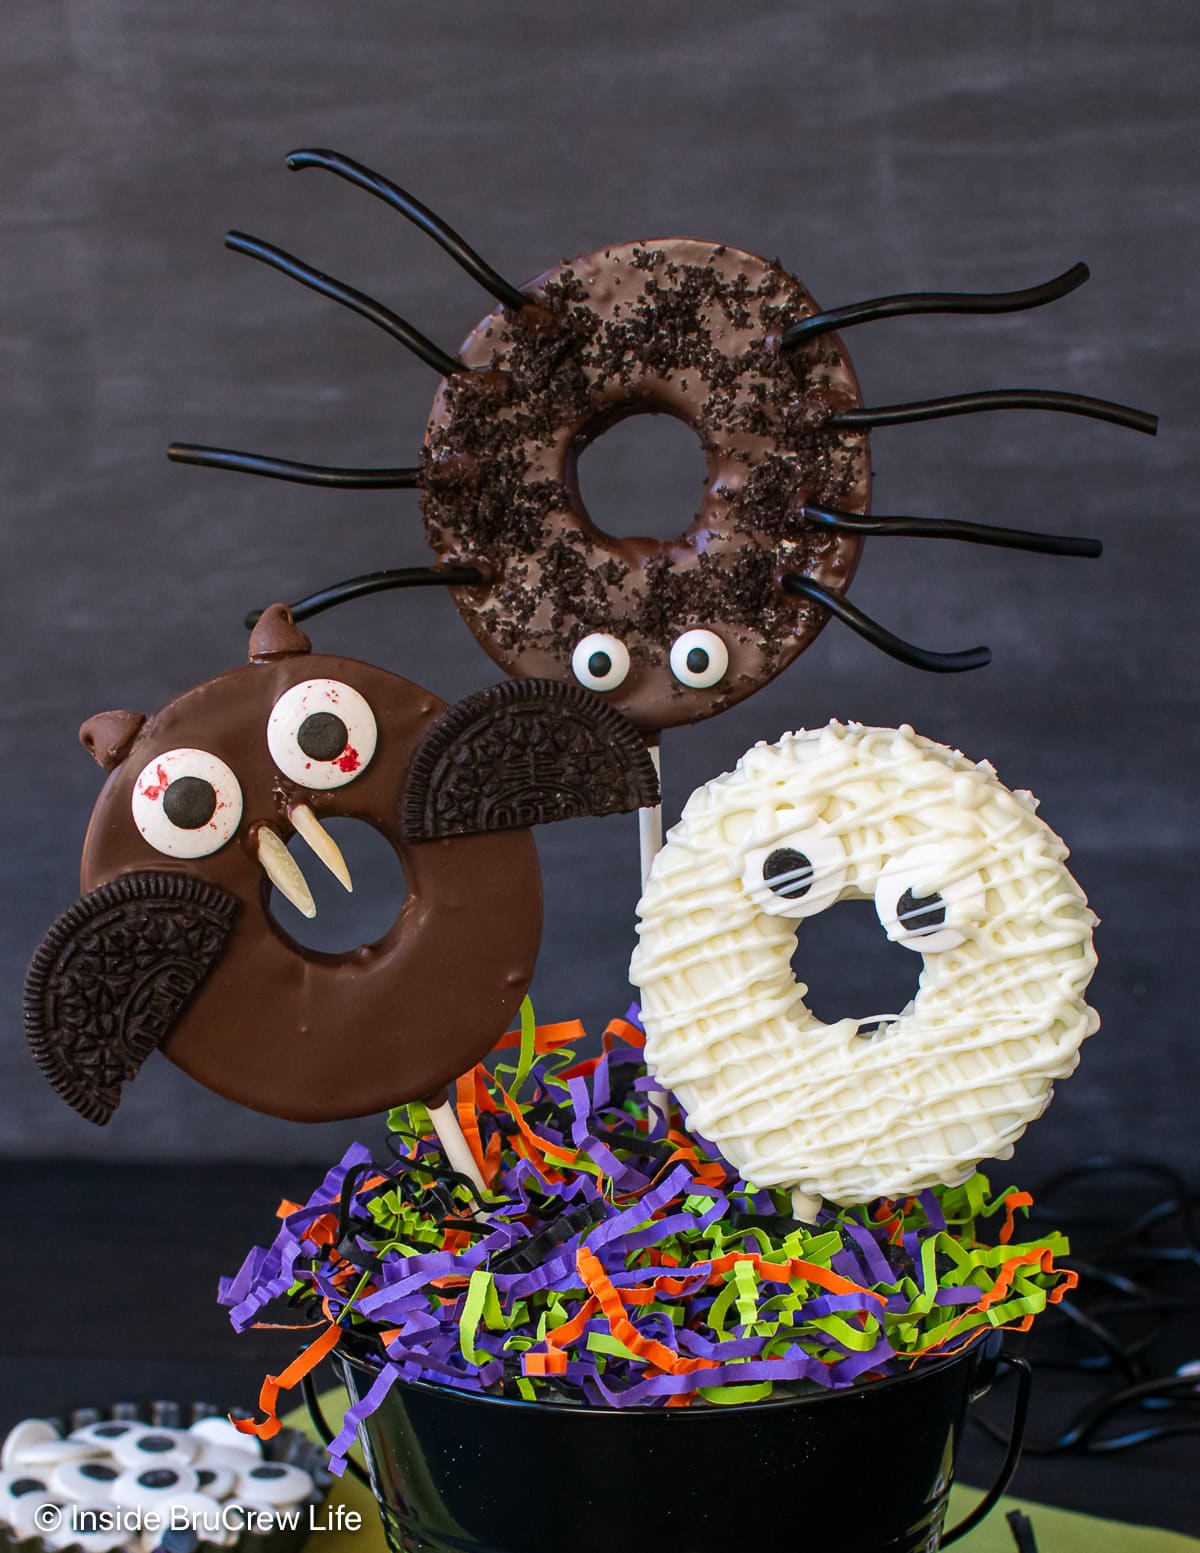
Decorating Monster Apples
Spiders
- Add the eyes and crushed cookies while the dark chocolate is still wet to give the spiders a fuzzy appearance.
- Let the chocolate set, then dip the ends of the licorice strings in chocolate and attach them to the top of the apple rings. You may also need to hold each leg briefly before it can stay alone.
Bats
- Add the eyes and wings while the chocolate is still wet.
- After the chocolate has set, add the ears and teeth. Dip the tips of the almonds and the bottoms of the chocolate chips in the chocolate and press to attach them to your bats.
Mummies
- Place the dipped apple rings on a flat surface and add the eyeballs while wet.
- Spoon the remaining melted white chocolate into a piping bag with a small round icing tip. A plastic bag with one corner cut off can also be used.
- Drizzle randomly over the tops of the rings to create mummy strips.
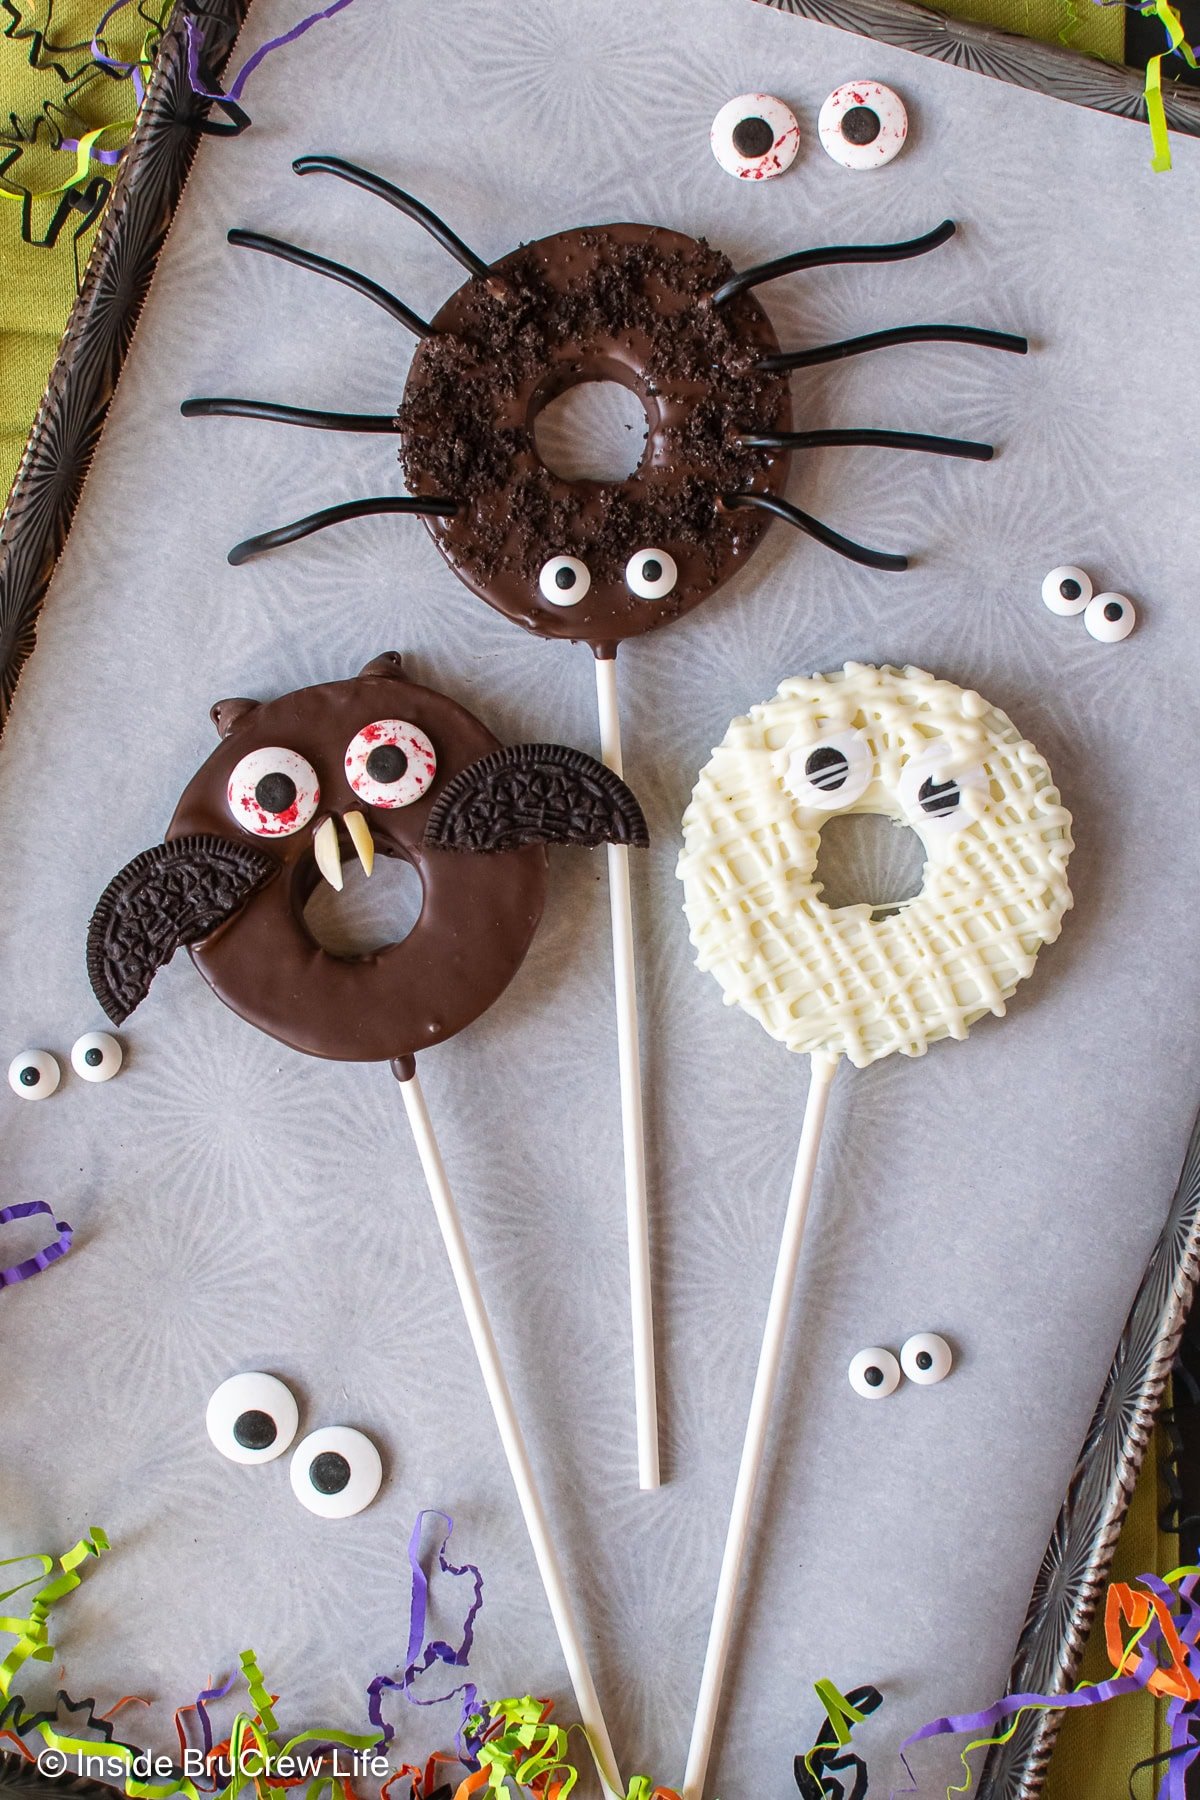
Storage Recommendations
Keep the chocolate apple slices in an airtight container in the refrigerator for a few hours. These are best served the day they are made, as the apples release moisture, causing the chocolate and decorations to fall off.
Tips and Tricks
- Choose Honeycrisp or Granny Smith apples for their crispness and tartness, which pair perfectly with chocolate.
- Slice the apples into even rings for a bite-size treat. Pat them dry with paper towels before dipping so the chocolate sticks well.
- Choose good-quality chocolate. When you melt the chocolate, add a teaspoon of coconut oil to achieve a smooth, shiny look.
- After decorating, pop the chocolate apples in the fridge for a few minutes to set the chocolate.
- To serve Halloween chocolate apples at parties, stick them into a pot filled with styrofoam. You can also wrap them in plastic bags tied with colorful string.
FAQs
They're best enjoyed fresh but can be made a few hours before. Just keep them in the fridge until you're ready to serve.
Work in small batches, dipping a few slices at a time. This allows you to add details while the chocolate is still soft.
It's unnecessary, but refrigerating helps set the chocolate faster. If you're serving them right away, you can skip this step!
More Fun Halloween Treats
Do you love a recipe you tried from Inside BruCrew Life?
Please leave a 5-star ⭐️ rating and a review in the comments section below.
Recipe
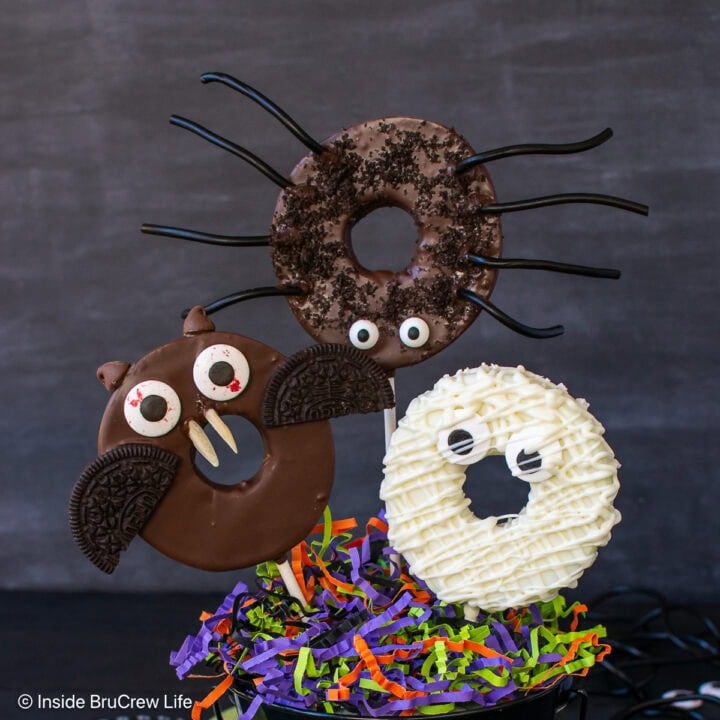
Halloween Apple Slices
Cookies and candies add a fun flair to these easy, no-bake Halloween Apple Slices. They're a fun and delicious treat for any fall or spooky party!
Ingredients
- 2-3 large apples cut into 12 slices
- 1 ½ cups dark chocolate melting wafers
- ¾ cup white chocolate melting wafers
- 3 Oreo cookies
- 8 almond slivers
- 8 mini googly candy eyes
- 16 large googly candy eyes
- 8 chocolate chips
- Black lace licorice, cut into 48 - 2 inch pieces.
Instructions
- Sandwich the apple rings between paper towels and pat dry.
- Crush one cookie into fine crumbs. Remove the filling from the other two cookies and cut each piece in half for wings.
- Use a knife to cut a small slit in the bottom of the apple rings and insert a lollipop or popsicle stick. Use the paper towels to dry the juice off.
- Melt the dark chocolate according to the package directions.
- For the spiders, add the eyes and crushed cookies while the chocolate is still wet. Dip the ends of the licorice strings in chocolate and attach them to the top of the apple rings. This works better if you wait for the chocolate on the apple rings to set up slightly. You may also need to hold the leg for a few seconds before it is able to stand by itself. Add a little bit of crushed cookie over the chocolate-dipped end to make it blend in better.
- For the bats, add the eyes and wings while the chocolate is still wet. Wait to add the chocolate chips and almond slivers until the chocolate has set up.
- Dip the tips of the almonds and the bottom of the chocolate chips in the chocolate and press to attach them to your bats.
- Melt the white chocolate according to the package directions.
- For the mummies, place the dipped apple rings on the tray and press the eyeballs in while wet. After you have dipped all four rings, spoon the remaining chocolate into a baggie and cut a small tip off. Drizzle randomly over the tops of the rings to create mummy strips.
- To serve these fun chocolate-dipped Halloween apple rings, press the sticks into a pot filled with styrofoam or wrap them in plastic baggies and brightly colored string.
Recommended Products
As an Amazon Associate and member of other affiliate programs, I earn from qualifying purchases.
Nutrition Information:
Yield: 12 Serving Size: 1Amount Per Serving: Calories: 616Total Fat: 24gSaturated Fat: 13gTrans Fat: 0gUnsaturated Fat: 8gCholesterol: 5mgSodium: 185mgCarbohydrates: 101gFiber: 5gSugar: 68gProtein: 5g
Nutrition facts are an estimate and are not guaranteed to be accurate. If you need special diet advice, please see a registered dietician.
This post was first published in October 2017. It was updated and then republished in October 2024.



Melissa says
These are just the cutest, Jocelyn!!
Jocelyn says
Thank you 🙂 They were fun to make!
Aimee @ShugarySweets says
You make the cutest halloween treats! LOVE that you used crunch pak apple rings for these 🙂 YUM!