


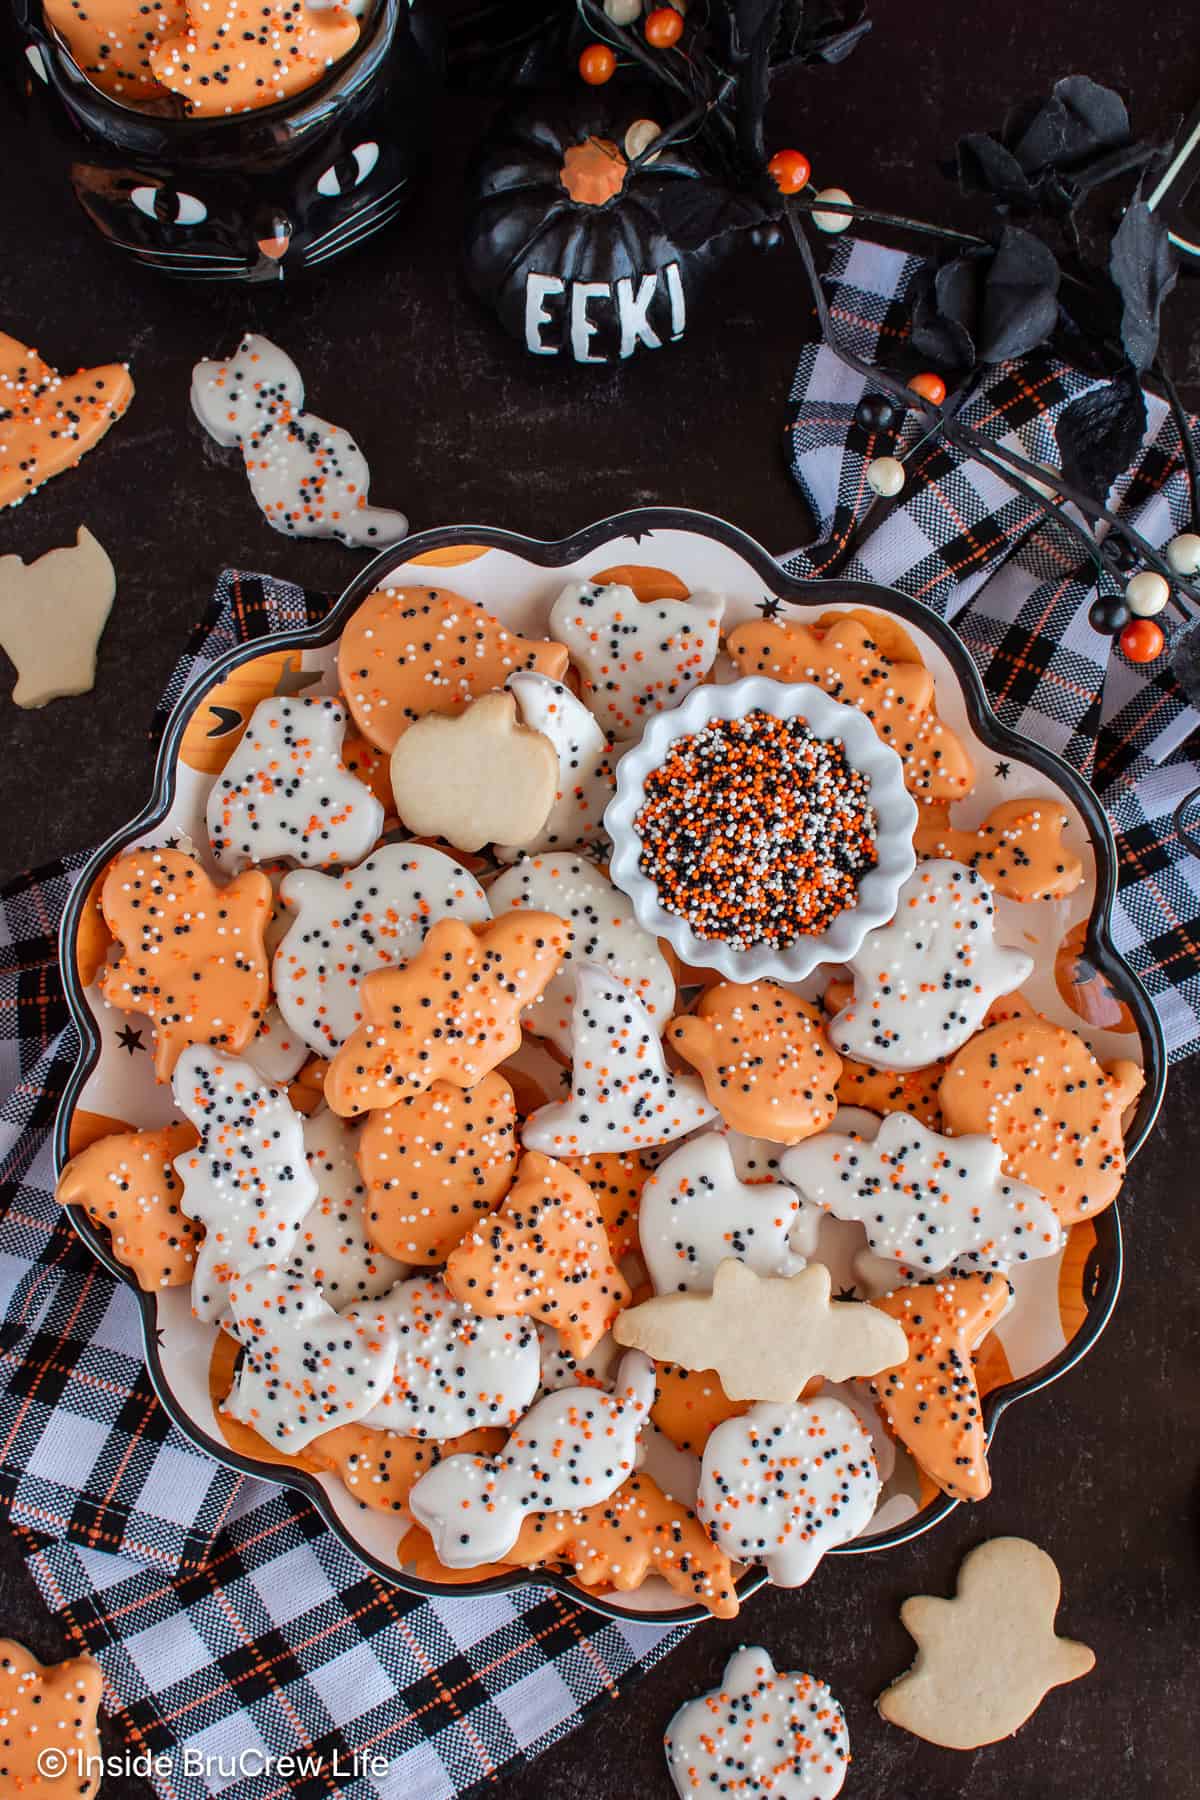
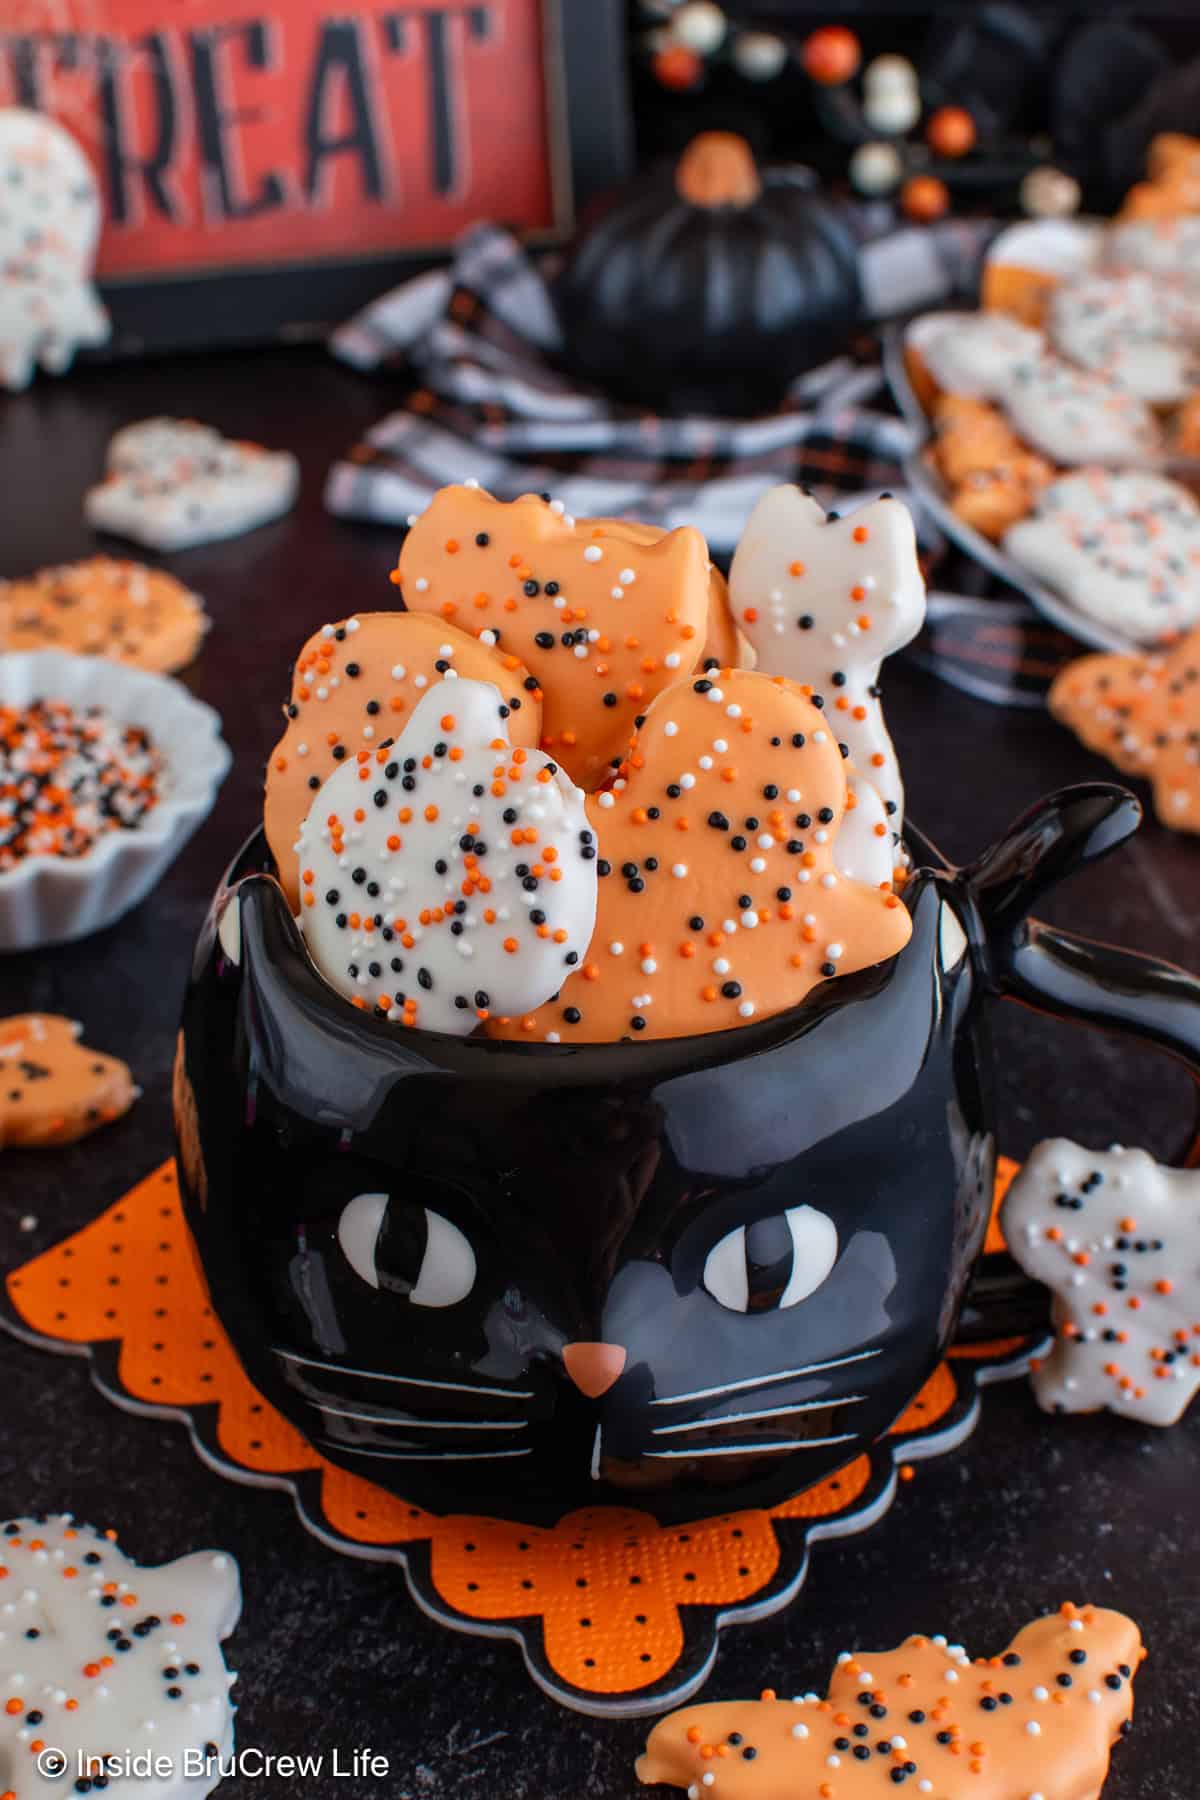
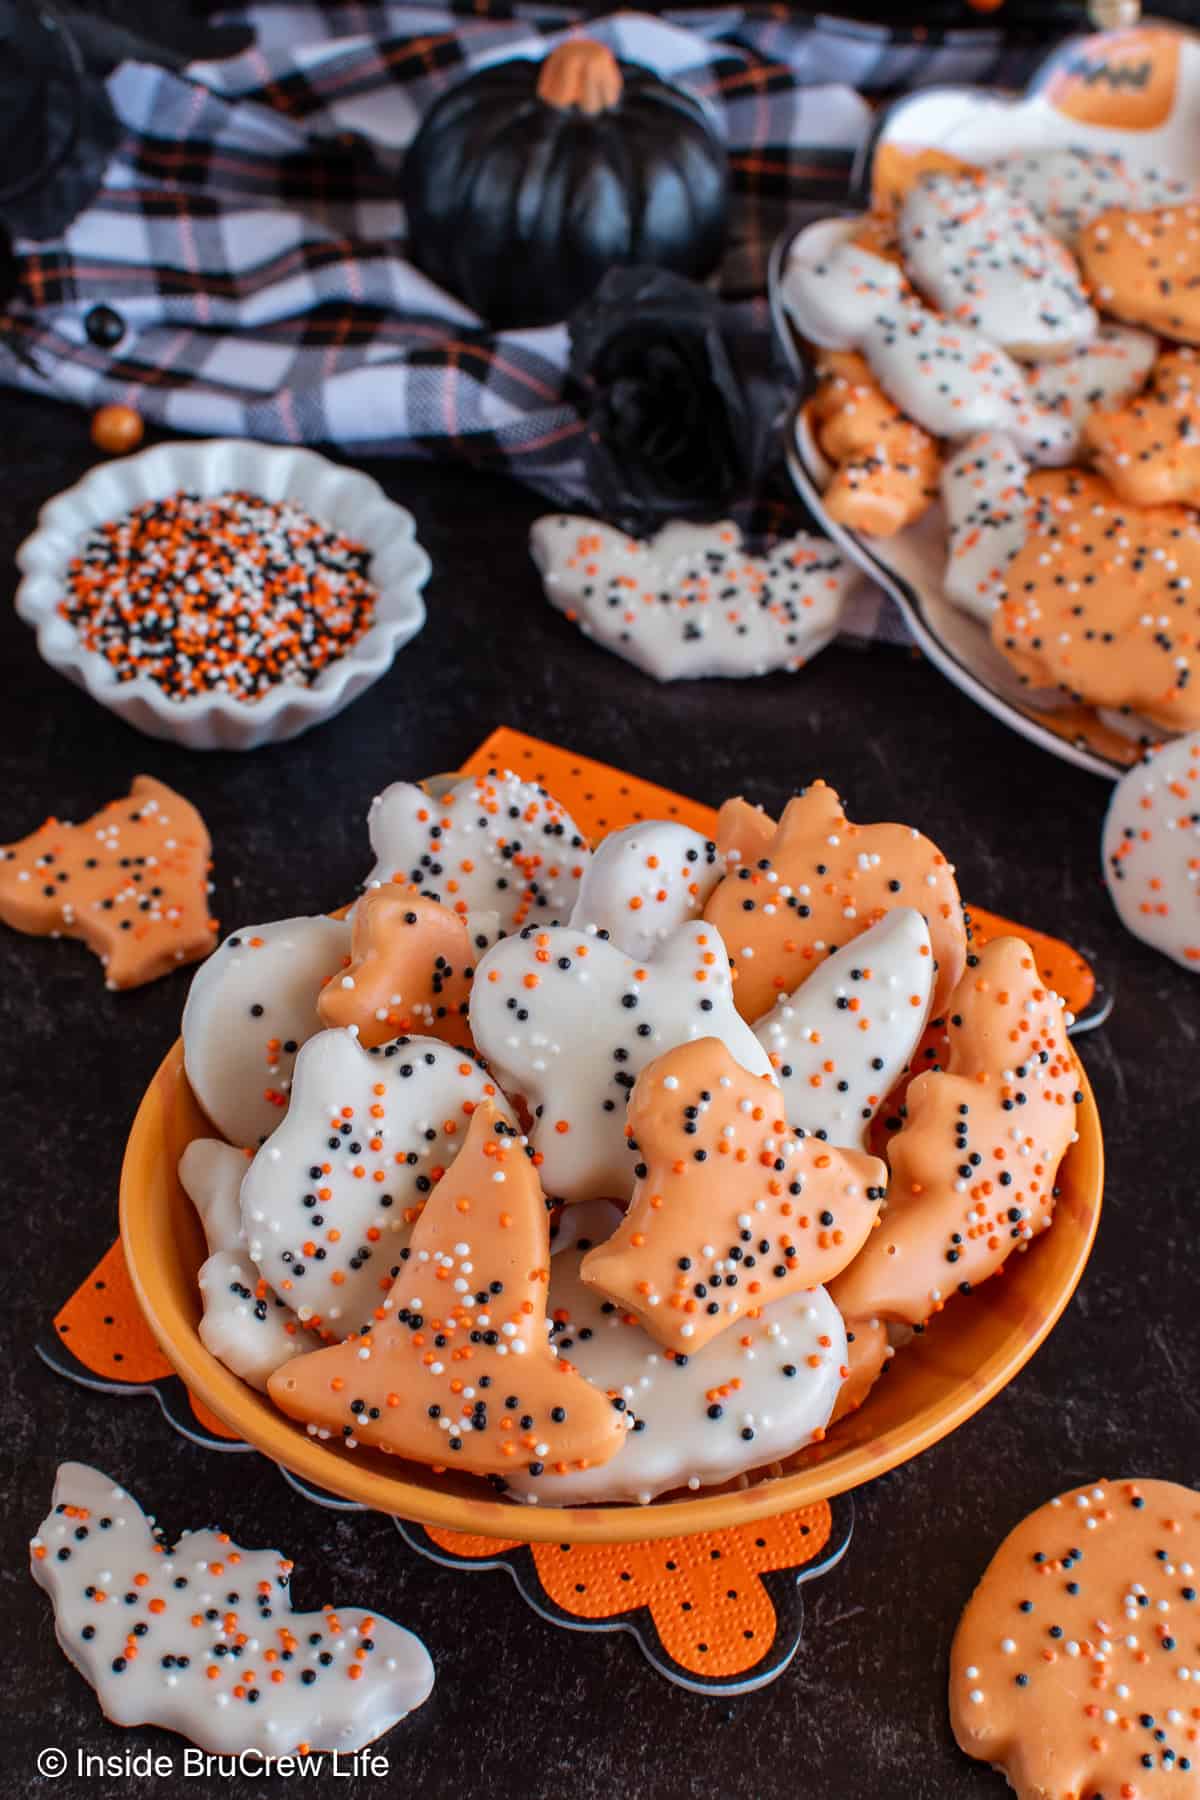
These Halloween Frosted Animal Cookies are dipped in white and orange candy melts and topped with colorful sprinkles for a fun, festive treat! They're perfect for Halloween parties, school events, or adding to treat bags for friends and family.
Jump to:
I love making Halloween recipes, and every year I try to add something new and fun to my spooktacular lineup. This year I saw the Eerie Critters Cookies at Target and immediately knew I wanted to make a homemade version. Sure, I could have just bought a bag, but where is the fun in that?
After ordering some new cookie cutters from Amazon and pulling out some Wilton ones I already had, I chose a cat, ghosts, a pumpkin, a skull, and a witch hat for the spooky season.
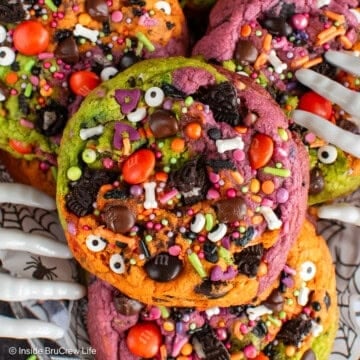
Starting with my Halloween Oreo cookies and leaving out the cocoa powder gave me a simple vanilla dough that holds its shape while baking. Once they cooled, I dipped them in chocolate and added holiday nonpareils. They turned out just like the store-bought version, but honestly, the homemade ones tasted better!
Why You'll Love These Halloween Animal Cookies
- A fun holiday twist. The white and orange candy coating and colorful sprinkles turn these spooky cookies into a boo-tiful treat.
- Easy to decorate. Dipping and decorating are fun activities, and kids will love helping with the sprinkles.
- Perfect for Halloween parties. Add them to a dessert table, tuck them into treat bags, or share on a Halloween-themed charcuterie board.
Ingredients Needed
These Halloween frosted animal cookies use simple baking ingredients for the dough, plus candy melts and sprinkles for a spooky look. Scroll down to the printable recipe card for the exact amounts.
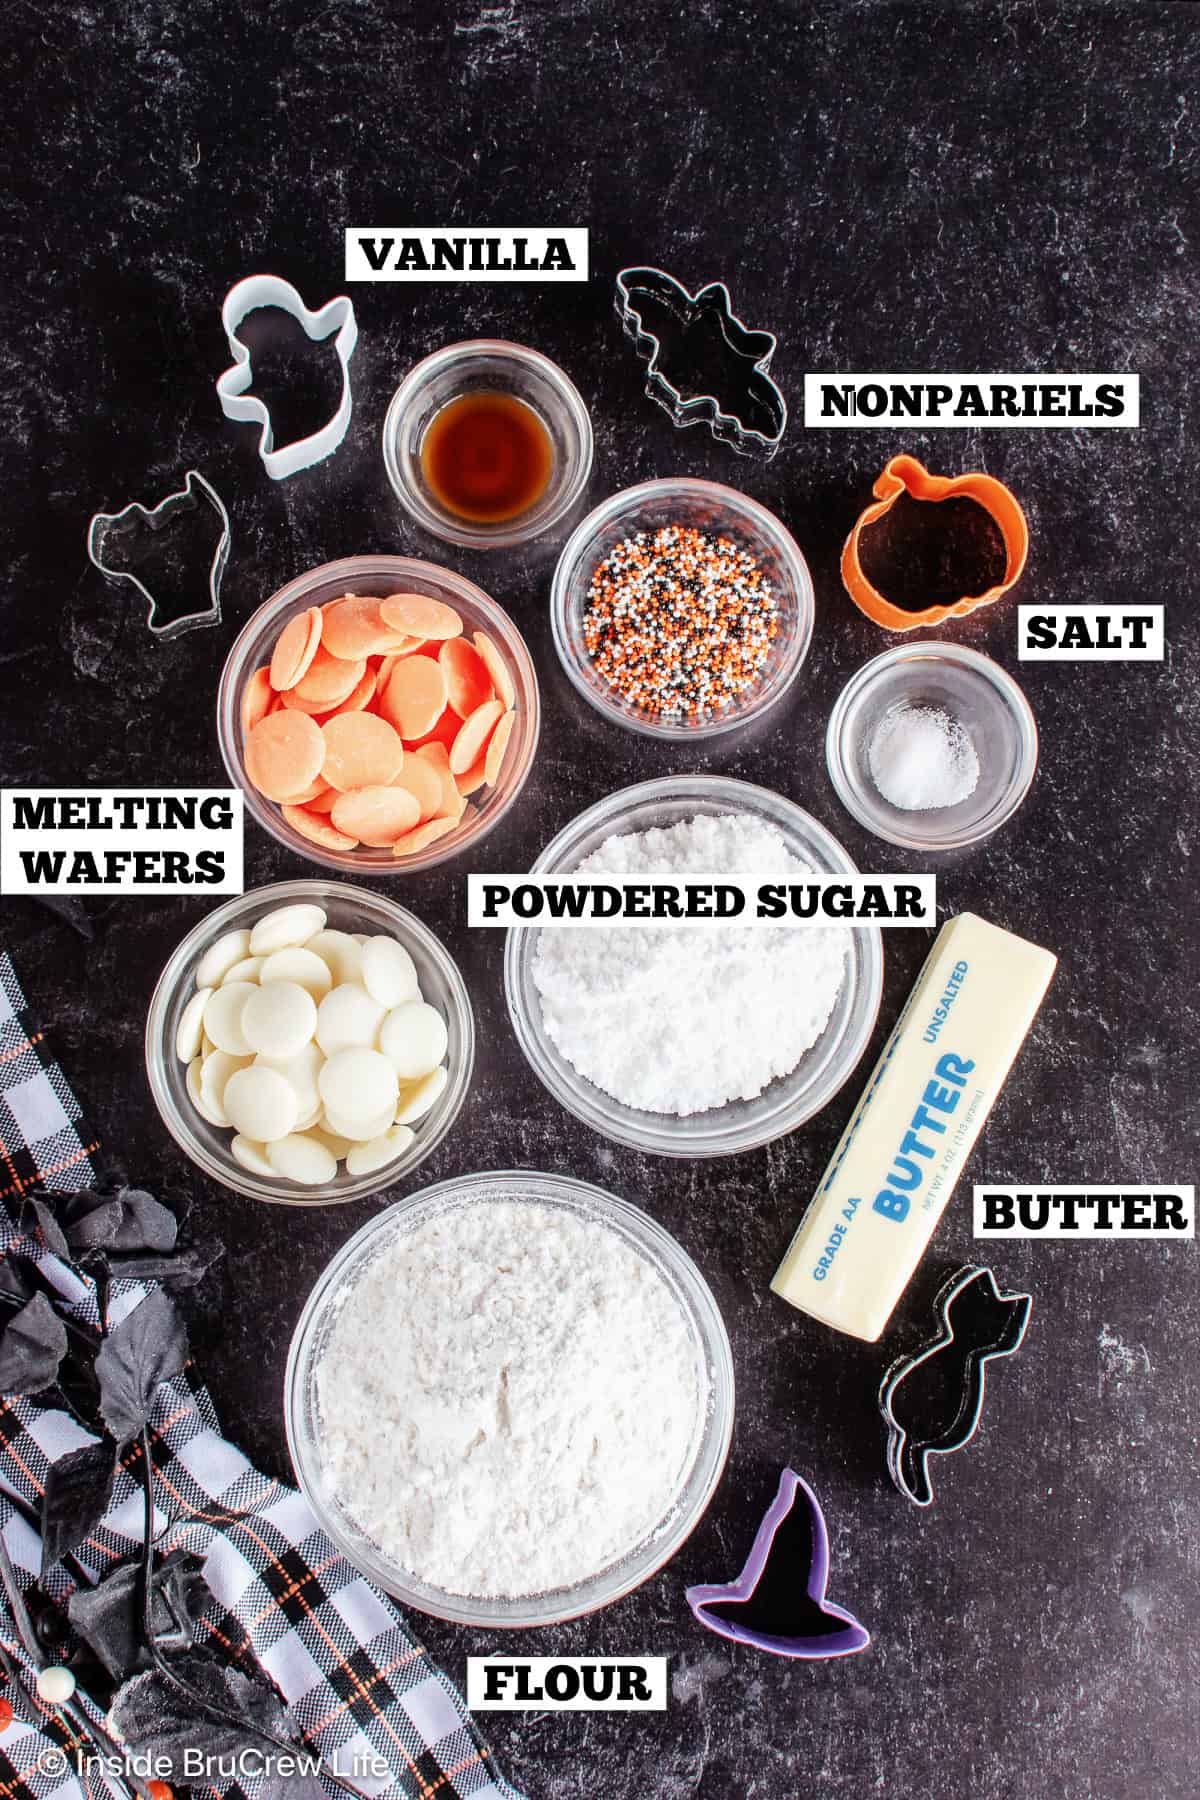
- Unsalted Butter: Softened butter keeps the dough tender. Let it sit at room temperature for about 30 minutes before mixing.
- Powdered Sugar: Sweetens the dough and keeps the cookies soft.
- Vanilla Extract and Salt: Add flavor and balance the sweetness.
- All-Purpose Flour: Gives the dough structure and helps it hold its shape during baking.
- White and Orange Melting Wafers: These two colors give the cookies their fun holiday look. You can usually find them at craft stores and Walmart.
- Nonpareils: I used the white, orange, and black blend for a fun finishing touch. Add them while the chocolate is still wet, so they stick.
Cookie Variations
- Use different cookie cutters. Most small cutters will work, so feel free to use the shapes you already have. You can even make these for other occasions with stars, hearts, or circus animal shapes.
- Change the colors and sprinkles. Use different color candy melts and rainbow sprinkles to match your themes and celebrations.
How To Make Frosted Animal Cookies
Making these frosted animal crackers is fun, and decorating them is definitely the best part. Check out these easy step-by-step instructions.
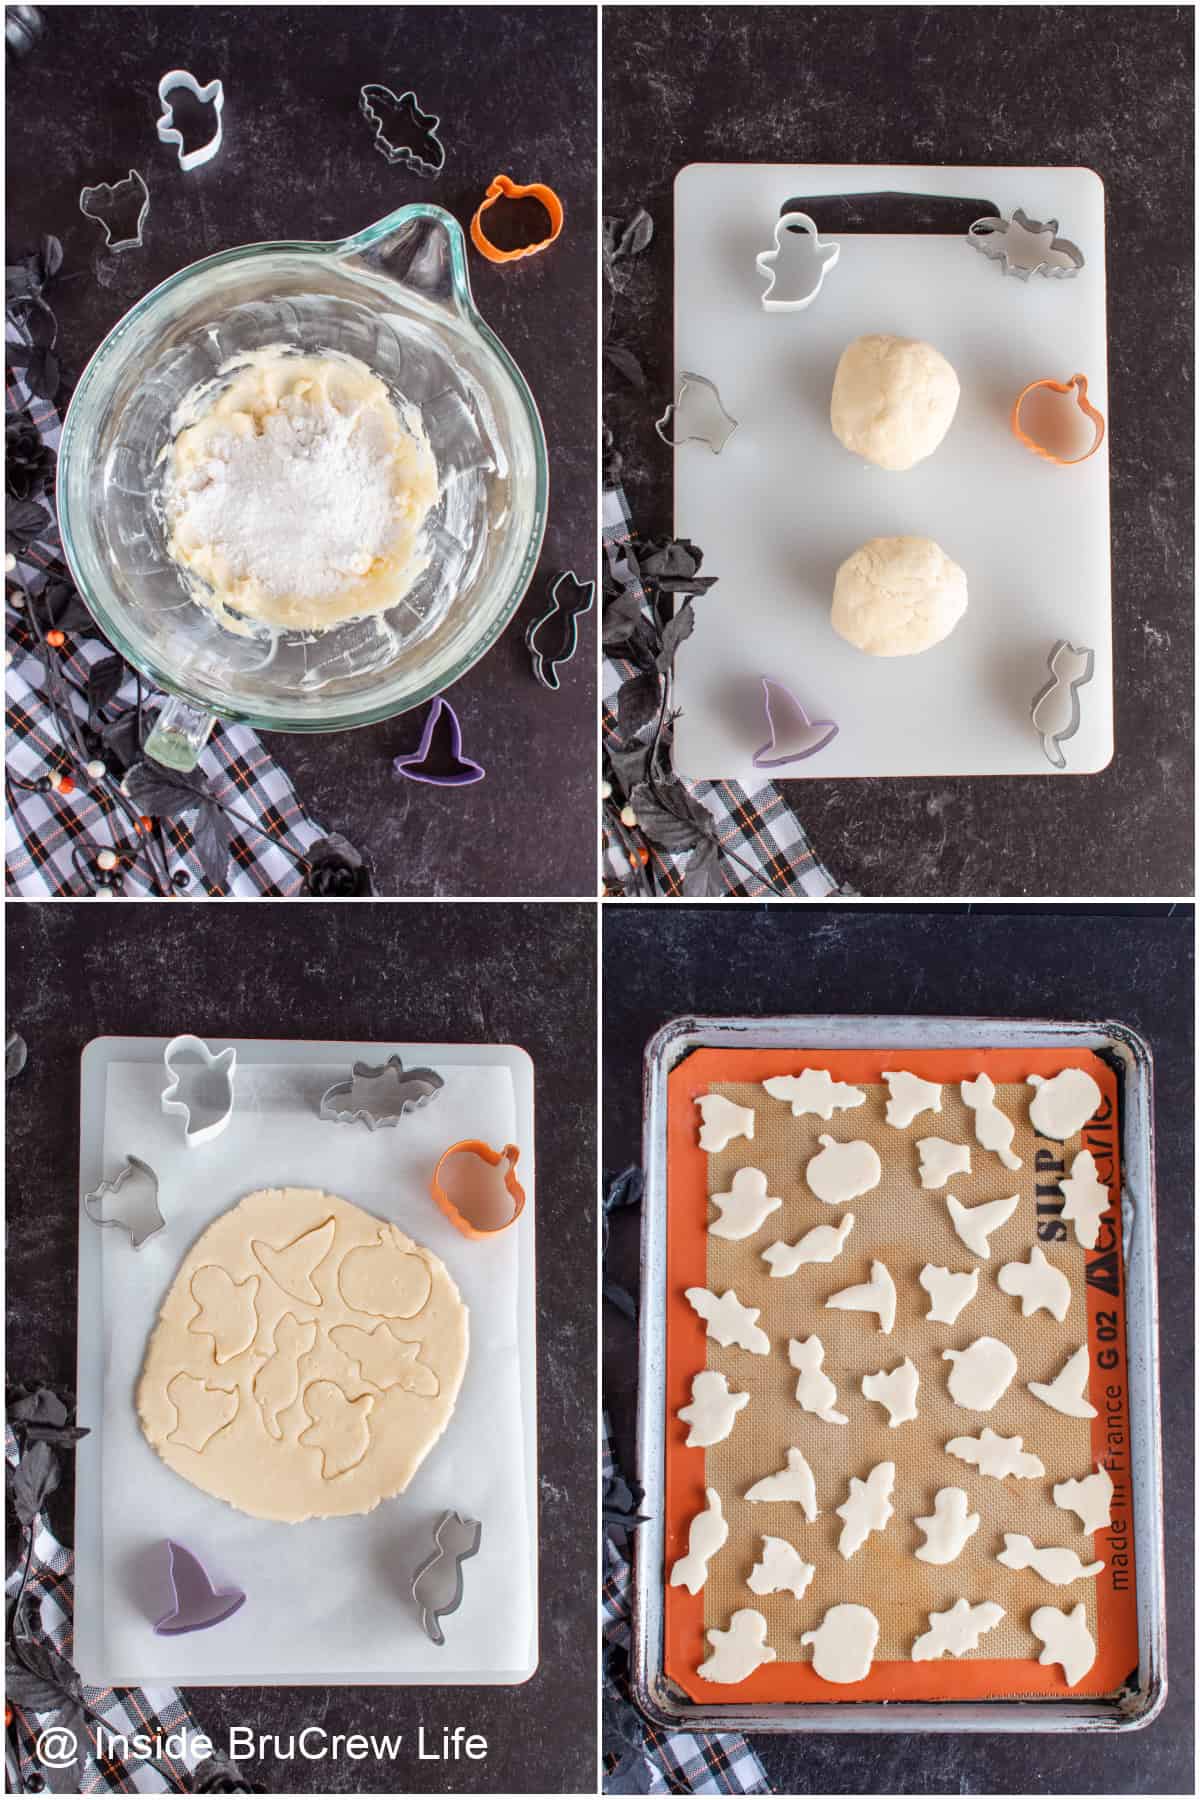
- Make the dough. Beat the softened butter and sugar in a large bowl until creamy. Mix in the vanilla and salt, then gradually add the flour until the dough comes together. Wrap it in plastic wrap and chill for at least an hour.
- Cut and bake. Roll the chilled dough on a lightly floured surface to about ¼ inch thick. Cut into small shapes, then place on a prepared baking sheet. Bake until the edges are just barely golden.
- Melt the candy wafers. Place the orange and white chocolates in separate bowls, heat according to the package directions, then stir until smooth.
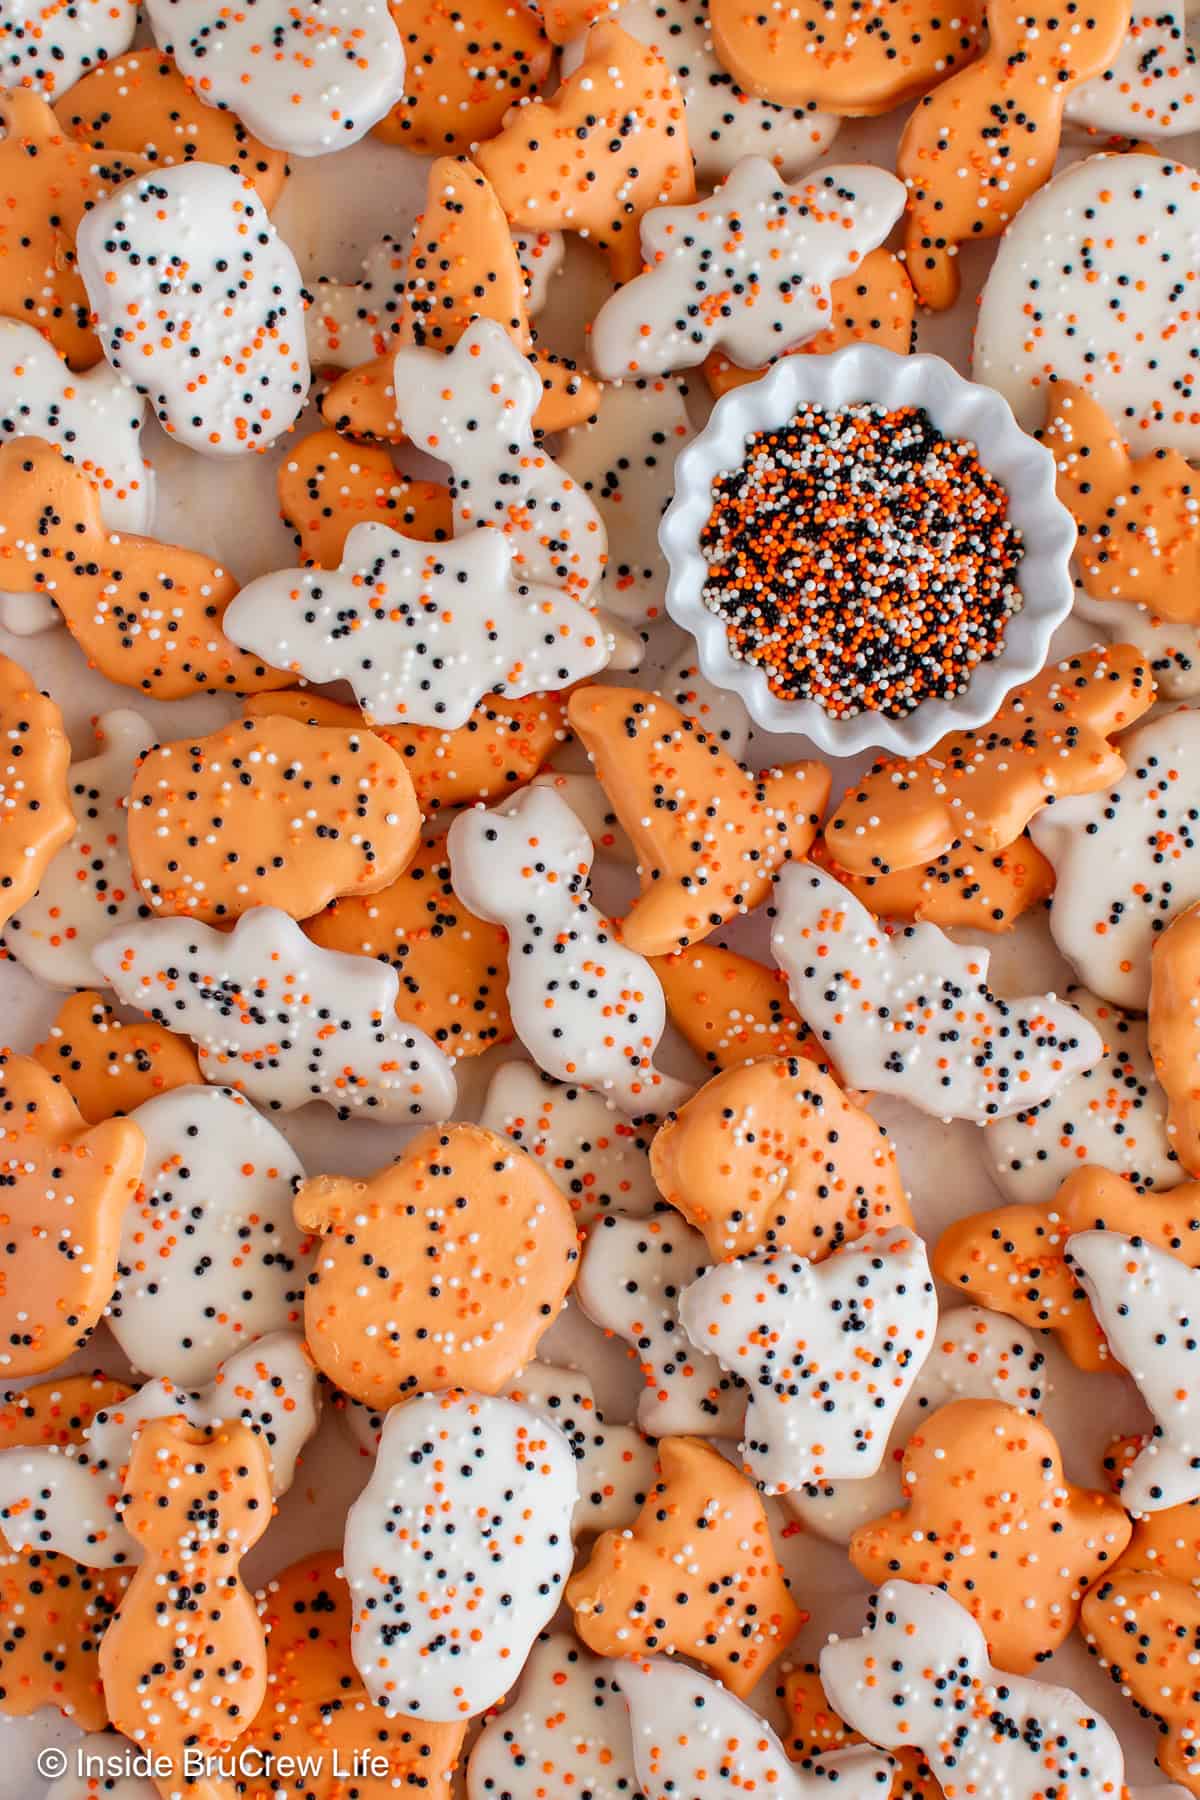
- Dip and decorate. Use a fork to dip each cookie in the melted candy. Let the excess drip off, then place on parchment paper. Add the sprinkles right away.
BruCrew Tips
- Use small cookie cutters. I used cutters that were 1 ½-2 inches wide and long. Smaller cookies are easier to dip and look like the store-bought ones.
- Don't overbake! The cookies should stay pale with just barely golden edges. They will firm up as they cool.
- Use candy melting wafers. The wafers melt smoothly and don't need tempering.
- Have your sprinkles ready. The candy coating sets quickly, so keep the nonpareils nearby and add them right after you dip each cookie.
Storing and Freezing
Store the coated cookies in an airtight container at room temperature for up to 5 days. Separate the cookies with sheets of parchment paper to keep them from sticking. If you live in a hot, humid climate like Florida, refrigerate them.
For longer storage, you can also freeze the cookies in a freezer-safe bag for up to 2 months. Thaw them in the fridge overnight before serving.
FAQs
Candy melting wafers are a better option because they melt smoothly and set up better.
Yes. You can prepare the dough, wrap it tightly in plastic wrap, and refrigerate it until you are ready to roll and cut the cookies. Let it sit at room temperature briefly if it's too firm to roll out at first.
More Fun Halloween Recipes



Do you love a recipe you tried from Inside BruCrew Life?
Please leave a 5-star ⭐️ rating and a review in the comments section below.
Recipe

Halloween Frosted Animal Cookies
These Halloween Frosted Animal Cookies are dipped in white and orange candy melts and topped with colorful sprinkles for a fun, festive treat! They're perfect for parties, school events, or adding to treat bags.
Ingredients
- ½ cup unsalted butter, softened
- ½ cup powdered sugar
- 1 teaspoon vanilla extract
- ¼ teaspoon table salt
- 1 cup all purpose flour + 2 tablespoons
- Orange and White melting wafers
- Halloween nonpareils
Instructions
- Beat the butter and sugar in a large bowl until creamy. Add the vanilla and salt then gradually mix in the flour until the dough forms.
- Divide the dough into 2 balls. Wrap it in plastic wrap and refrigerate for 30-60 minutes.
- Preheat oven to 350°F. Place a Silpat or parchment paper on a baking sheet.
- Place one ball on a lightly floured surface and roll out to ¼ inch thick. Cut out shapes. Reroll scraps and cut more.
- Place shapes on the prepared pan. Refrigerate while you are rolling and cutting out the 2nd ball.
- Place the pan in the preheated oven and bake for 9-10 minutes. Cool on the hot pan for 5 minutes, then transfer to a wire rack to cool completely.
- Place the orange and white candy wafers in 2 separate bowls. Melt in the microwave according to the package directions. Stir until smooth and creamy.
- Use a fork to dip one cookie at a time in your desired color. Tap the fork on the bowl to remove the excess chocolate, then place on a piece of parchment paper. Add sprinkles immediately before the chocolate sets.
Notes
- Use small cookie cutters. I used cutters that were 1 ½-2 inches wide and long. Smaller cookies are easier to dip and look like the store-bought ones.
- Don't overbake! The cookies should stay pale with just barely golden edges. They will firm up as they cool.
- Use candy melting wafers. The wafers melt smoothly and don't need tempering.
- Have your sprinkles ready. The candy coating sets quickly, so keep the nonpareils nearby and add them right after you dip each cookie.
Recommended Products
As an Amazon Associate and member of other affiliate programs, I earn from qualifying purchases.


Nutrition Information:
Yield: 8 Serving Size: 5 cookiesAmount Per Serving: Calories: 248Total Fat: 12gSaturated Fat: 7gUnsaturated Fat: 5gCholesterol: 30mgSodium: 74mgCarbohydrates: 31gFiber: 1gSugar: 7gProtein: 3g
Nutrition facts are an estimate and are not guaranteed to be accurate. If you need special diet advice, please see a registered dietician.
Leave a Reply