


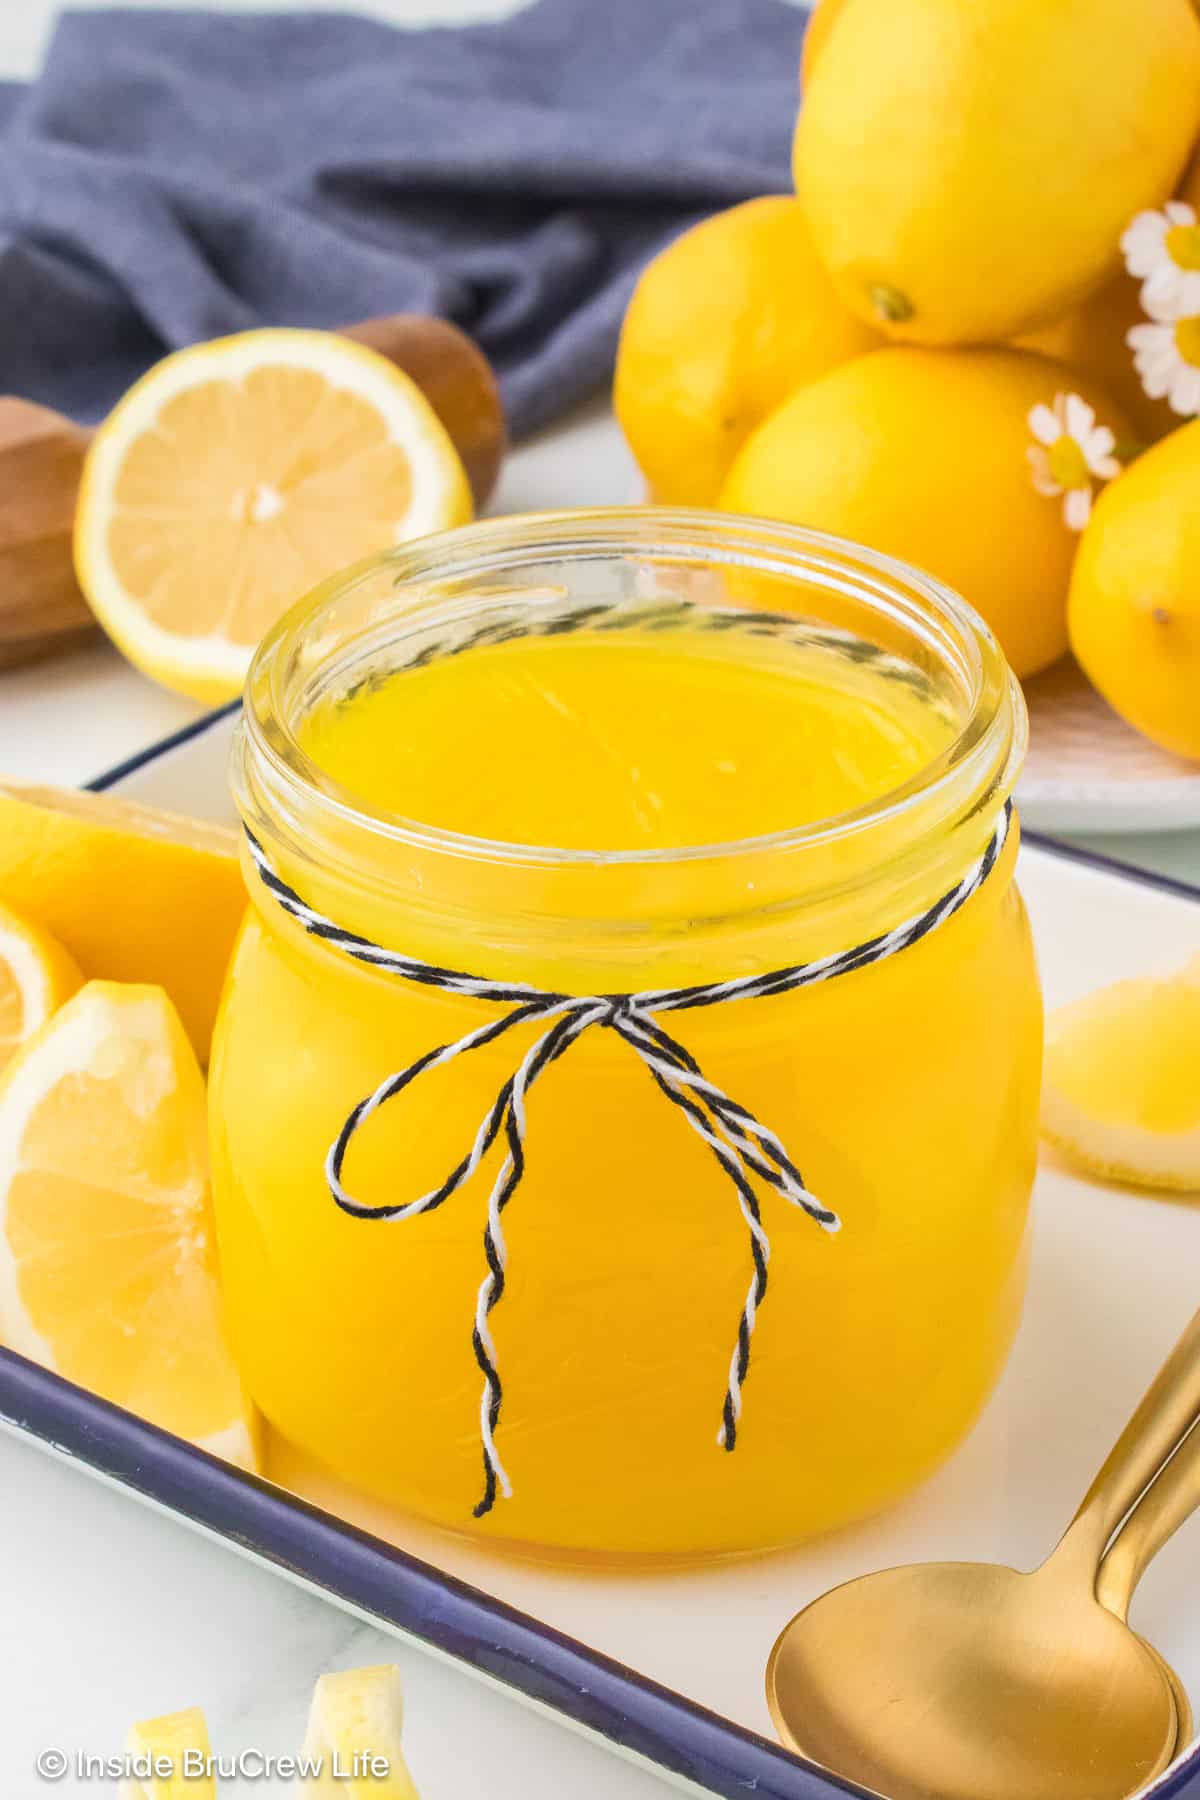
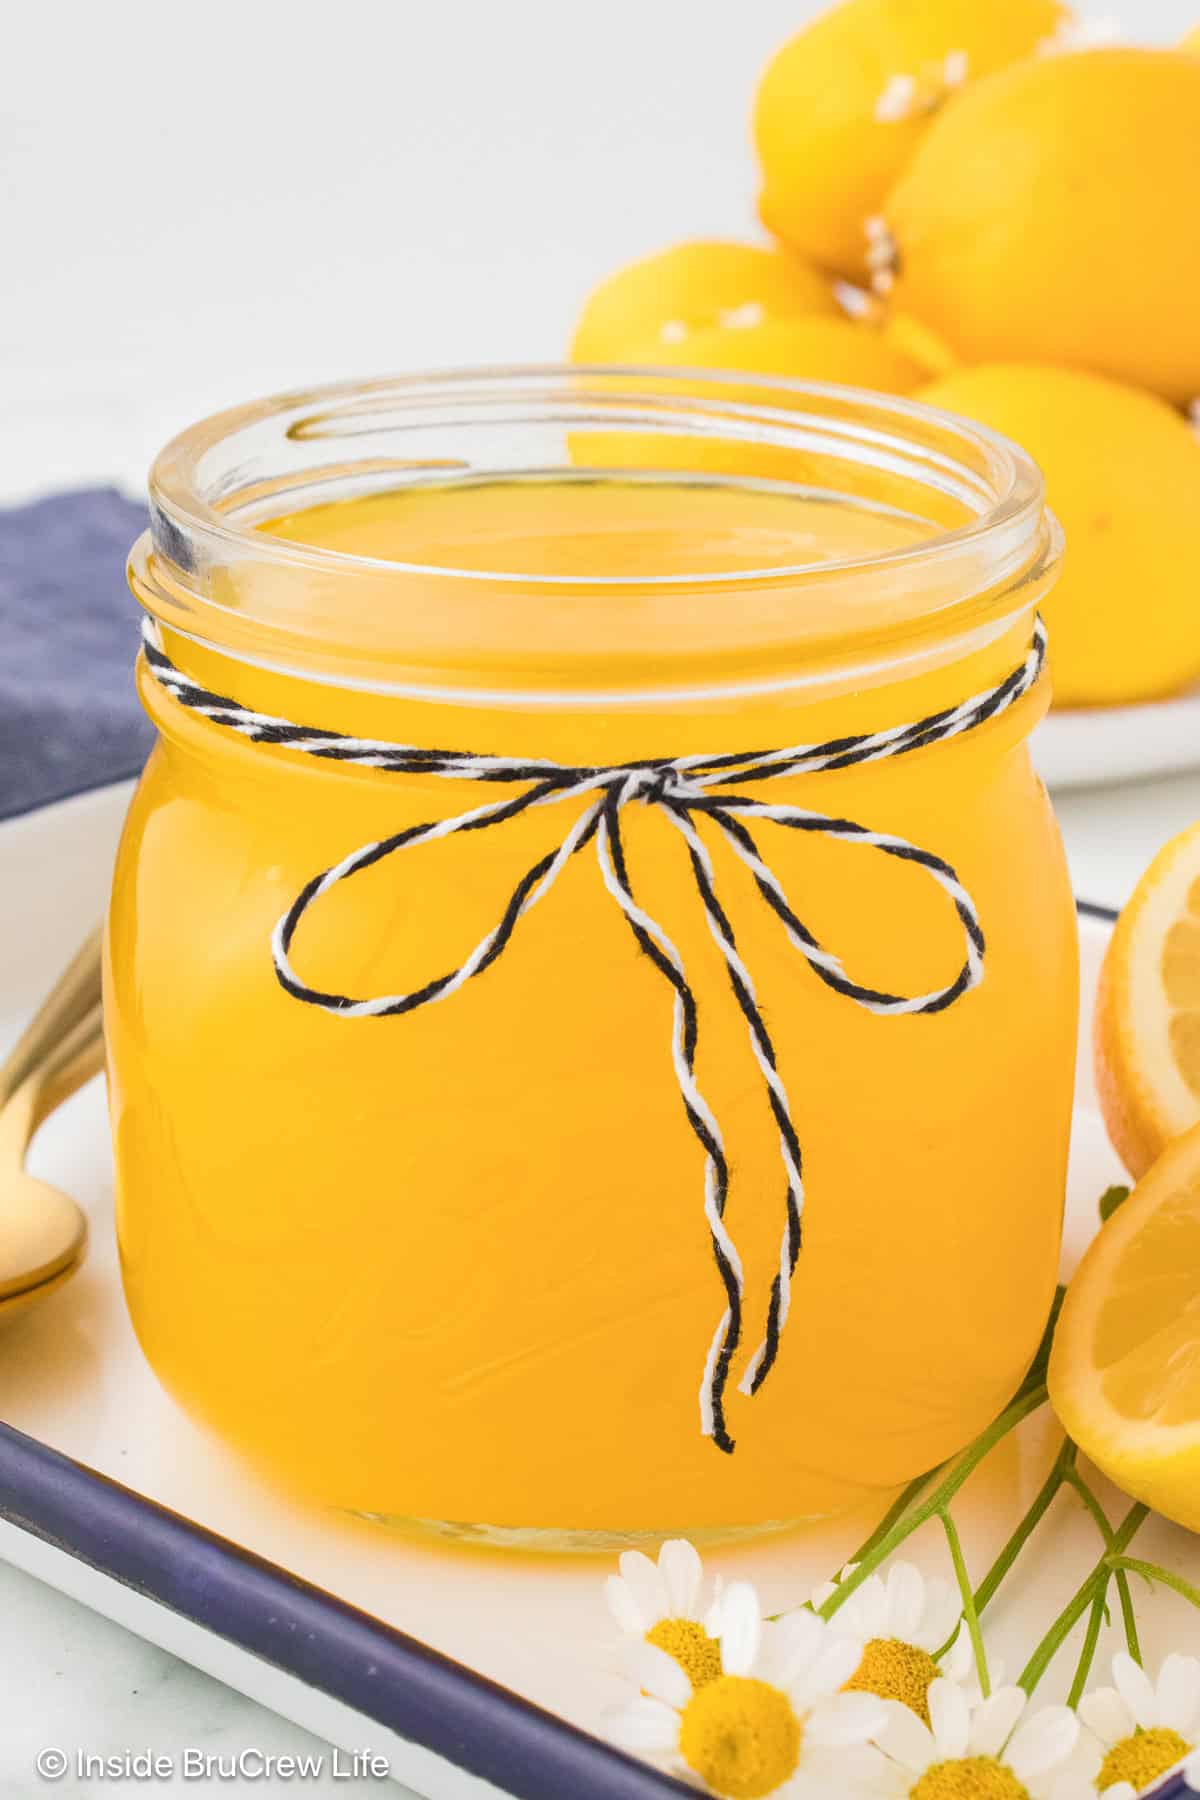
This homemade lemon pie filling is made with fresh lemon juice and zest and comes together on the stovetop in minutes. Skip the canned filling and make this easy recipe instead. Perfect for pies, tarts, cupcakes, and so much more!
Jump to:
Finding lemon pie filling at the store is hit-or-miss, so I decided to just make my own. Turns out it comes together on the stovetop in minutes, and the fresh lemon flavor is absolutely worth it.
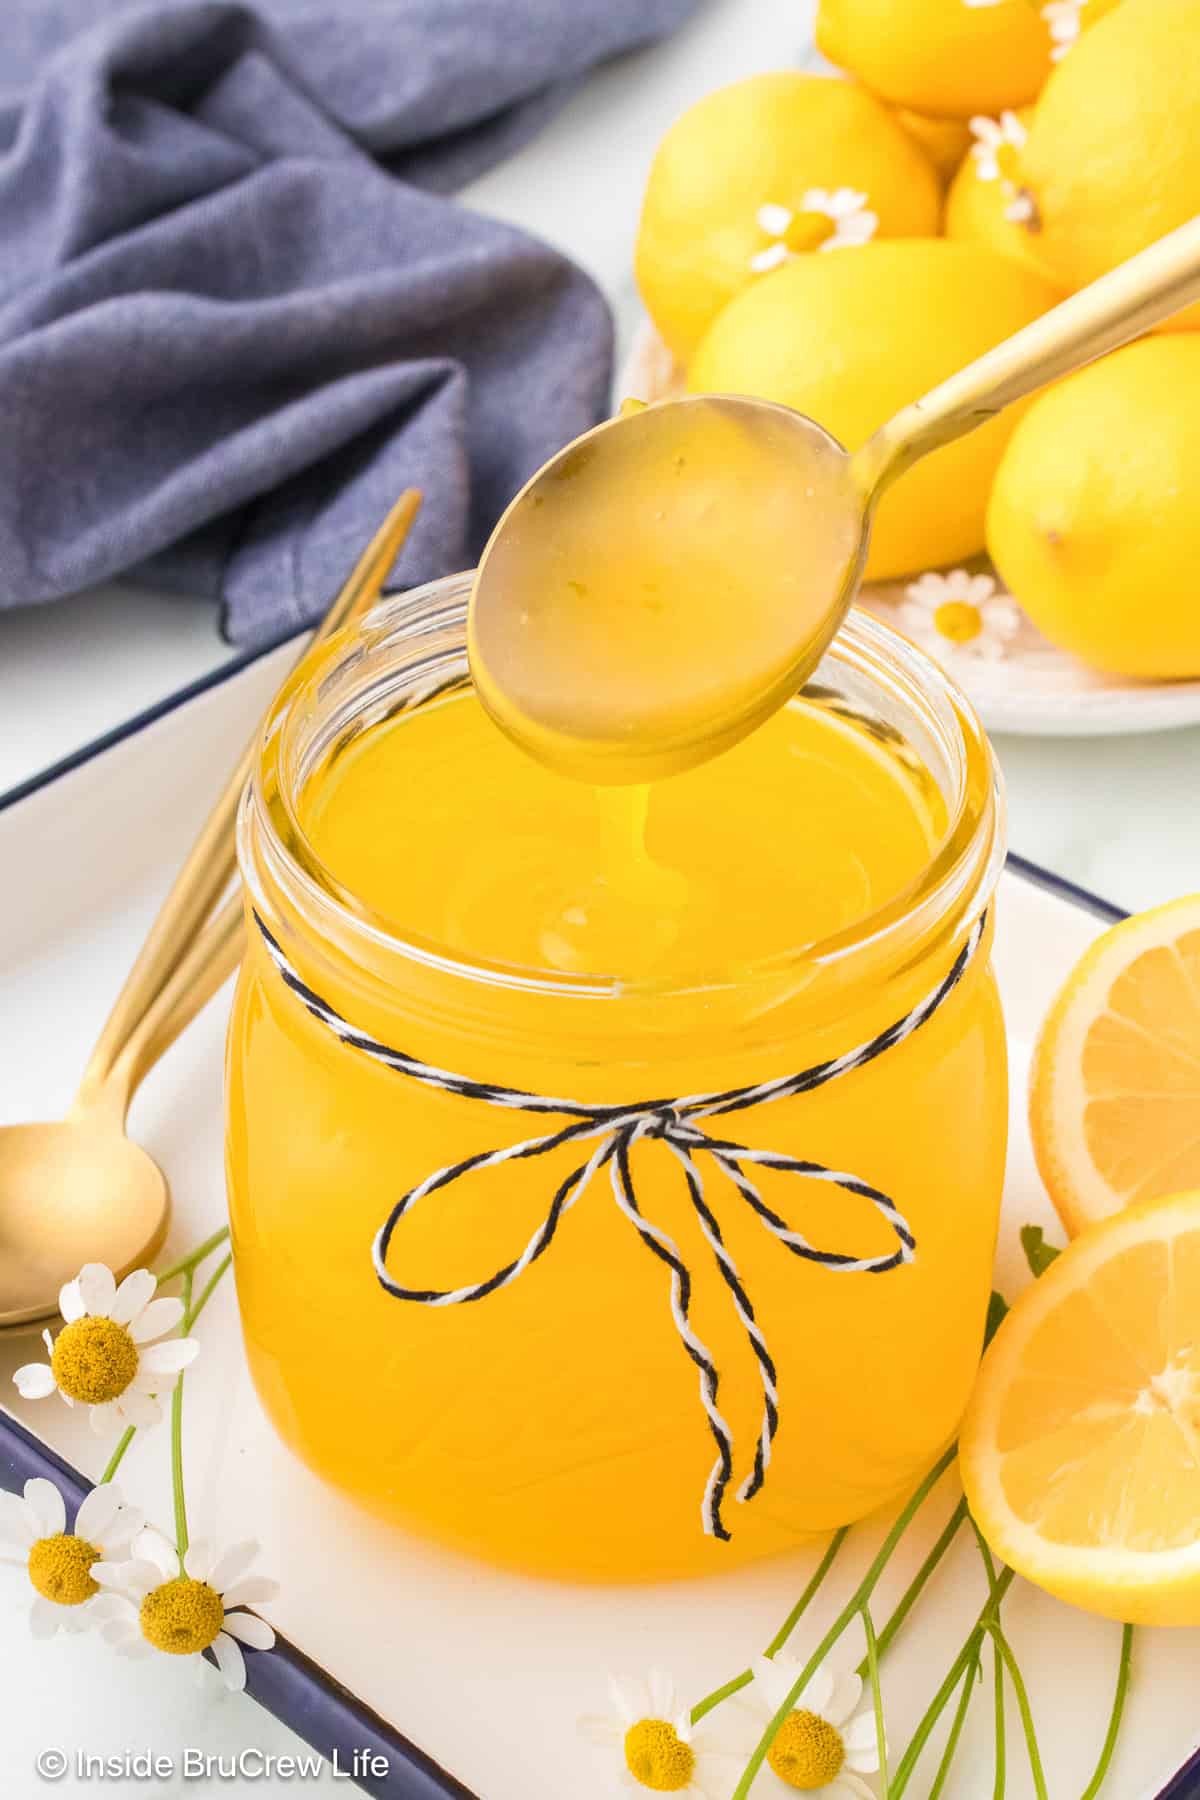
Now I always make homemade whenever a recipe calls for lemon filling. Once you taste how bright and fresh it is, you will never look for the canned version again.
I first made this filling as a layer in my lemon supreme pie. It was so good, I knew it needed its own post. Whether you are making a classic lemon pie or lemon parfaits, this is a great citrus topping. Trust me, you will want to keep it on hand.
Why You'll Love This Lemon Filling
- Better than store-bought. Fresh lemon juice gives this filling a bright, bold citrus flavor that canned filling lacks.
- Ready in minutes. This filling comes together quickly on the stovetop and is ready to use once it cools.
- So versatile. Use it in pies, tarts, parfaits, and more. Once you have a batch in the fridge, the possibilities are endless.
Ingredients Needed
You only need a few simple ingredients and some fresh lemons to make this bright and delicious lemon filling from scratch. Scroll down to the recipe card to see the amounts and complete instructions.
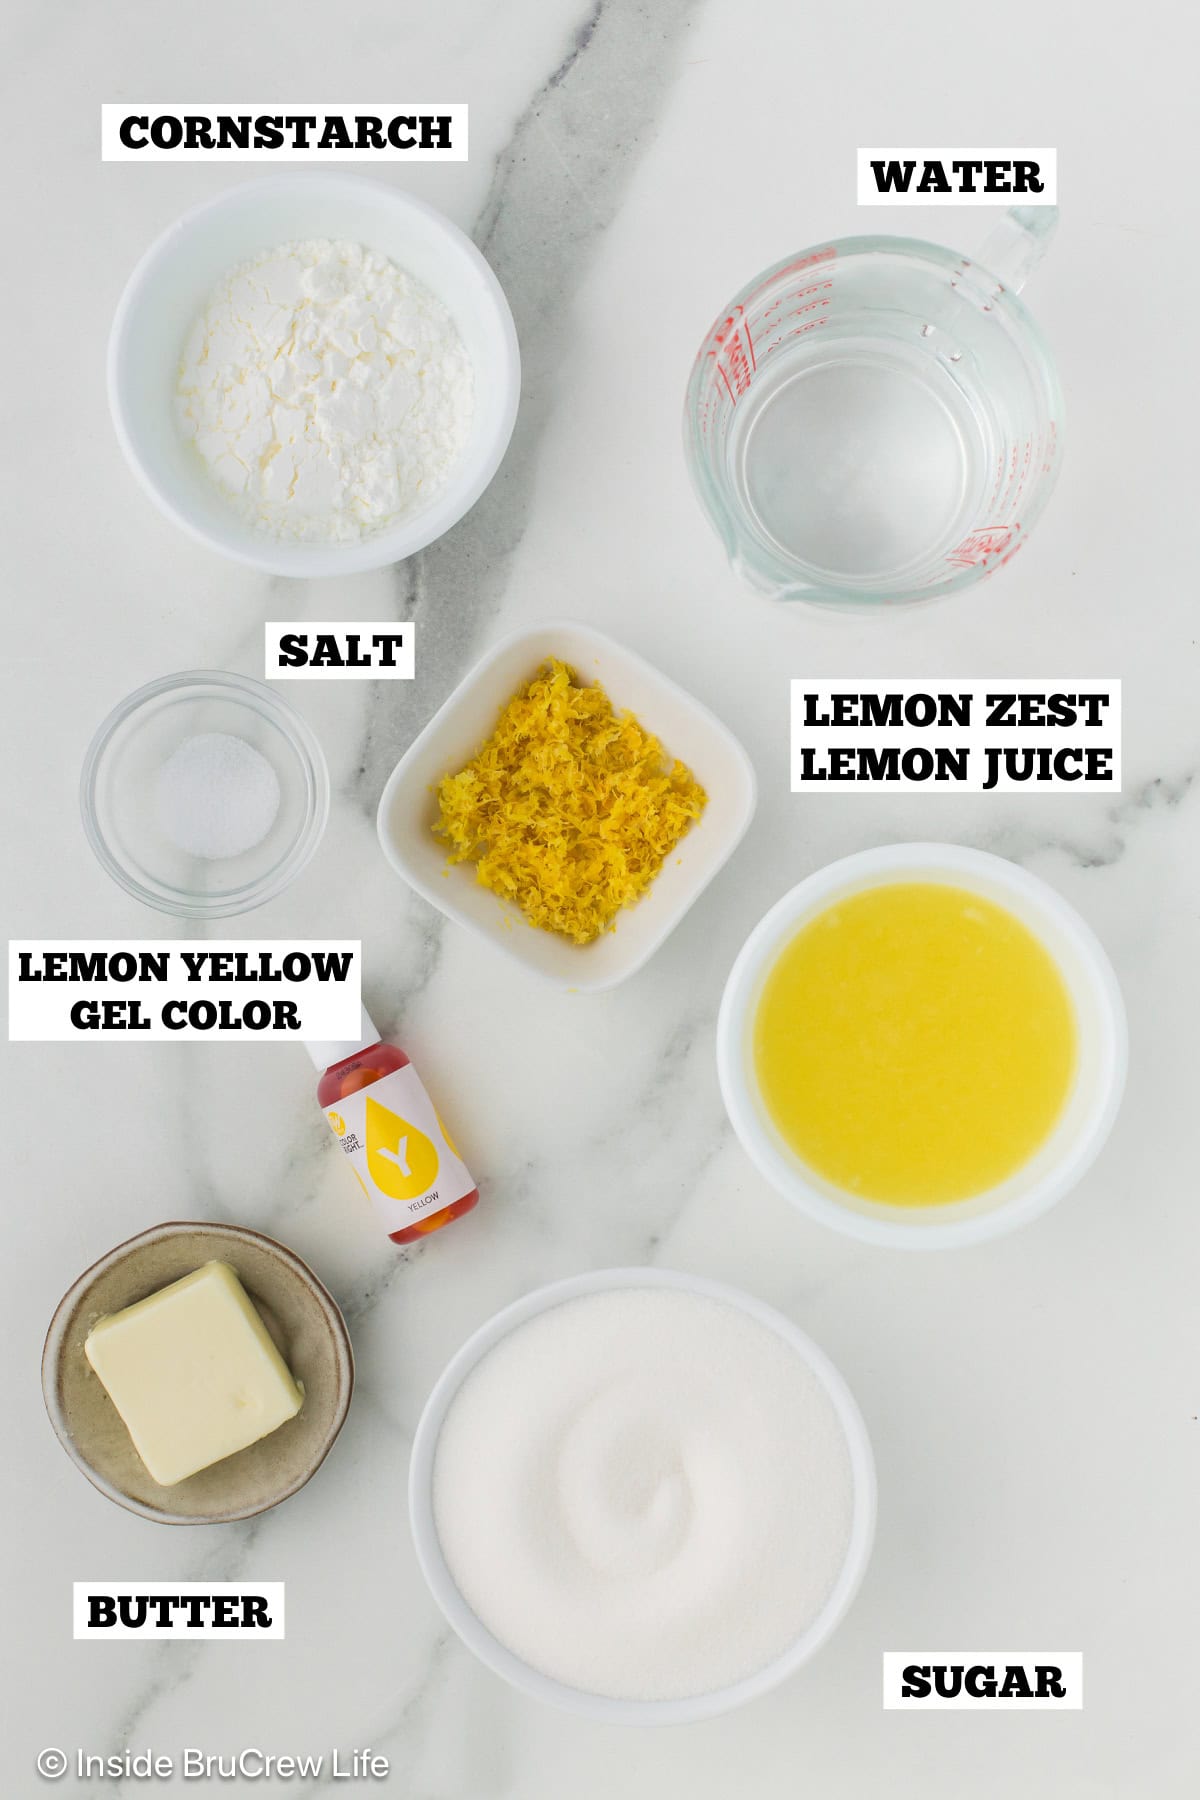
- Granulated Sugar: Sweetens and balances the tartness of the lemon juice.
- Cornstarch: This is what thickens the filling so it holds its shape when you slice or scoop it. The amount you use will determine how thick it is.
- Fresh Lemons: Freshly squeezed juice gives the filling that bright, tart citrus flavor. Bottled juice will work in a pinch, but fresh is always best. Using the lemon peel adds an extra layer of flavor that makes the filling pop.
- Unsalted Butter: Stirred in at the end for a rich, smooth finish.
- Yellow Gel Food Coloring: Totally optional, but the Wilton lemon yellow gel coloring makes the filling so pretty.
What is the difference between lemon pie filling and lemon curd?
They are similar but not quite the same. Lemon curd is richer and thickened with eggs, while this lemon filling is thickened with cornstarch. They can often be swapped in recipes, but the texture and richness will be different.
How To Make Lemon Pie Filling
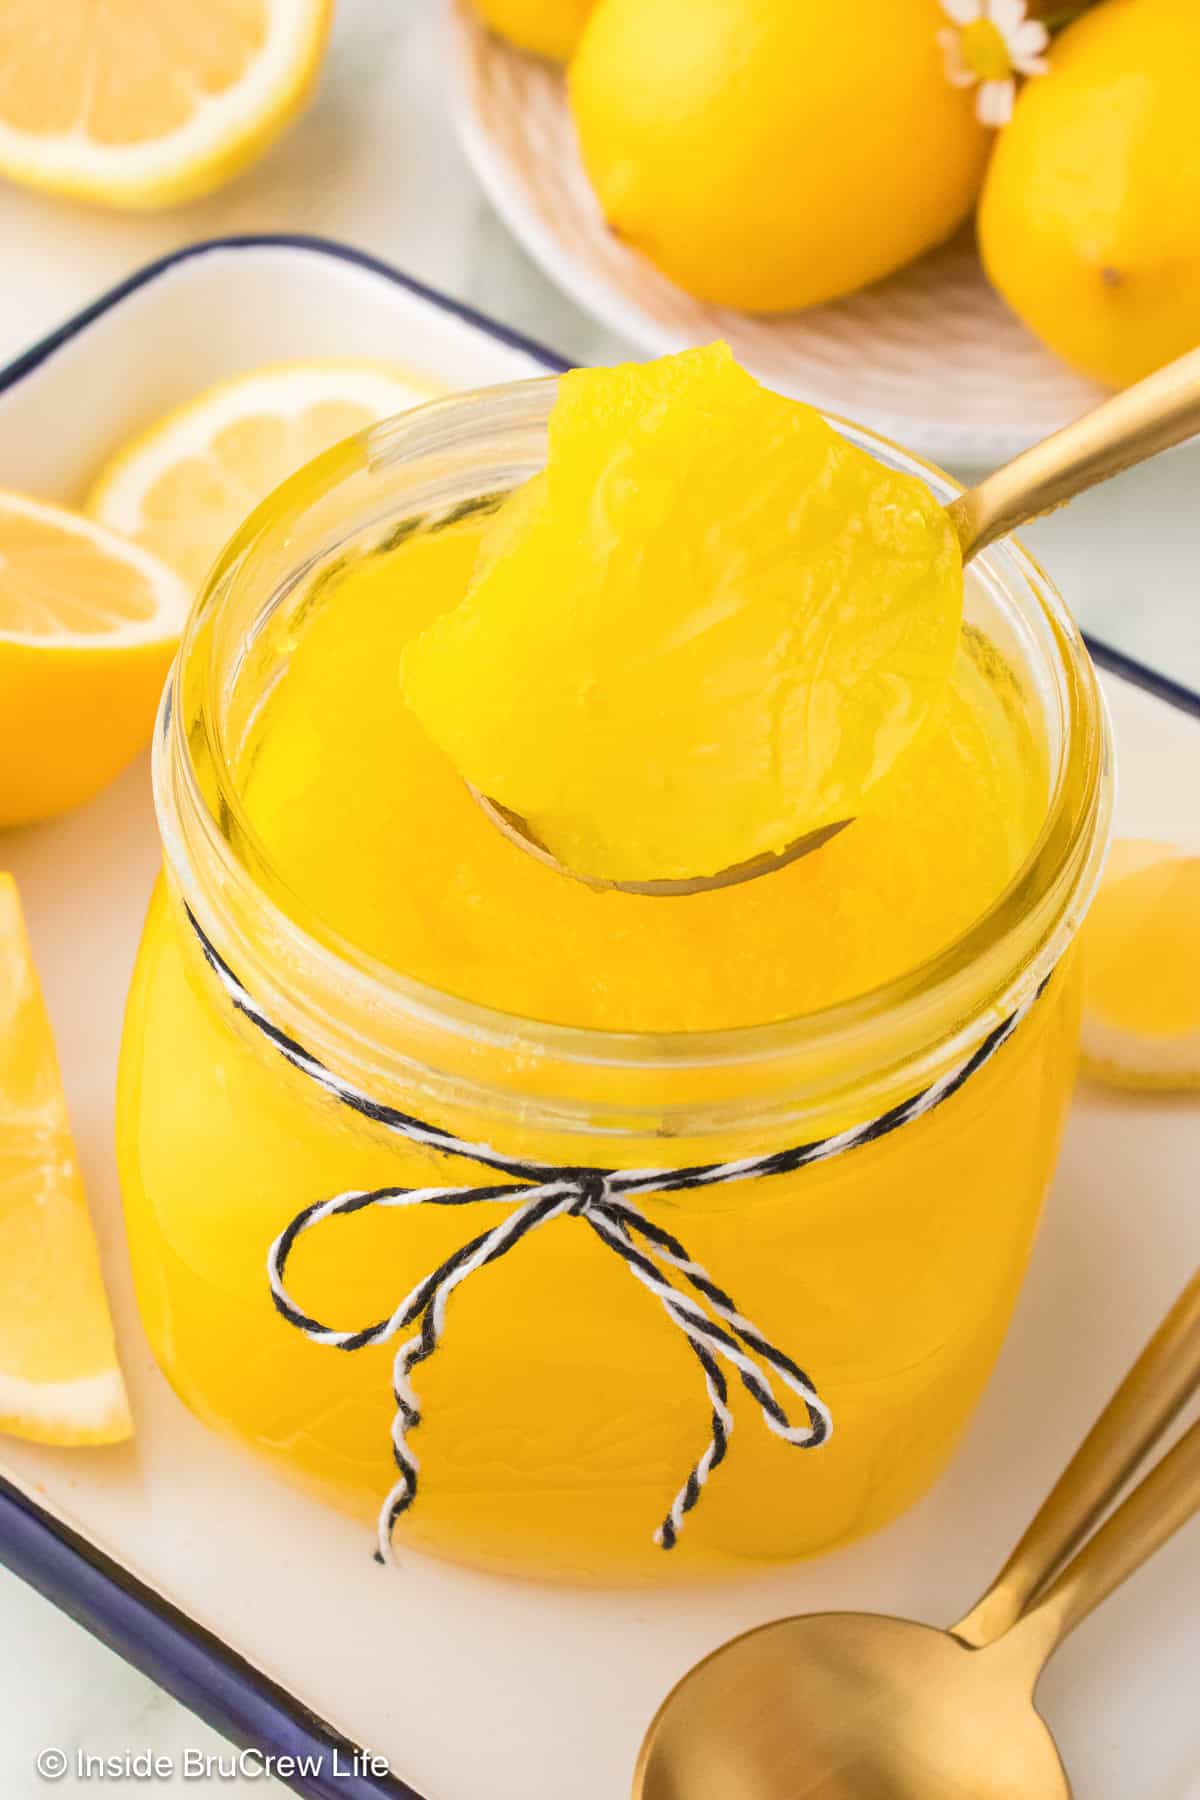
This stovetop lemon filling is so simple to make. Just a few minutes of stirring, and you will have a bright, glossy filling ready to go.
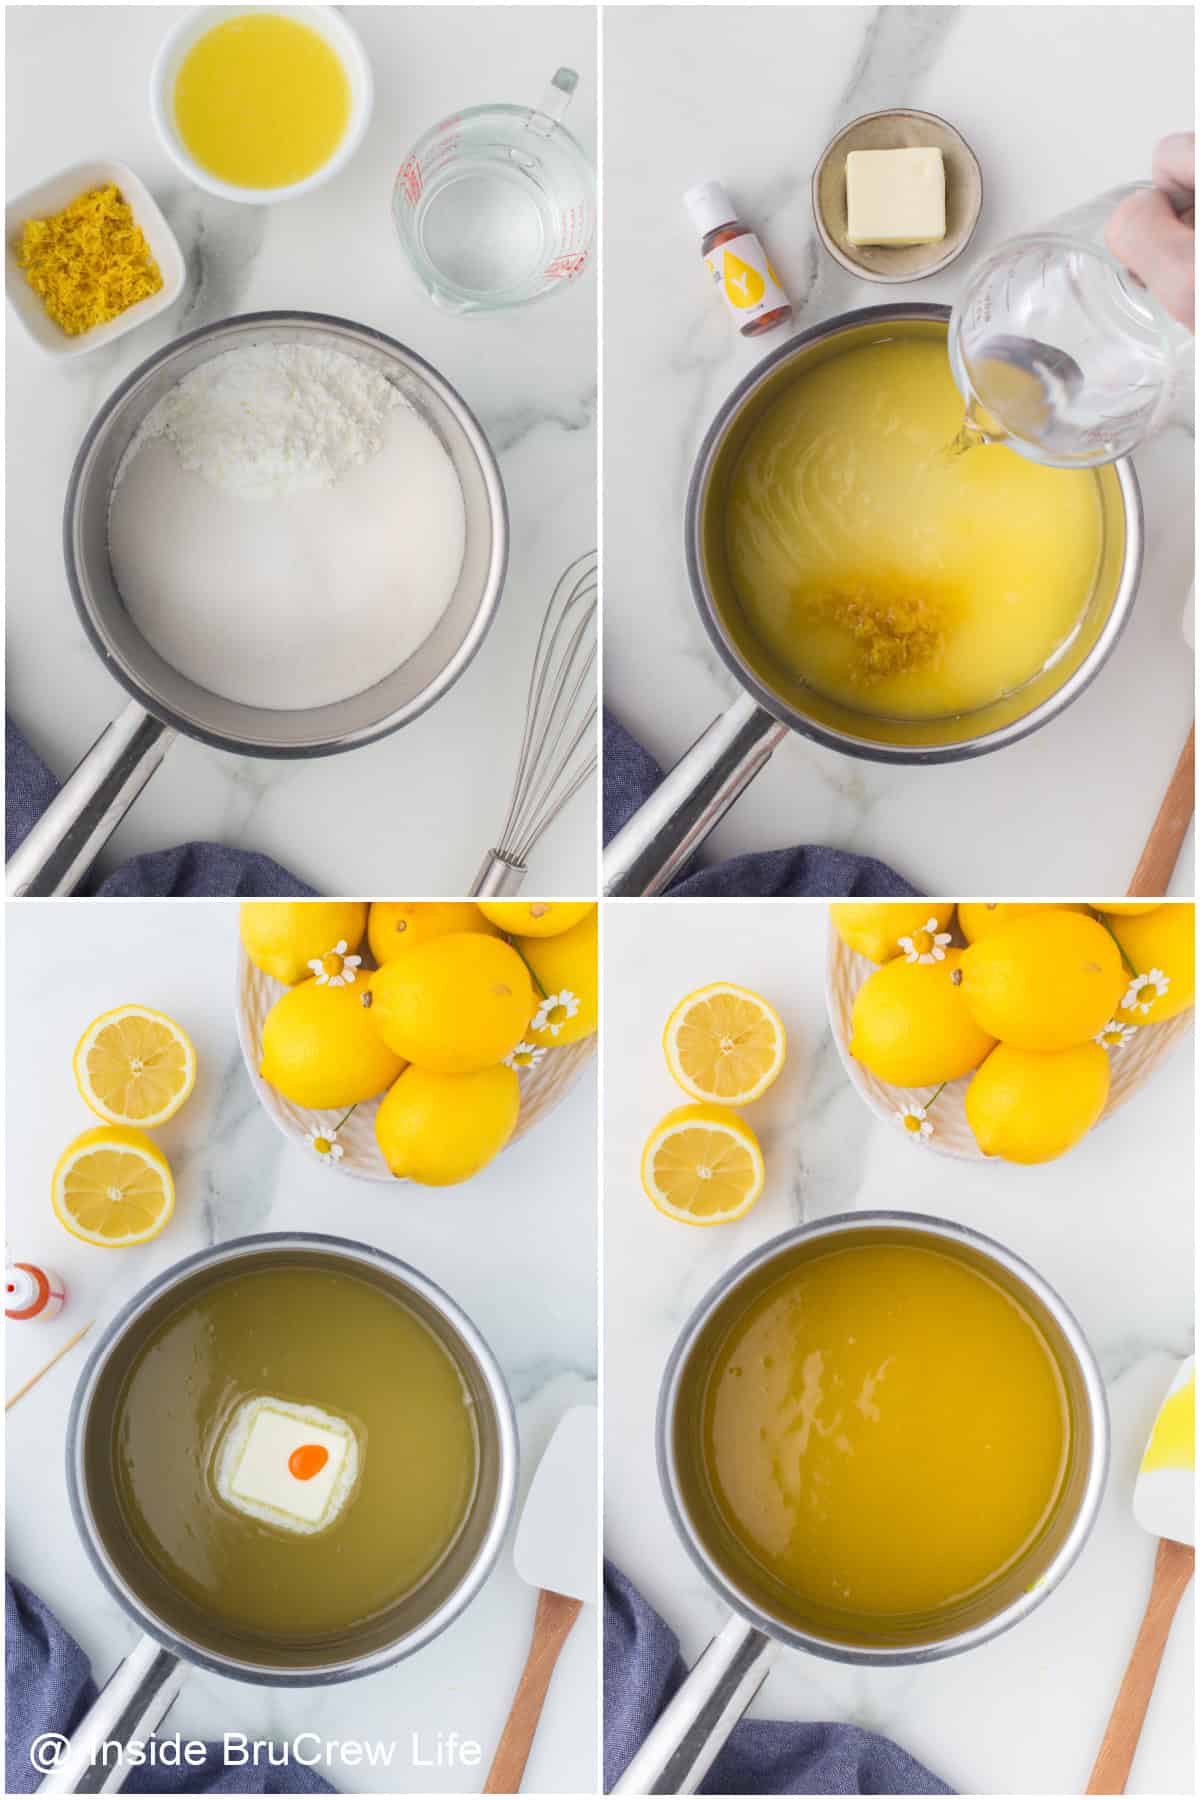
- Combine the dry ingredients. In a medium saucepan, whisk the sugar, cornstarch, and salt until combined.
- Add the liquids. Stir in the cold water, fresh lemon juice, and lemon zest.
- Cook until thickened. Bring the mixture to a boil over medium heat, stirring frequently. Once it thickens, reduce the heat and stir for one more minute. Be careful because the hot mixture will splatter.
- Finish with butter. Remove the pan from the heat and stir in the butter until melted and smooth. Add a touch of yellow gel food coloring for a sunny color.
- Cool completely. Pour the filling into a glass container and let it cool on the counter for about 30 minutes. Then place a piece of plastic wrap directly on the filling to prevent a skin from forming. Let it cool to room temperature before using or refrigerating.
Ways To Use Homemade Lemon Filling
This recipe is a perfect one-to-one substitute for any recipe that calls for canned or store-bought lemon pie filling. Here are a few of my favorite ways to use it:
- Pour it into a baked pie crust for a simple lemon tart.
- Stir it into this lemon fluff for a fluffy dessert salad.
- Swirl it into these mini lemon cheesecake pies for a fun bite-sized treat.
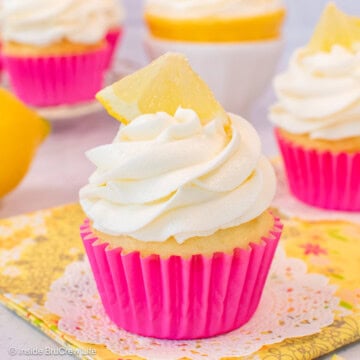
- Use it in the center of these lemon coconut cupcakes. Everyone will love the sunny surprise.
- Layer it in lemon parfaits for a light, refreshing, no-bake dessert.
- Use it between white cake layers, then top with whipped cream frosting.
BruCrew Tips
- Choose the right pan. A stainless steel or ceramic-coated pan works best. Lemon juice can react with aluminum or uncoated cast iron, leaving a metallic taste.
- Use freshly-squeezed lemon juice. Bottled lemon juice will work, but fresh juice gives it a bright citrus taste that cannot be matched.
- Watch for splattering! The filling gets very hot as it thickens and can splatter. Trust me, it burns. Keep a lid nearby and stir carefully.
- Use gel food coloring for the best color. Look for Wilton lemon yellow for the same bright sunny color. Avoid golden yellow, as it will turn your mixture orange.
- Press plastic wrap directly on the surface. This keeps the skin from forming as it cools. Do not skip this step!
- Using the room temperature filling: Spoon it into pies and tarts while it is still pourable. Then refrigerate until it thickens and sets. For cheesecake, swirl it into the batter before baking.
- Using the chilled filling: For cupcake centers, cake layers, and parfaits, refrigerate the filling first so it is thick enough to hold its shape.
- Make it ahead. This filling stores well in the fridge, so you can make it a day or two before you need it. It will be very thick after refrigerating, so give it a good stir before using it.
Storing and Freezing
Store the lemon pie filling in an airtight container in the refrigerator for up to one week. Press plastic wrap directly onto the surface before closing to keep it fresh and prevent a skin from forming. Keep pies and pastries made with filling in the refrigerator.
I don't recommend freezing this filling. Because it is thickened with cornstarch, it can turn watery after thawing. It may also separate, and it will not match the fresh texture.
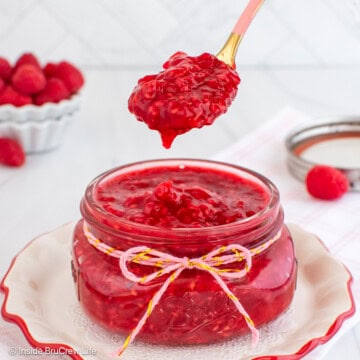
More Lemon Desserts
If you like citrus desserts, here are a few more fun recipes to try.
Do you love a recipe you tried from Inside BruCrew Life?
Please leave a 5-star ⭐️ rating and a review in the comments section below.
Recipe
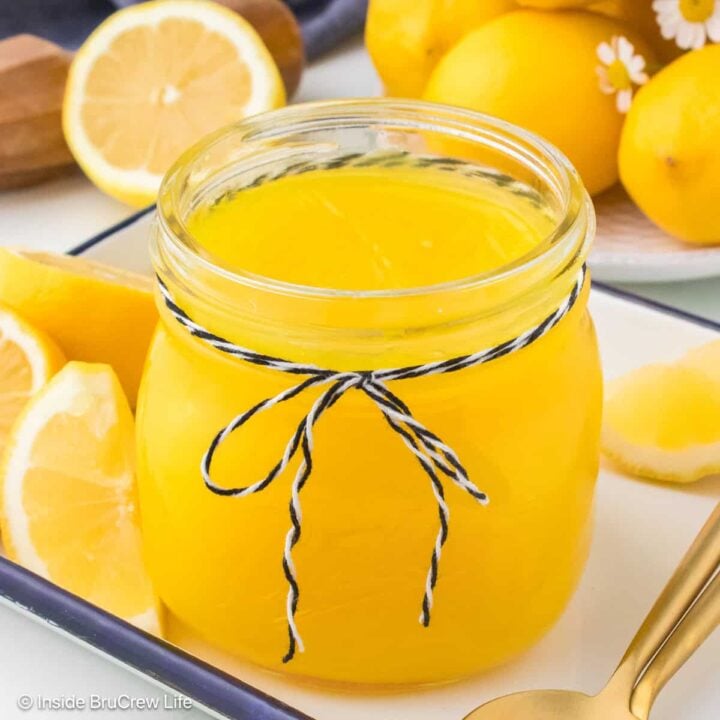
Lemon Pie Filling
This homemade lemon pie filling is made with fresh lemon juice and zest and comes together on the stovetop in minutes. Skip the canned filling and make this easy recipe instead. Perfect for pies, tarts, cupcakes, and so much more!
Ingredients
- 1 ½ cup granulated sugar
- ⅓ cup cornstarch
- ⅛ teaspoon table salt
- 1 cup water
- zest from 3 medium lemons
- ⅔ cup freshly squeezed lemon juice
- 2 tablespoon unsalted butter
- Wilton Lemon Yellow gel food coloring
Instructions
- Remove the zest from the lemons, then juice them. In a large saucepan, whisk together the sugar, cornstarch, and salt. Stir in the water, zest, and lemon juice.
- Bring to a boil over medium-high heat. Once it thickens (about 8 minutes), reduce the heat and stir for one minute. Be careful because the hot mixture will splatter and burn you.
- Remove the pan from the heat and stir in the butter. Once it is melted, use a toothpick to add yellow food coloring until it is the shade of yellow you want.
- Pour the hot filling into a heat-safe container and cool it on the counter for 30 minutes. Press a piece of Saran Wrap directly on top of the mixture and let it cool for another 30-45 minutes before using or refrigerating.*
Notes
- Choose the right pan. A stainless steel or ceramic-coated pan works best, since lemon juice can react with aluminum or uncoated cast iron, leaving a metallic taste.
- Use freshly-squeezed lemon juice. Bottled lemon juice will work, but fresh juice gives it a bright citrus taste that cannot be matched.
- Watch for splattering! The filling gets very hot as it thickens and can splatter. Trust me, it burns. Keep a lid nearby and stir carefully.
- Use gel food coloring for the best color. Look for Wilton lemon yellow for the same bright sunny color. Avoid golden yellow, as it will turn your mixture orange.
- Press plastic wrap directly on the surface. This keeps the skin from forming as it cools. Do not skip this step!
- Using the room temperature filling: Spoon it into pies and tarts while it is still pourable, then refrigerate until it thickens and sets. For cheesecake, swirl it into the batter before baking.
- Using the chilled filling: For cupcake centers, cake layers, and parfaits, refrigerate the filling first so it is thick enough to hold its shape.
- Make it ahead. This filling stores well in the fridge, so you can make it a day or two before you need it. It will be very thick after refrigerating, so give it a good stir before using it.
Nutrition Information:
Yield: 6 Serving Size: 1Amount Per Serving: Calories: 94Total Fat: 4gSaturated Fat: 2gUnsaturated Fat: 1gCholesterol: 10mgSodium: 55mgCarbohydrates: 15gFiber: 0gSugar: 1gProtein: 0g
Nutrition facts are an estimate and are not guaranteed to be accurate. If you need special diet advice, please see a registered dietician.
Leave a Reply