


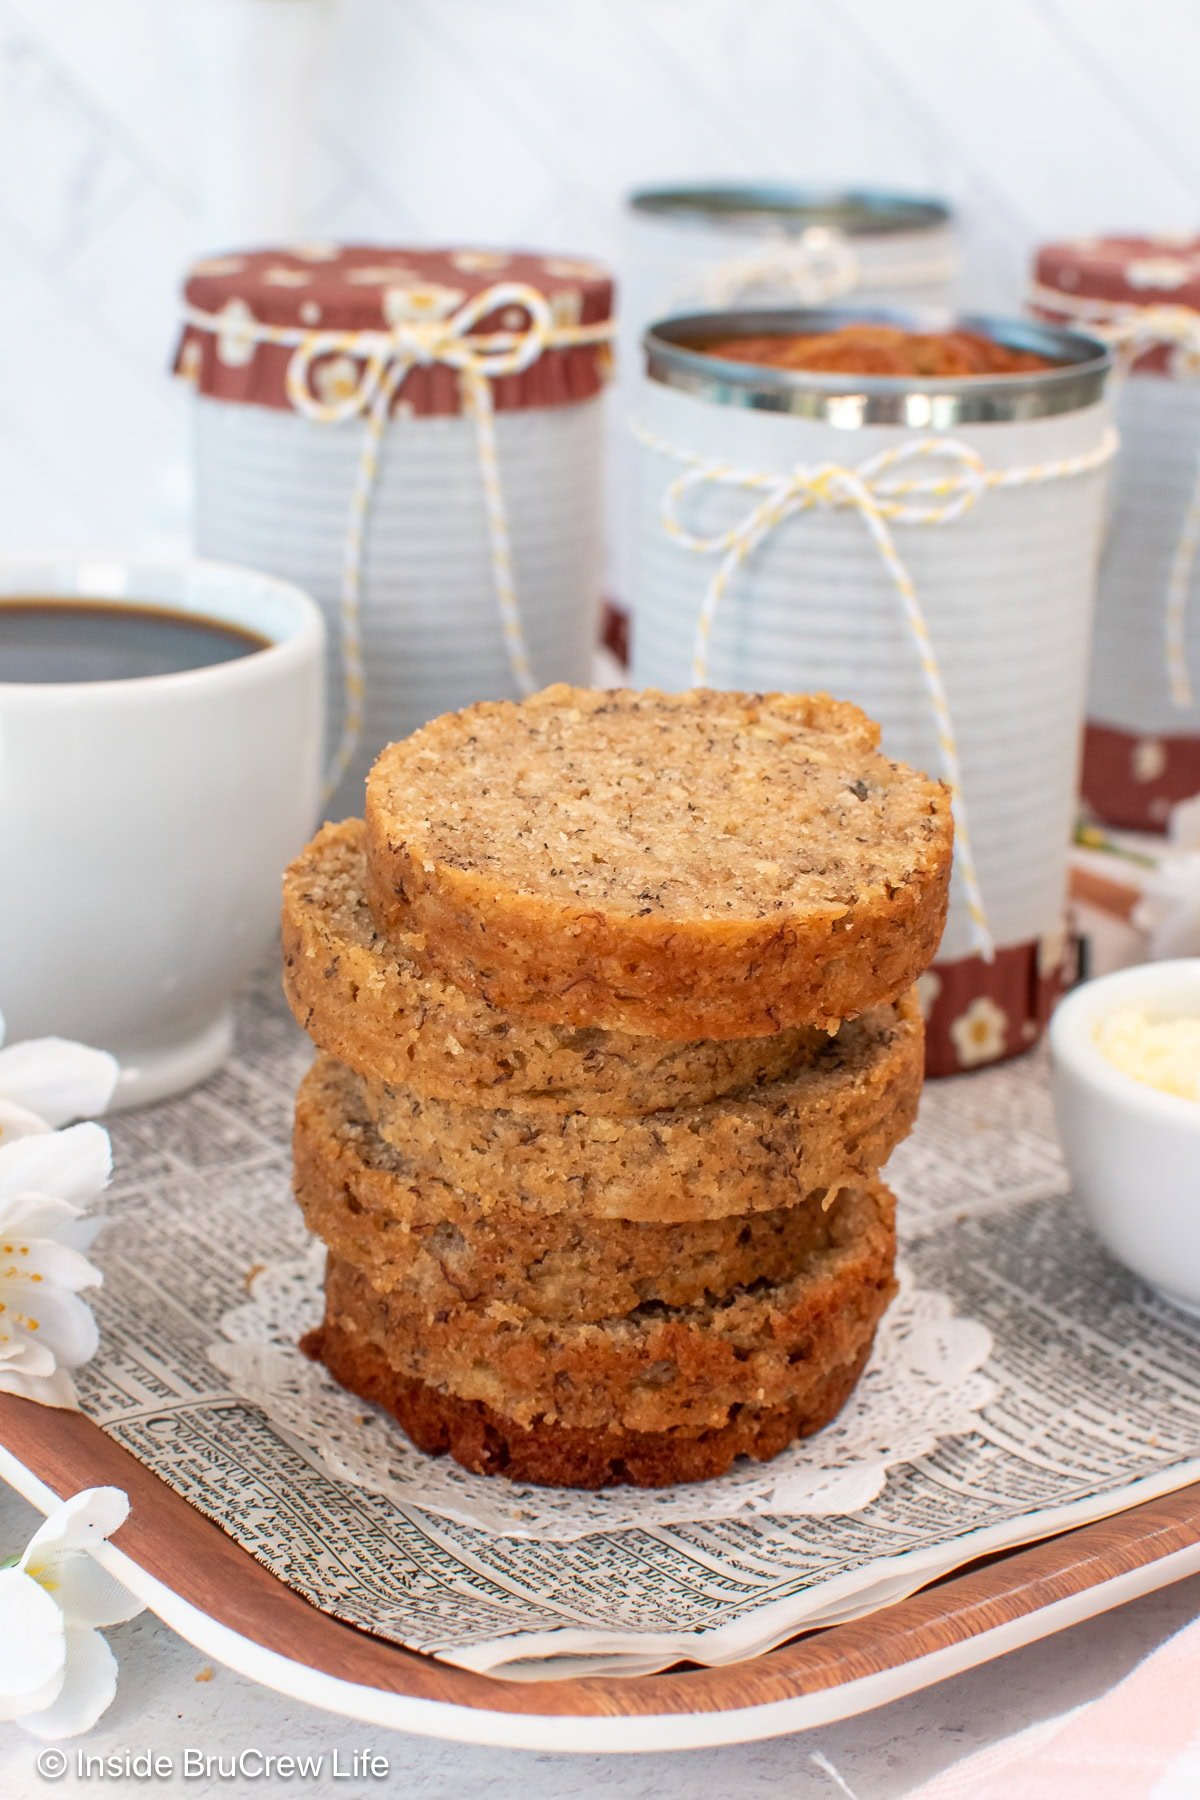
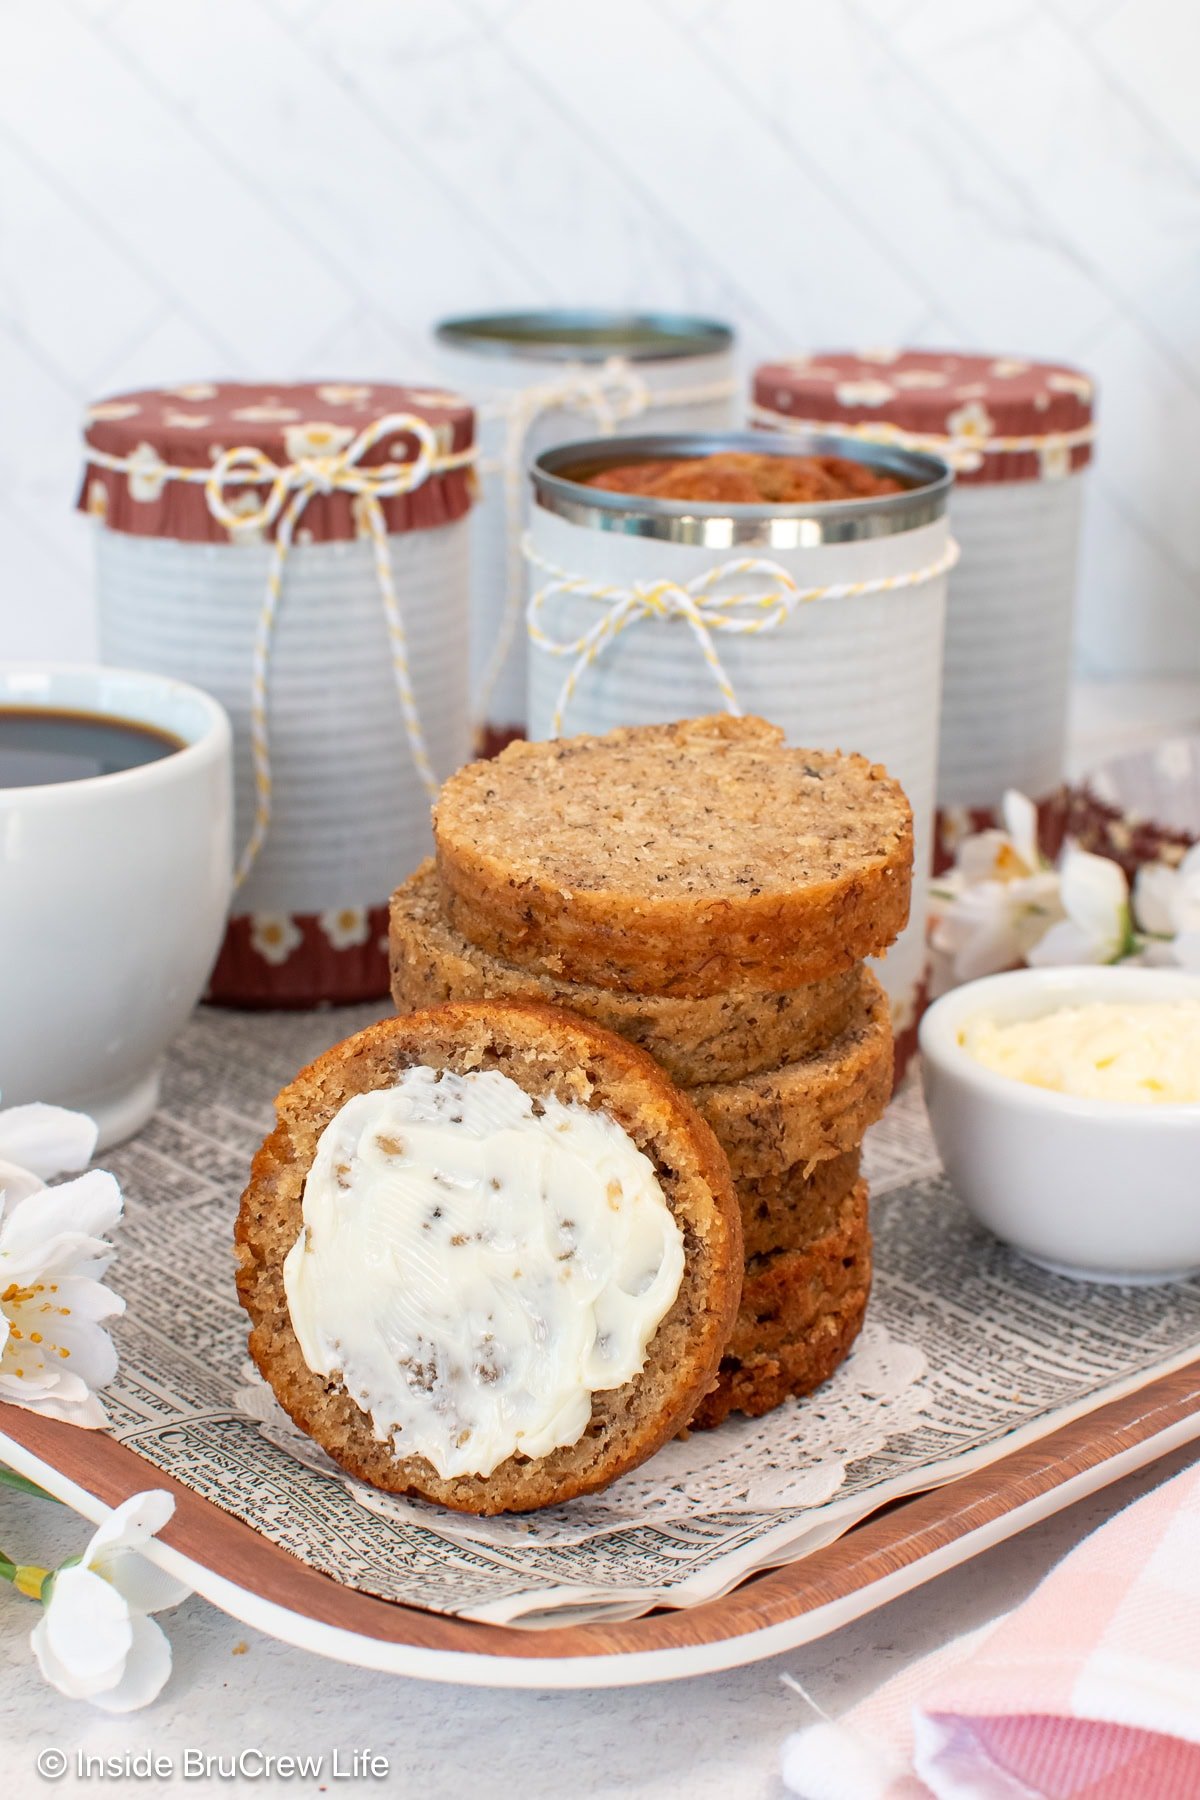
Baking banana bread in a can is an easy and fun twist on a classic recipe. It tastes just as delicious as a traditional loaf and makes the cutest little gifts for any occasion.
The recipe for banana bread in a can was first published in June 2011. The photos and post were redone and republished in May 2025.
Jump to:
Can Bread
Years ago, I joined a monthly swap for hostess gifts and decided to create something sweet. I knew sour cream banana bread would be perfect because I had ripe bananas on the counter.
Although baking a plain loaf seemed too simple. I wanted to make something special that would catch people's attention!
A quick search led me to the cutest idea of baking banana bread in a can. This unique approach was quirky and totally unexpected. I immediately washed out a few green bean cans (after making dinner with them) and got to work.
Why I Love This Recipe
- I love how fun and surprising it is. People are always delighted to see homemade banana bread baked in a can.
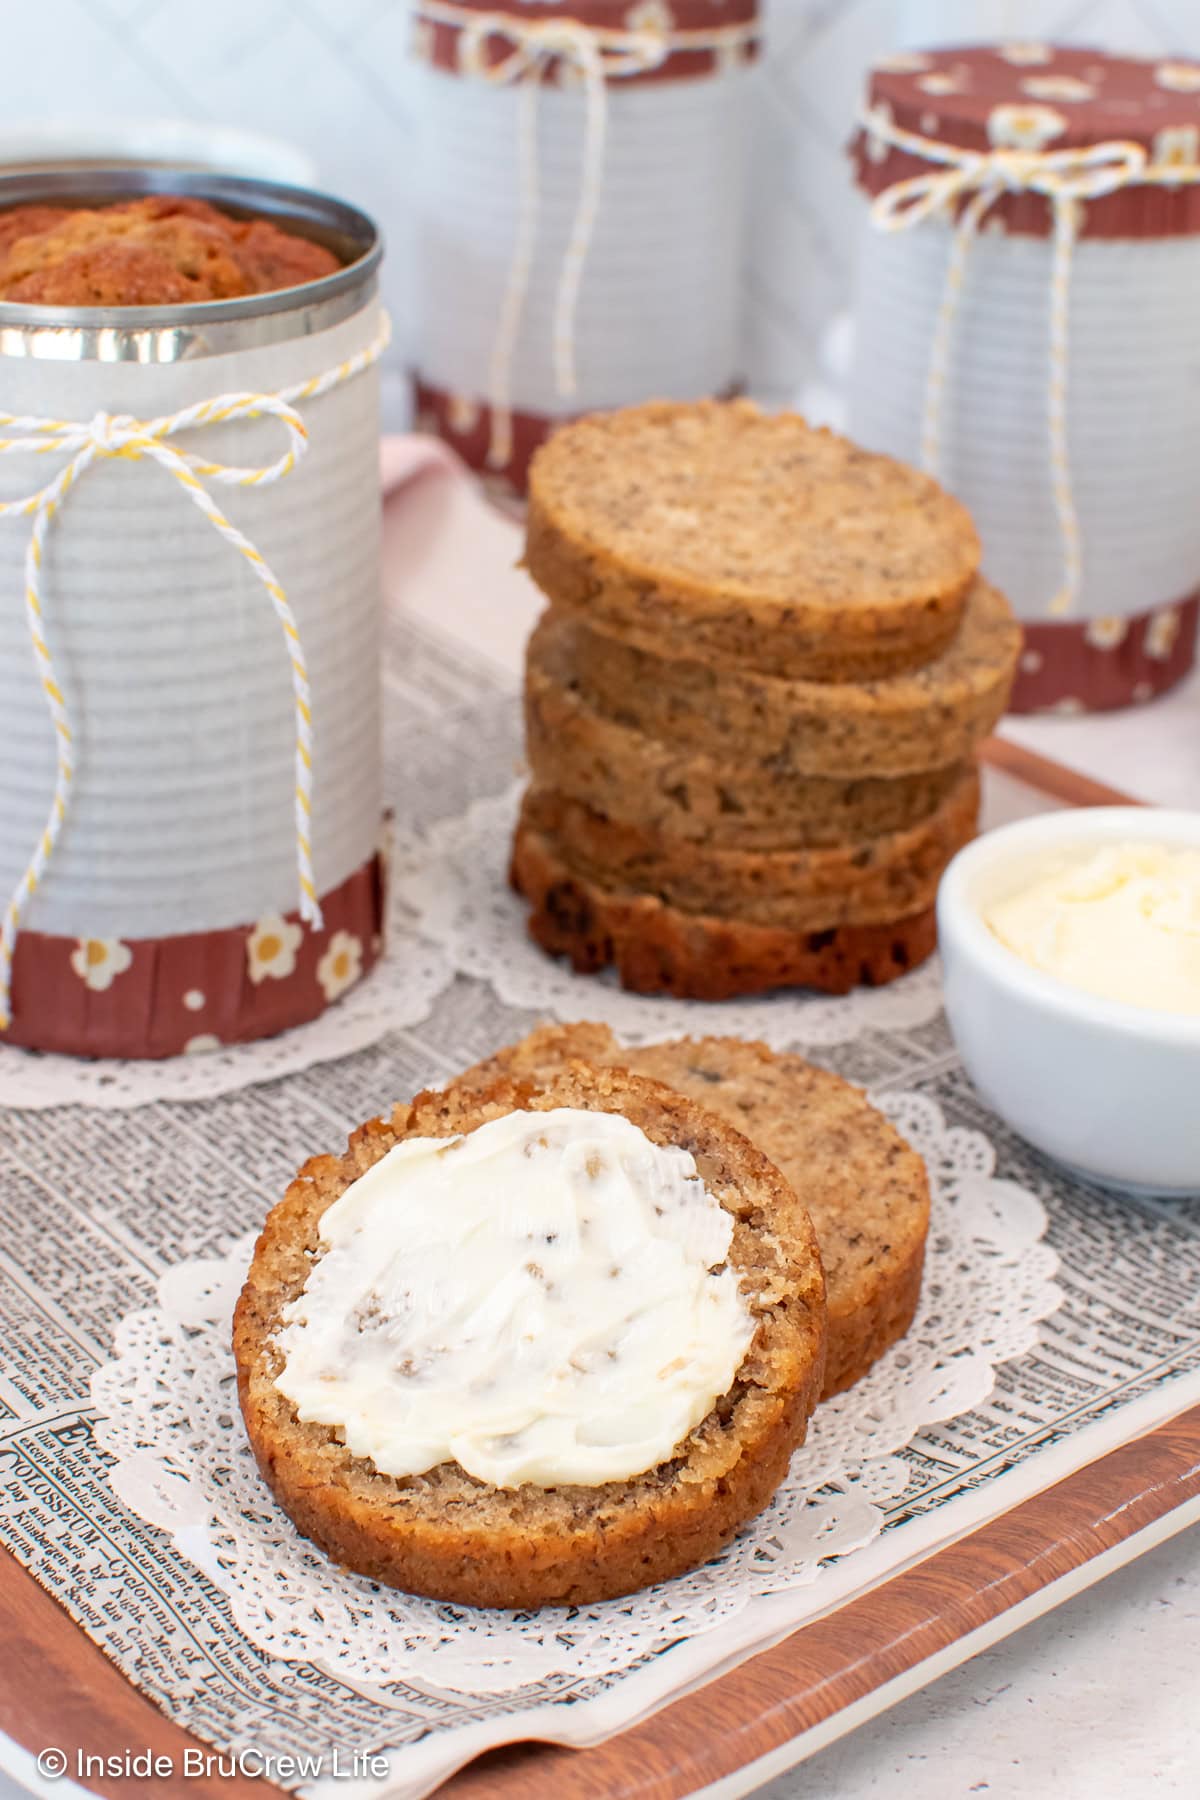
- It's a sweet twist on classic banana bread and makes people smile. Each one is the perfect size for individual servings.
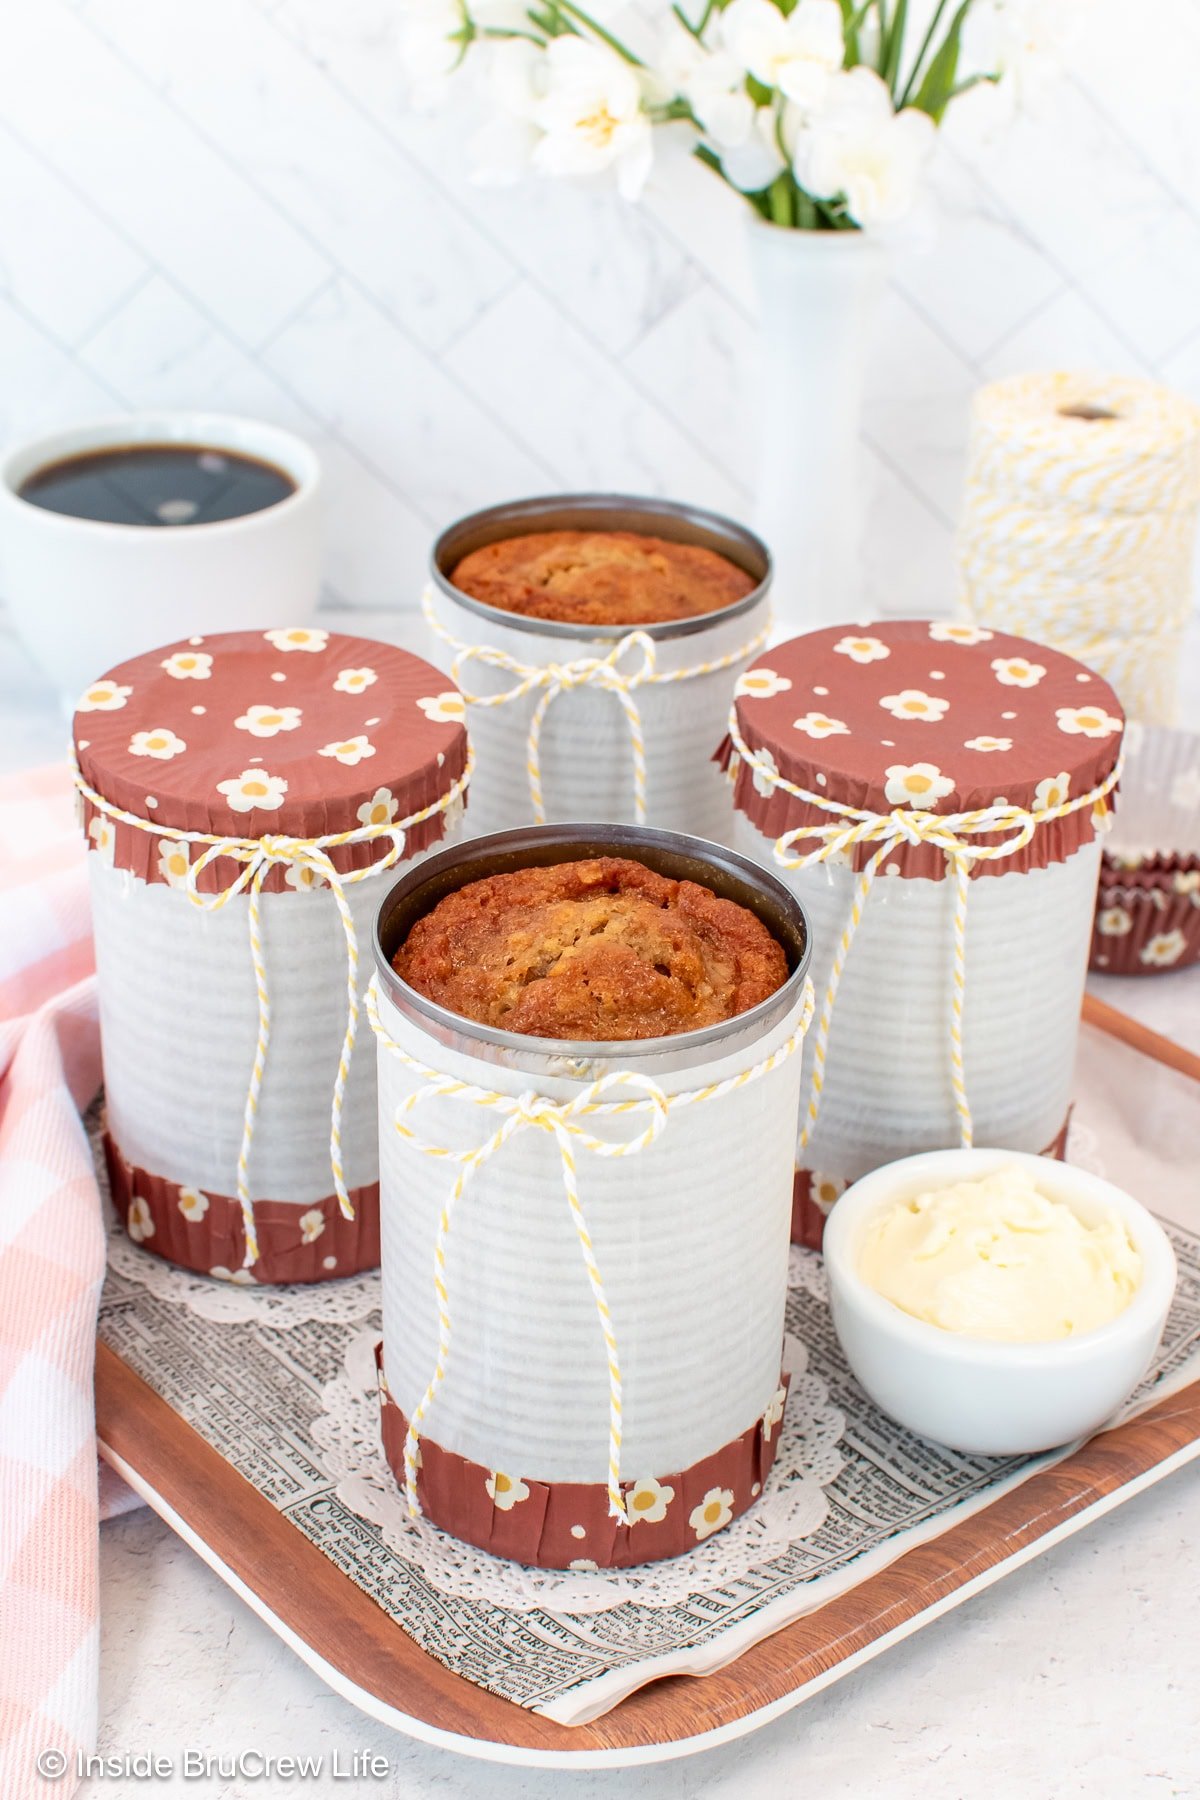
- I love upcycling old cans to give them a second life. Turning them into mini baking tins adds a cozy, vintage touch and makes each loaf feel extra special.
- The cans are easy to decorate. I love adding a ribbon and tag for cute, ready-to-give gifts.
Main Ingredients
To make banana bread in a can, you'll need simple ingredients from your kitchen plus a few ripe bananas.
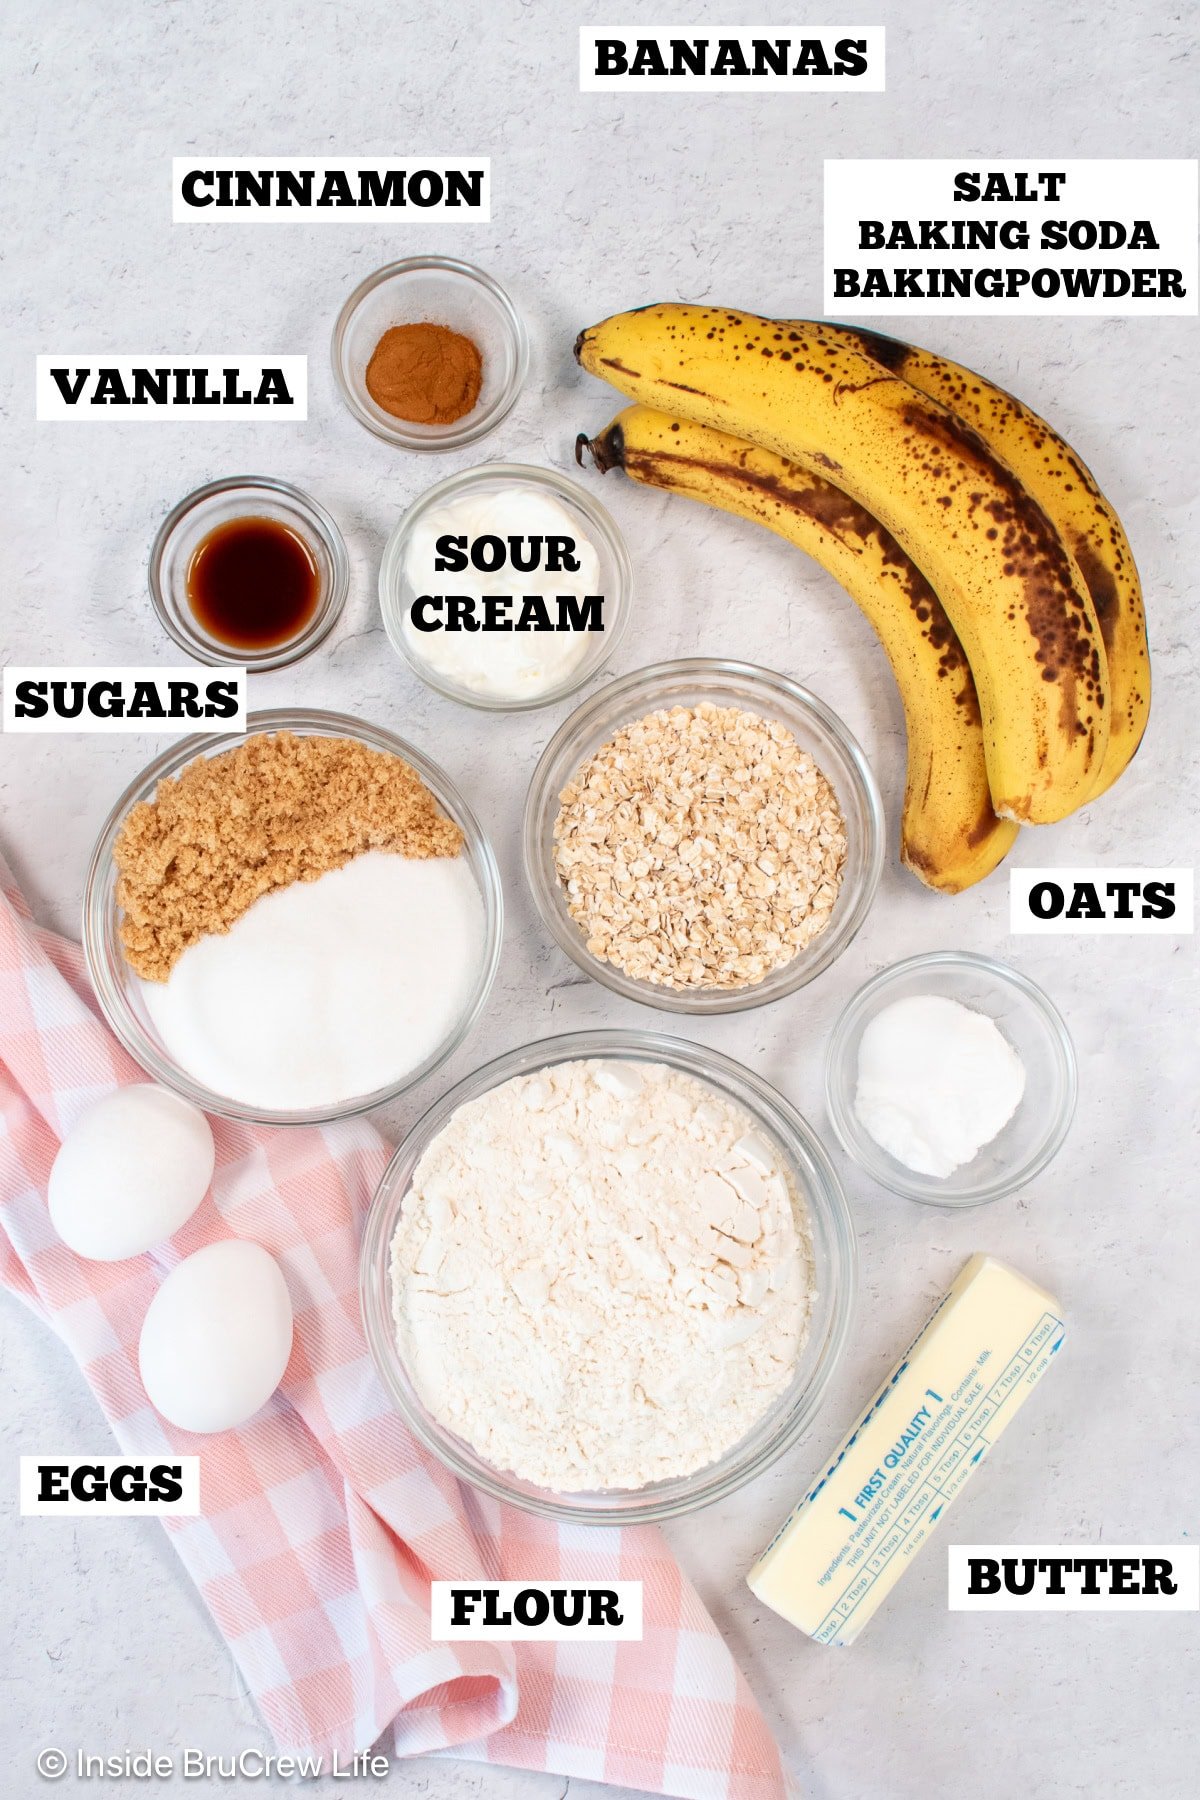
- Unsalted Butter: Let the butter sit out until softened. You should be able to cream the butter and sugar easily.
- Sugar: A combination of brown and white sugar sweetens the batter and gives it a more moist texture.
- Eggs: Add moisture and hold the ingredients together.
- Overripe Bananas: For best results, use ripe bananas with black spots. If yours are not ready yet, see our tips on how to ripen green bananas for baking.
- Sour Cream: Gives the bread a soft, tender crumb. You can also use plain Greek yogurt.
- Flour: We use all-purpose flour in most of our recipes. To avoid adding too much, use the fluff and spoon method or a kitchen scale.
- Quick Oats: Add texture and a slightly nutty flavor to the round loaves. You can also use old-fashioned oats if you pulse them in a food processor first.
- Cinnamon: Gives the bread a slightly warm flavor.
- Baking Essentials: Baking powder, baking soda, vanilla extract, and salt are basics that everyone usually has on hand.
How To Bake Bread In A Can
Making sweet bread in a can is easier than you think. Especially if you follow our clear step-by-step directions in this easy recipe.
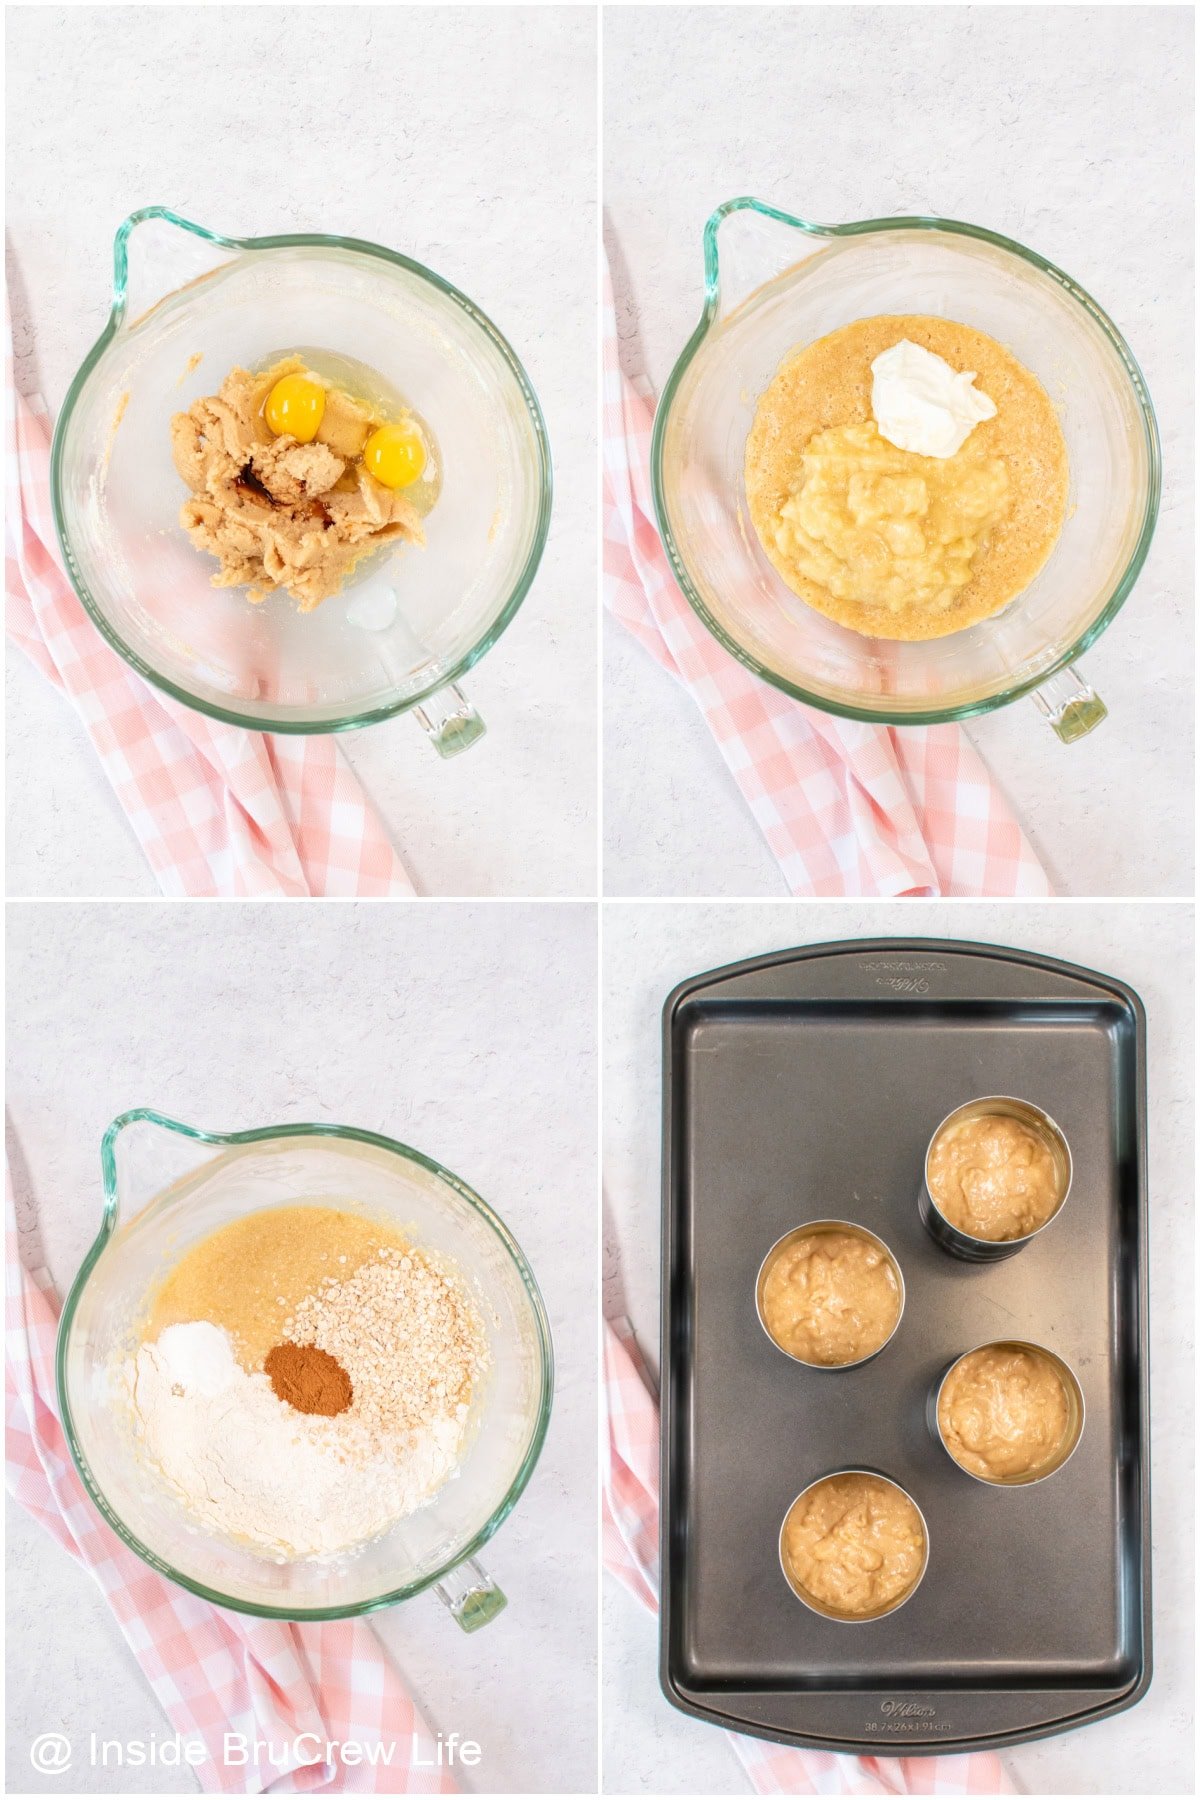
- Beat the sugars and softened butter in a large bowl with an electric mixer until light and creamy.
- Mix again with eggs, mashed bananas, vanilla, and sour cream.
- Slowly mix the dry ingredients into the banana mixture until the batter forms.
- Spoon the batter into the greased cans, then place them on a baking sheet. Bake until a skewer inserted in the center of the loaf comes out with a few moist crumbs.
- Let the bread cool for ten minutes, then slide it out and stand it on a wire rack to cool completely.
Storage Recommendations
Wrap the tops of the quick breads tightly with plastic wrap and aluminum foil. Store them on the counter at room temperature for 4 to 5 days.
You can freeze the bread by wrapping it tightly in plastic wrap and foil. It keeps well in the freezer for up to 2 months. Thaw at room temperature before serving.
BruCrew Tips
- Wash the cans thoroughly and remove the labels before you start. Be sure to check for sharp edges. To keep things safe, I prefer using a smooth-edge can opener.
- Spray the inside of the cans with a nonstick cooking spray. This allows the baked bread to slide right out without any sticking.
- Do not overfill the cans with batter. This particular recipe will make four cans of bread. If you are using another recipe, only fill the cans ¾ full.
- Wrap the cans with parchment paper, then decorate the top and bottom using a glue stick and cupcake liners. You can also customize them with labels or a cute gift tag.
- These fun canned breads make great gifts for hostesses, neighbors, teachers, or thank you baskets.
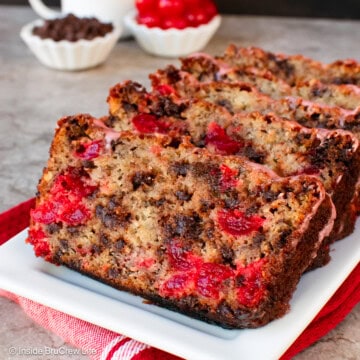
- For a fun twist, stir mini semisweet chocolate chips or chopped nuts into the batter before baking.
FAQs
Yes, it is safe as long as you're using clean, food-grade cans with no plastic lining or BPA coating. Most standard tin-plated steel cans (like soup or vegetable cans) are fine. Avoid any can that looks rusted or has a white lining, which can melt or release chemicals when heated.
Cans that hold about 15 ounces are perfect. Make sure all surfaces have been cleaned, labels have been removed, and the edges are smooth. Coffee cans can also work if you're making a larger loaf.
More Banana Bread Recipes
- Double Chocolate Banana Bread
- Banana Nut Bread
- Banana Muffins
- Oreo Banana Bread
- Blueberry Banana Bread
Do you love a recipe you tried from Inside BruCrew Life?
Please leave a 5-star ⭐️ rating and a review in the comments section below.
Recipe

Banana Bread in a Can
Baking banana bread in a can is an easy and fun twist on a classic recipe. It tastes just as delicious as a traditional loaf and makes the cutest little gifts for any occasion.
Ingredients
- ½ cup unsalted butter, softened
- ½ cup light brown sugar, packed
- ½ cup granulated sugar
- 2 large eggs
- 3 medium sized ripe bananas, peeled and mashed
- 1 teaspoon vanilla extract
- ¼ cup sour cream
- 2 cups all purpose flour
- ½ cup quick oats
- 1 teaspoon cinnamon
- 1 teaspoon baking soda
- 1 teaspoon baking powder
- 1 teaspoon table salt
Instructions
- Preheat the oven to 325°F. Spray four clean 15-ounce tin cans with nonstick baking spray.
- Beat the butter and sugars until light and fluffy. Add the eggs, mashed banana, vanilla, and sour cream and mix until incorporated.
- Add the flour, cinnamon, baking powder, baking soda, salt, and oats. Mix well.
- Spoon the batter evenly into the prepared tins. Place them on a baking sheet and bake for 42-45 minutes.
- A skewer inserted in should come out mostly clean, and the bread will be golden on top. Let cool in the cans for 10 minutes. Then flip out onto a wire rack to finish cooling.
- After the bread has cooled, put it back in the cans. Top with a small circle of plastic and a cupcake liner. Tie with ribbon or twine.
Notes
- Wash the cans thoroughly and remove the labels before you start. Be sure to check for sharp edges. To keep things safe, I prefer using a smooth-edge can opener.
- Spray the inside of the cans with a nonstick cooking spray. This allows the baked bread to slide right out without any sticking.
- Do not overfill the cans with batter. This particular recipe will make four cans of bread. If you are using another recipe, only fill the cans ¾ full.
- Wrap the cans with parchment paper, then decorate the top and bottom using a glue stick and cupcake liners. You can also customize them with labels or a cute gift tag.
- These fun canned breads make great gifts for hostesses, neighbors, teachers, or thank you baskets.
- For a fun twist, stir mini semisweet chocolate chips or chopped nuts into the batter before baking.
Recommended Products
As an Amazon Associate and member of other affiliate programs, I earn from qualifying purchases.

Nutrition Information:
Yield: 8 Serving Size: ½ canAmount Per Serving: Calories: 397Total Fat: 15gSaturated Fat: 8gTrans Fat: 0gUnsaturated Fat: 5gCholesterol: 81mgSodium: 520mgCarbohydrates: 61gFiber: 3gSugar: 30gProtein: 6g
Nutrition facts are an estimate and are not guaranteed to be accurate. If you need special diet advice, please see a registered dietician.


JennieO says
super idea - and the fact that you can adapt it seasonally by picking different ribbon makes this a win-win-win for me! thanks!
shehbaz michael says
Do you have some more recipes for gifts about birthday to suggest?
ladybehindthecurtain.com says
Thanks for sharing your yummy recipe with us at Cast Party Wednesday. I hope you come back and visit us tomorrow.
Thanks again.
I hope to see you there!