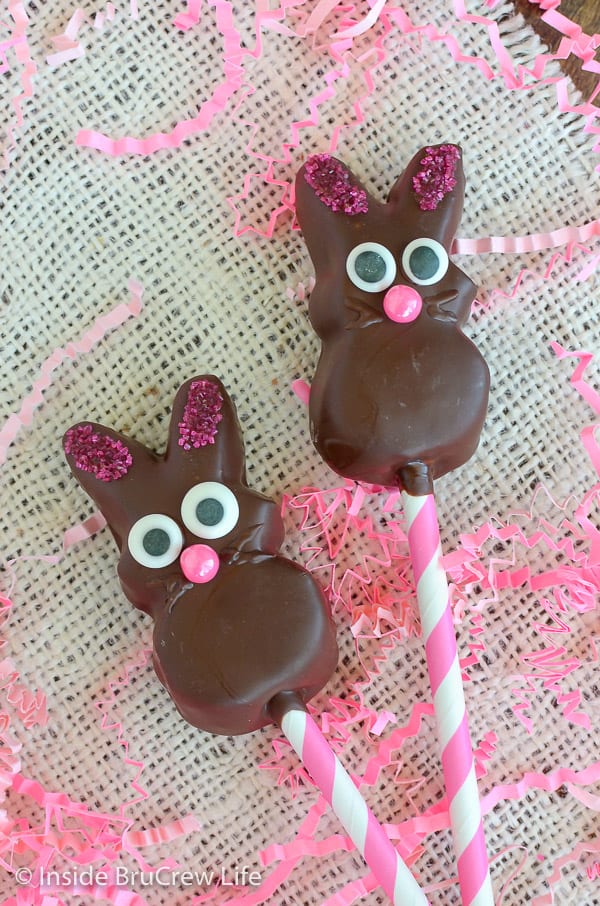
These Chocolate Covered Marshmallow Bunnies will disappear in a hurry when you make them for Easter. Kids of all ages can't resist a fun holiday treat on a colored stick.
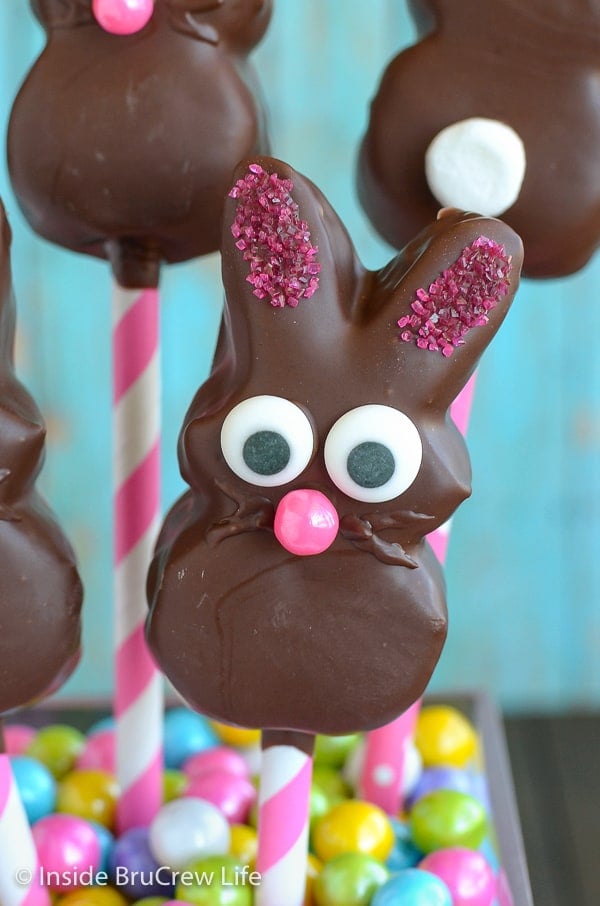
I am seriously addicted to the jar of candy googly eyes in my pantry right now. They are the cutest thing to add to things like these Peanut Butter Easter Chicks or these Oreo Bunny Pops!
I know! It's the oddest thing to be in love with, but those eyes just crack me up!!! I can't stop thinking of cute ways to use them for each holiday because they are just too fun.
That $5 jar of candy eyes was one of the best purchases I have ever made. True story.
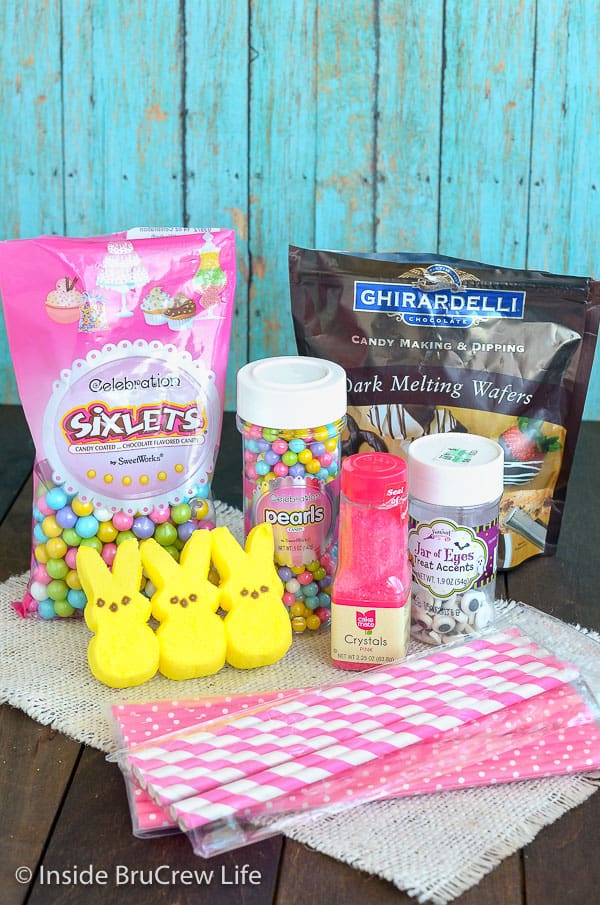
A few weeks I bought a package of bunny Peeps and some dark chocolate melts to make a batch of chocolate covered bunnies.
Dark chocolate is a favorite around here, but feel free to use milk chocolate if you prefer that more. White chocolate bunnies would be super cute too!
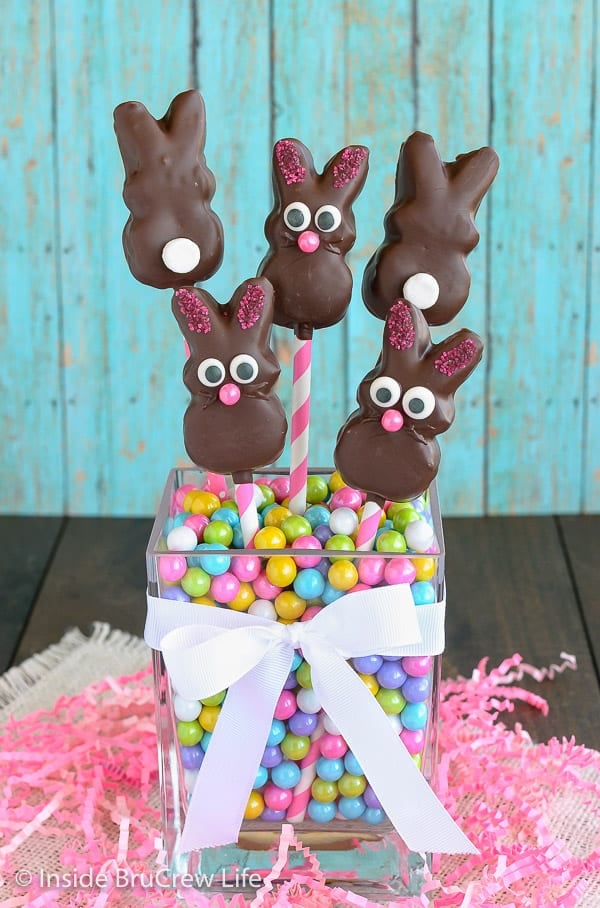
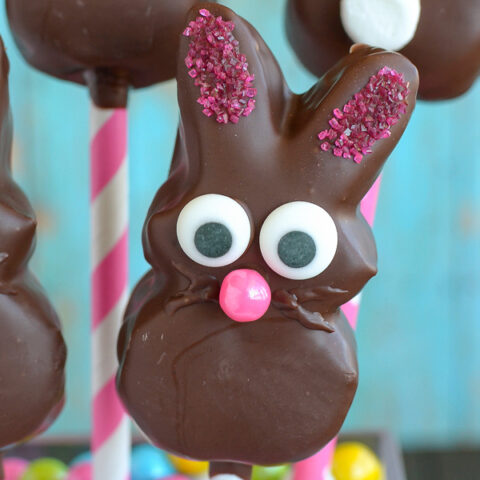
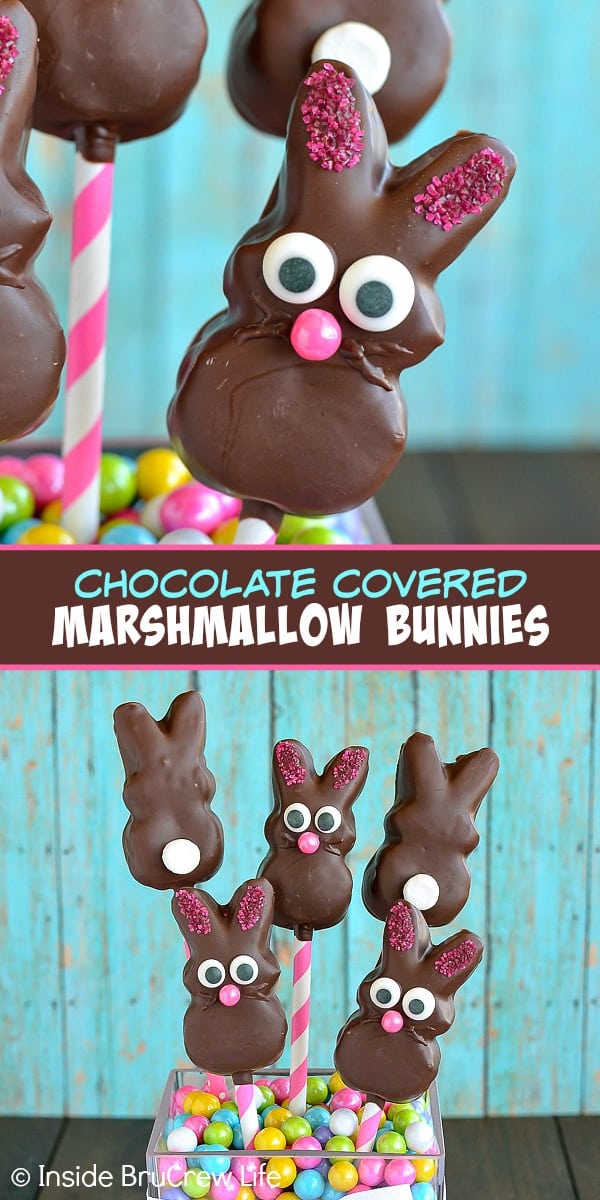
Pink sprinkled ears, candy noses, and chocolate whiskers along with the candy eyes make these bunny desserts extra adorable. Of course, anything on a stick is automatically 10 times cuter. Am I right?
How to make Chocolate Covered Marshmallow Bunnies:
- Melt your chocolate melts according to the package directions.
- Gently push a straw into the bunny bottom and then spoon chocolate over the entire bunny. Be very careful that your chocolate is warm enough for dipping, but not hot enough to melt the marshmallow bunnies.
- Lay them on a wax paper lined tray to dry.
- Use a toothpick to add a dab of chocolate on the bunny face where you want to place the eyes and nose. The little candy pearls are the perfect size for a bunny nose.
- Gently spread a layer of chocolate with your toothpick over the ears. Quickly sprinkle on the pink colored sugar!!!
- Dip the toothpick in the chocolate again and draw on little whiskers for each bunny face.
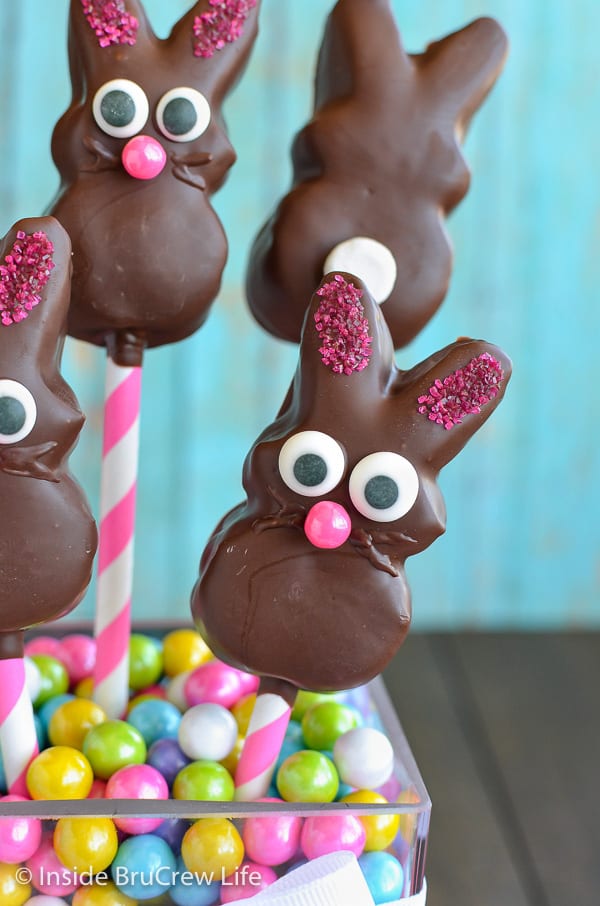
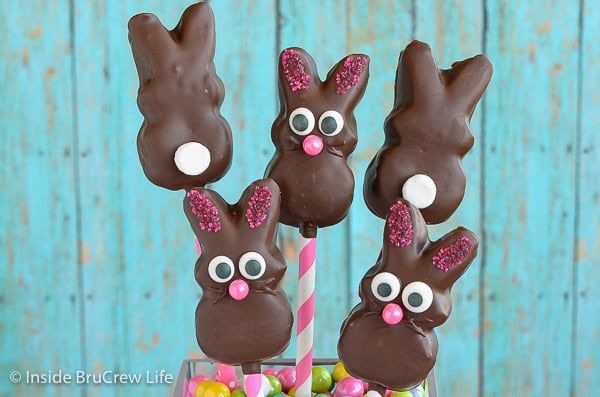
You can also use half a mini marshmallow for a tail if you want to change up the bunnies a little bit. Skip the face and just add a dab of chocolate on the bunny butt and place half a miniature marshmallow on top of the wet chocolate.
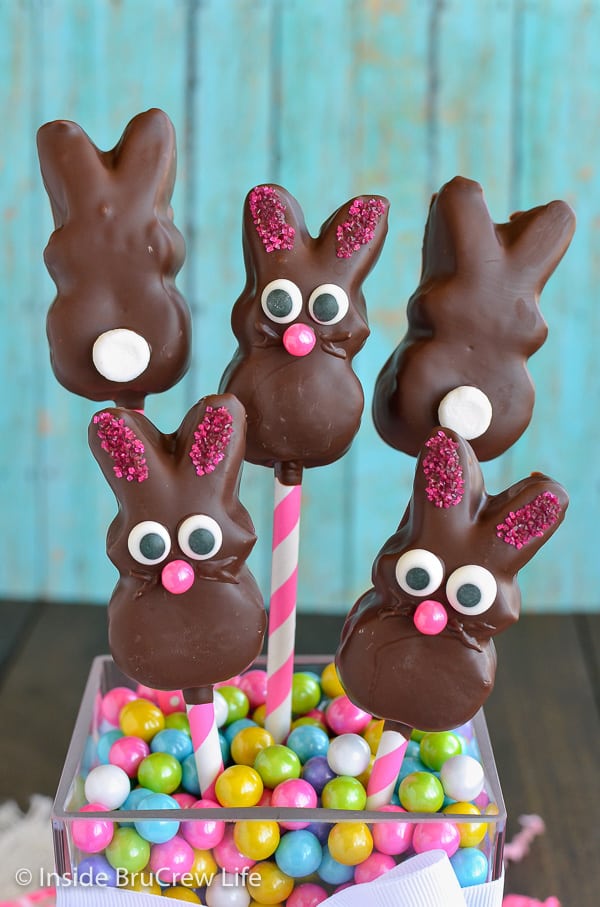
They are almost too cute to eat. Almost..
Our kids couldn't wait to get their hands on these chocolate bunnies and start munching on the ears. Why is it that everyone always starts with the bunny ears?
Fill a jar with bright colored Sixlets (or M&M's) and push the straws into it for a pretty and tasty centerpiece to display on your Easter dinner table.
Be prepared for these to disappear quickly though! I highly suggest making extras.
Lots of extras because everyone will be grabbing more than one chocolate Easter bunny at a time.
More easy no bake Easter treats for kids:
- Easter Rice Krispie Treats
- Party Peeps Eclair Cake Cups
- Easter Bunny Race Car Treats with Peeps
- Nutella Cream Eggs
- Robin Egg Fudge
CLICK HERE TO PIN THIS RECIPE FOR LATER!
Do you love a recipe you tried from Inside BruCrew Life?
Please leave a 5-star ⭐️ rating and a review in the comments section below.
Recipe
Chocolate Covered Marshmallow Bunnies
These Chocolate Covered Marshmallow Bunnies will disappear in a hurry when you make them for Easter. Kids of all ages can't resist a fun holiday treat on a colored stick.
Ingredients
- 1 package Peeps marshmallow bunnies
- 1 cup dark chocolate melts
- 12 pink Pearl candies
- pink sugar sprinkles
- 24 candy eyes
- 12 paper straws
- 1 bag Spring colored Sixlets
Instructions
- Press a straw into each bunny bottom.
- Melt the chocolate according to the package directions. Spoon the melted chocolate over the entire bunny. Be careful that your chocolate is not too hot or it will melt the bunnies.
- Lay each chocolate covered bunny on a wax paper lined tray. Let set.
- Dip a toothpick in the melted chocolate and add small dots for the faces. Press 2 eyes and 1 pink Pearl candy on each bunny face.
- Use the toothpick to spread chocolate on the ears. Sprinkle with the pink sugar.
- Draw chocolate whiskers on the bunny faces with the toothpick. Let set.
- Place the Sixlets in a clear glass jar and press the straws into the candies to make a fun centerpiece.
Notes
*You can also use half a mini marshmallow for a tail, if you want to skip some of the faces.
Recommended Products
As an Amazon Associate and member of other affiliate programs, I earn from qualifying purchases.
Nutrition Information:
Yield: 12 Serving Size: 1Amount Per Serving: Calories: 181Total Fat: 6gSaturated Fat: 4gTrans Fat: 0gUnsaturated Fat: 2gCholesterol: 2mgSodium: 12mgCarbohydrates: 31gFiber: 1gSugar: 22gProtein: 1g


Becky Hardin says
These are so cute and fun!!!
Courtney O'Dell says
These bunnies are so cute - can't wait to make them again for Easter!
Rachael Yerkes says
Cutest Easter treat ever!
Pamela Dana says
My kids are so excited to make these! Thanks!
Cheryl S says
what a fun cute idea!! the kids will love making these
Ashton says
I always love your cute-sy confections! Just ADORABLE.
Jess @ On Sugar Mountain says
OMG CANDY GOOGLY EYES?!? I need those in my life asap. Along with these bunnies. I must eat them all. <3
Renee @ Two in the Kitchen says
These are absolutely adorable! My kids enjoy making them. I love the iridescent six lets too!!
Jocelyn Brubaker says
Thanks Renee! 🙂
Laurie says
Thanks for linking up to Tip Me Tuesday linky party this week Jocelyn!. {knuckle bumps} Did you know that I can "lend" your blog posts my Google page rank for better search engine traffic? {fabulous} If you upload at least 2 images, 2 steps, and blog post URL into your Tip Junkie craft room, you'll be in business! {wink} ~ Laurie {a.k.a. the Tip Junkie}
http://www.tipjunkie.com/post/how-to-add-a-craft-room-project-on-tip-junkie/
Mary Frances says
Ahh, these are TOO cute!
Jenn @ Deliciously Sprinkled says
These are SO cute, you are so creative! I love bunny peeps and I might need to make these for our family Easter brunch...I know the kids and the bigs kids would LOVE these! Pinned 🙂
Jocelyn Brubaker says
Thank you so much Jenn! 🙂
Chels R. says
Okay, those are just dang adorable!!! Seriously, you need to open a bake shop...but near me so I can visit!
Jocelyn Brubaker says
My sister tells me that all of the time!! 😉 Thanks girl!
Brenda @ SweetSimpleStuff says
So cute ... especially the eyes ... they make me smile!
Jocelyn Brubaker says
Thanks Brenda!