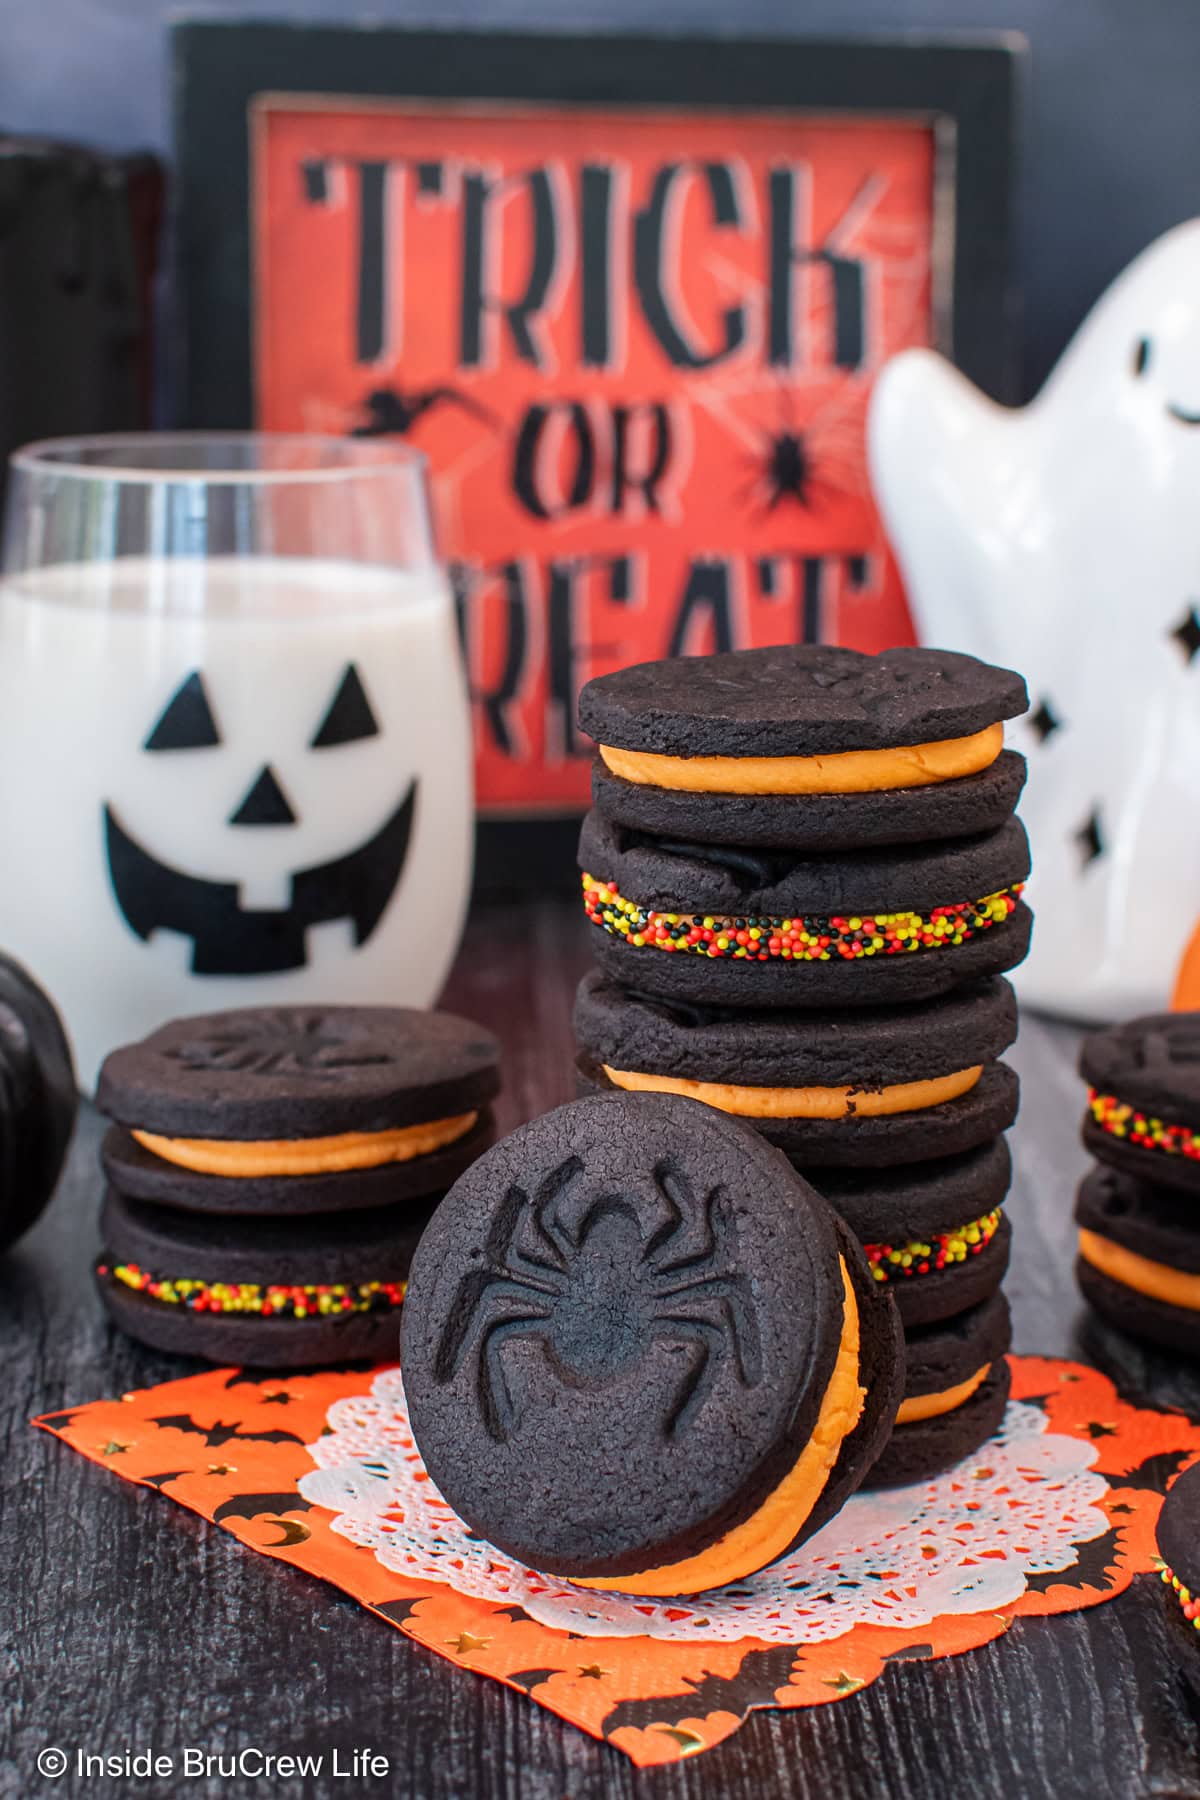
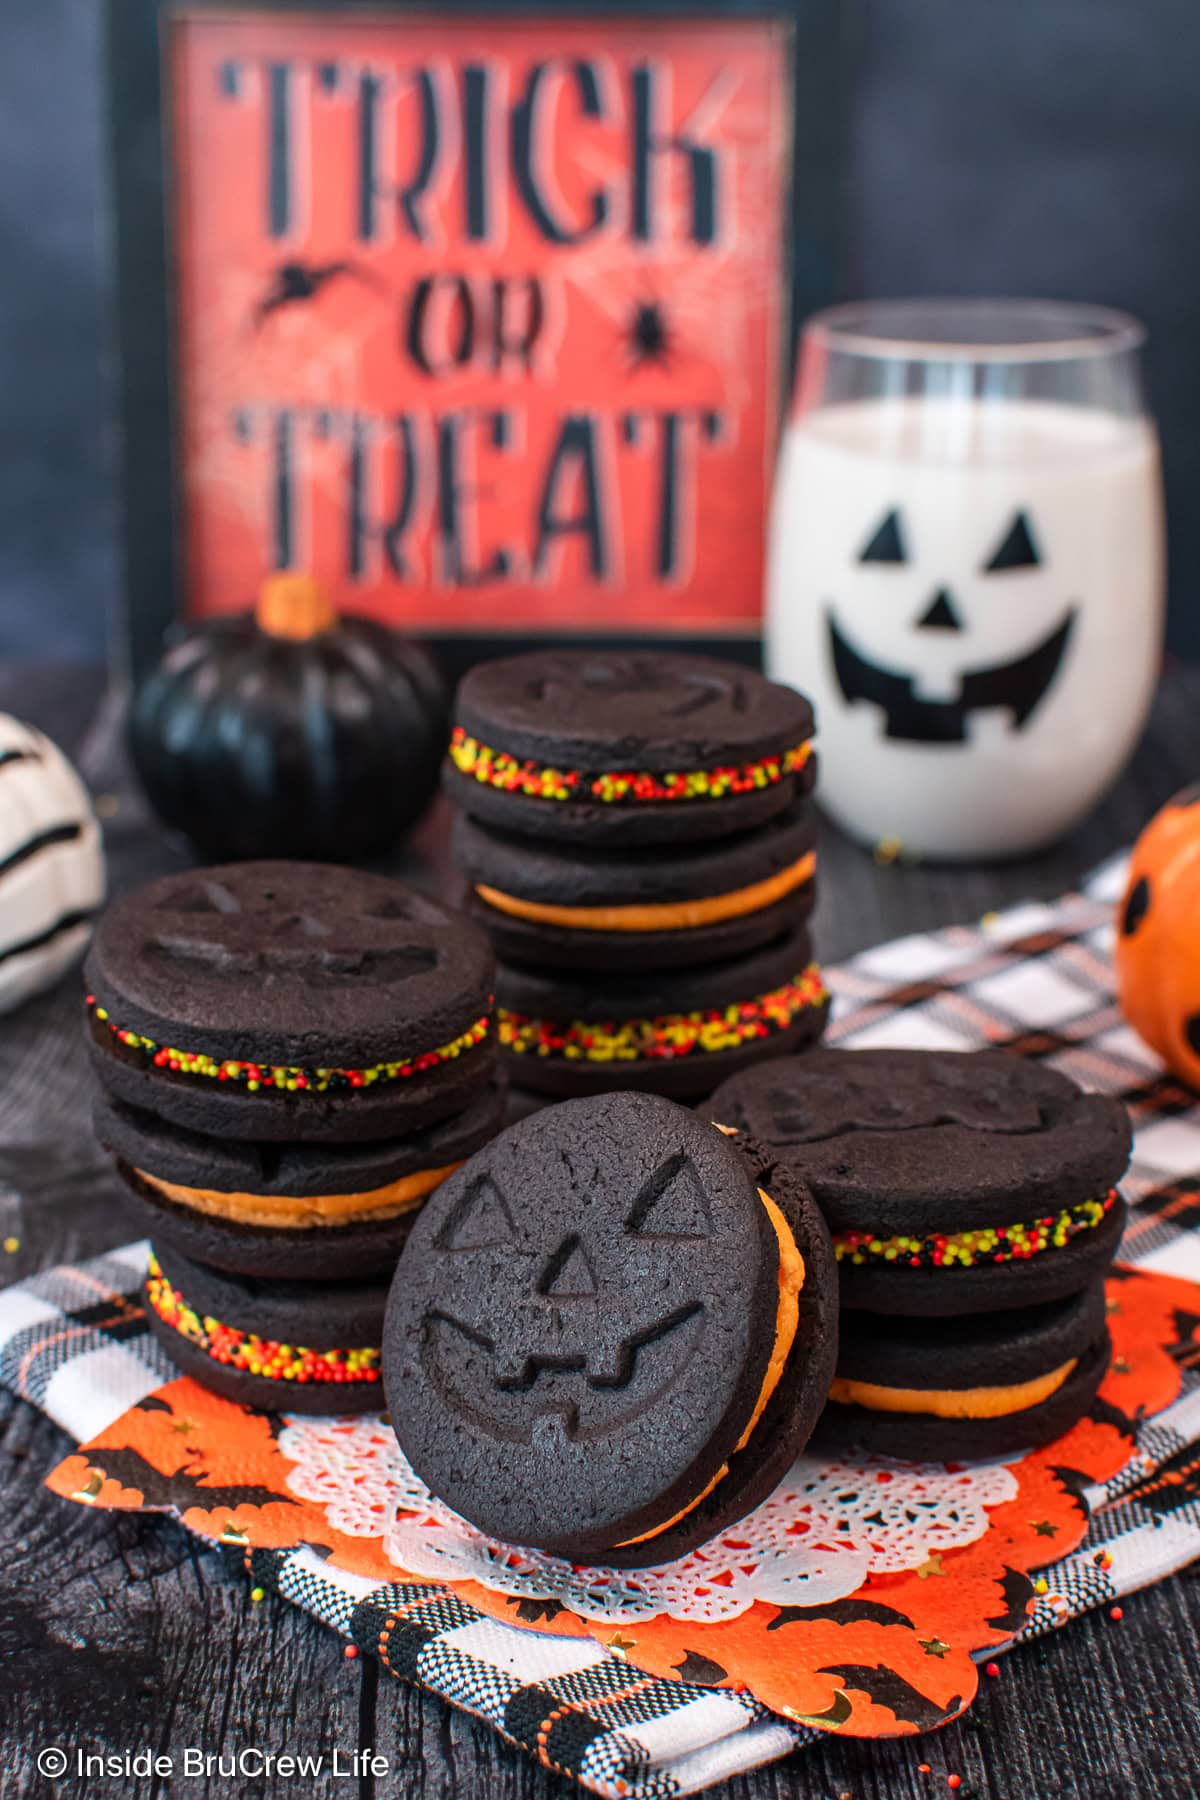
These Halloween Oreos are a playful take on the classic sandwich cookie. With a spooky imprint and vibrant orange frosting, these homemade Oreo cookies will stand out at any Halloween party!
Jump to:
I'm so excited to wish you Boo from our crew! Halloween is one of my favorite holidays.
This year, I gave my homemade red velvet Oreos a spooky makeover. A festive design, orange frosting, and colorful sprinkles added an eerie twist to the crunchy black cookies.
This Halloween Oreo recipe is a must if you want a fun treat to bake! It's so easy to make that they're almost scary. Goblins and ghouls of every size will gobble up these sweet treats!
Why You'll Love This Recipe
- Better than Store-Bought: Homemade cookies have that fresh, from-scratch taste that beats the store-bought version every time.
- Perfect for Halloween Parties: These spooktacular cookies will be a hit at any party, and they're a great way to add some fun to the dessert table.
- No Artificial Ingredients: You control what you put into them, meaning no unnecessary additives or preservatives.
- Spooky Vibes: These cookies are about getting into the Halloween spirit and having fun with food.
Main Ingredients
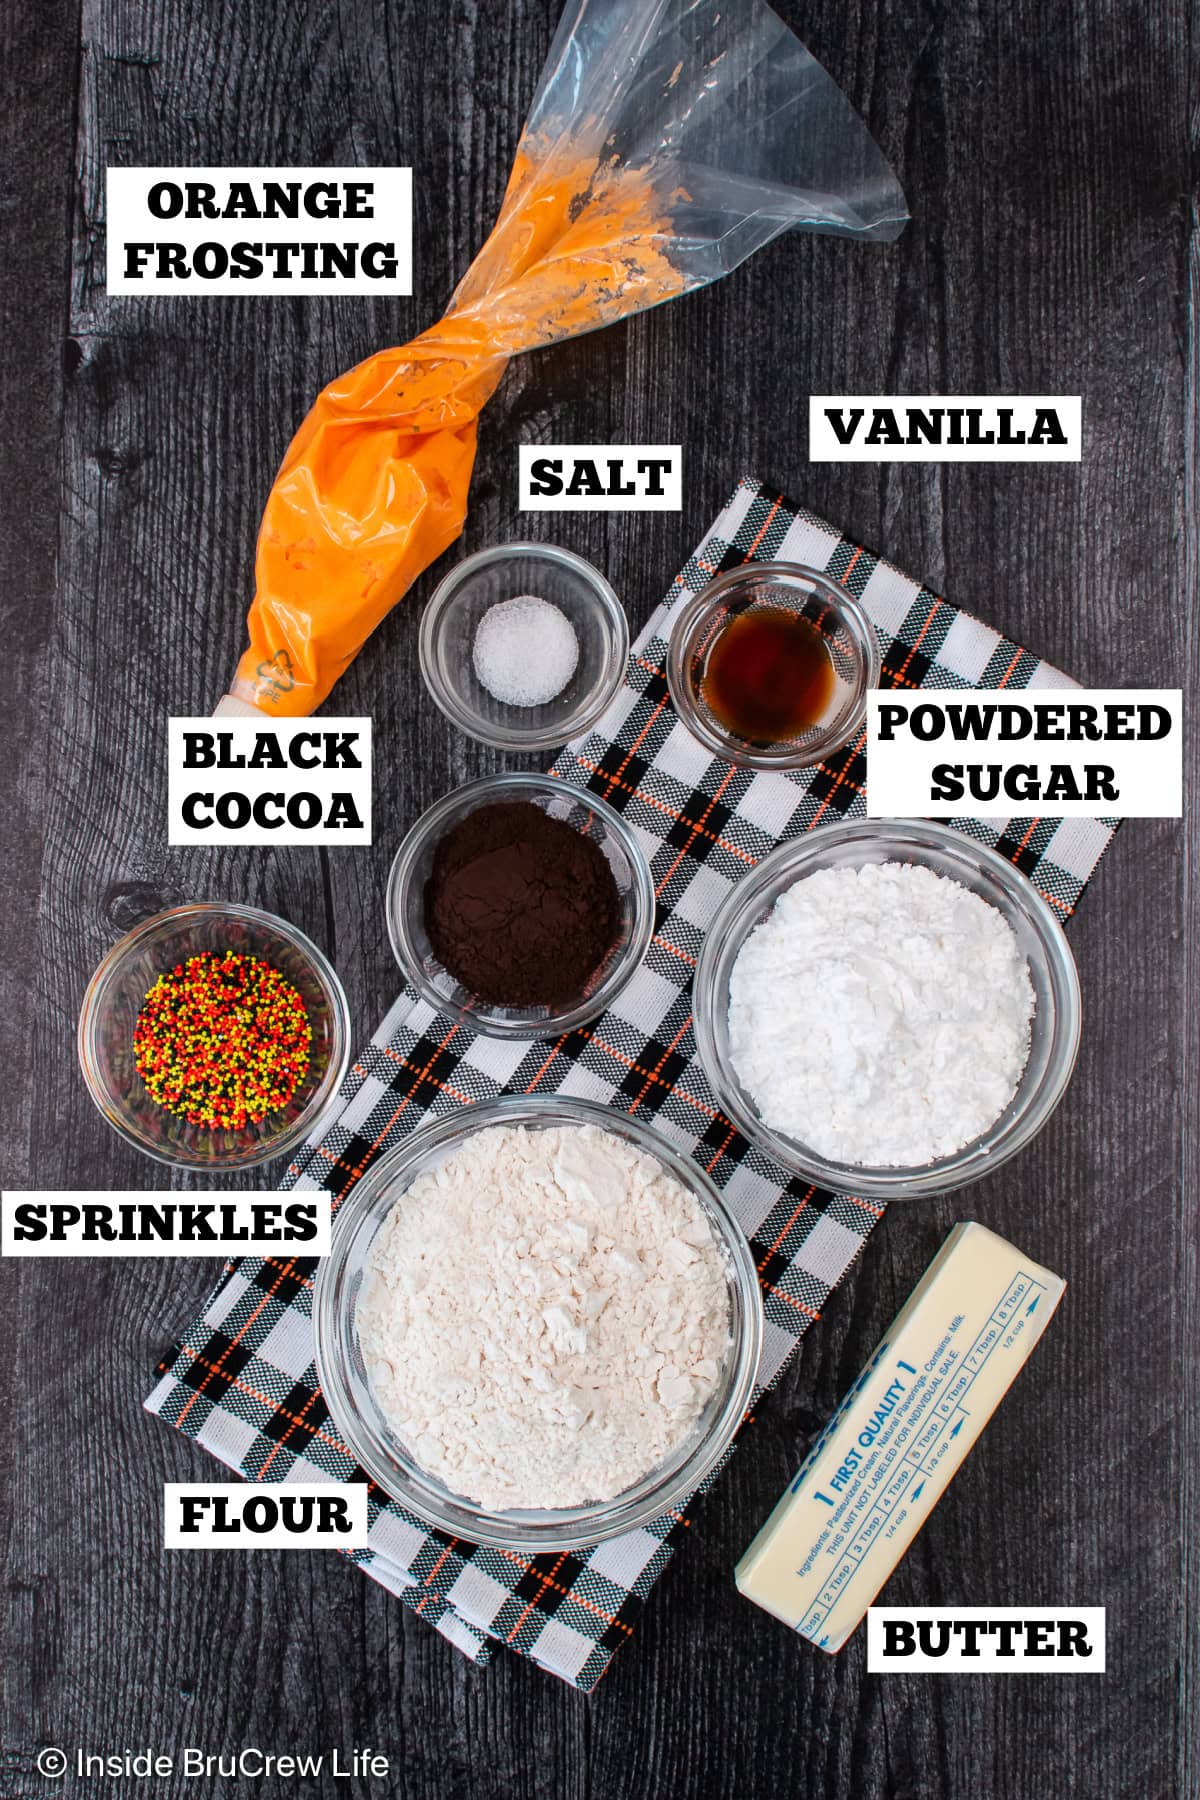
Prepare to create sandwich cookies using simple ingredients. This fun treat resembles your favorite store-bought brand. Let's boo this!
- Unsalted Butter: Provides a rich flavor to the dough.
- Powdered Sugar: Sweetens the mixture.
- All Purpose Flour: Adds structure to the cookie dough.
- Black Cocoa Powder: This is the secret ingredient in these cookies. It gives the Oreo cookies their signature color and taste. You can also use any Dutch-processed cocoa powder.
- Cream Filling: To make orange creme frosting for cookie sandwiches, mix butter, shortening, vanilla extract, and powdered sugar.
How To Make Halloween Oreos
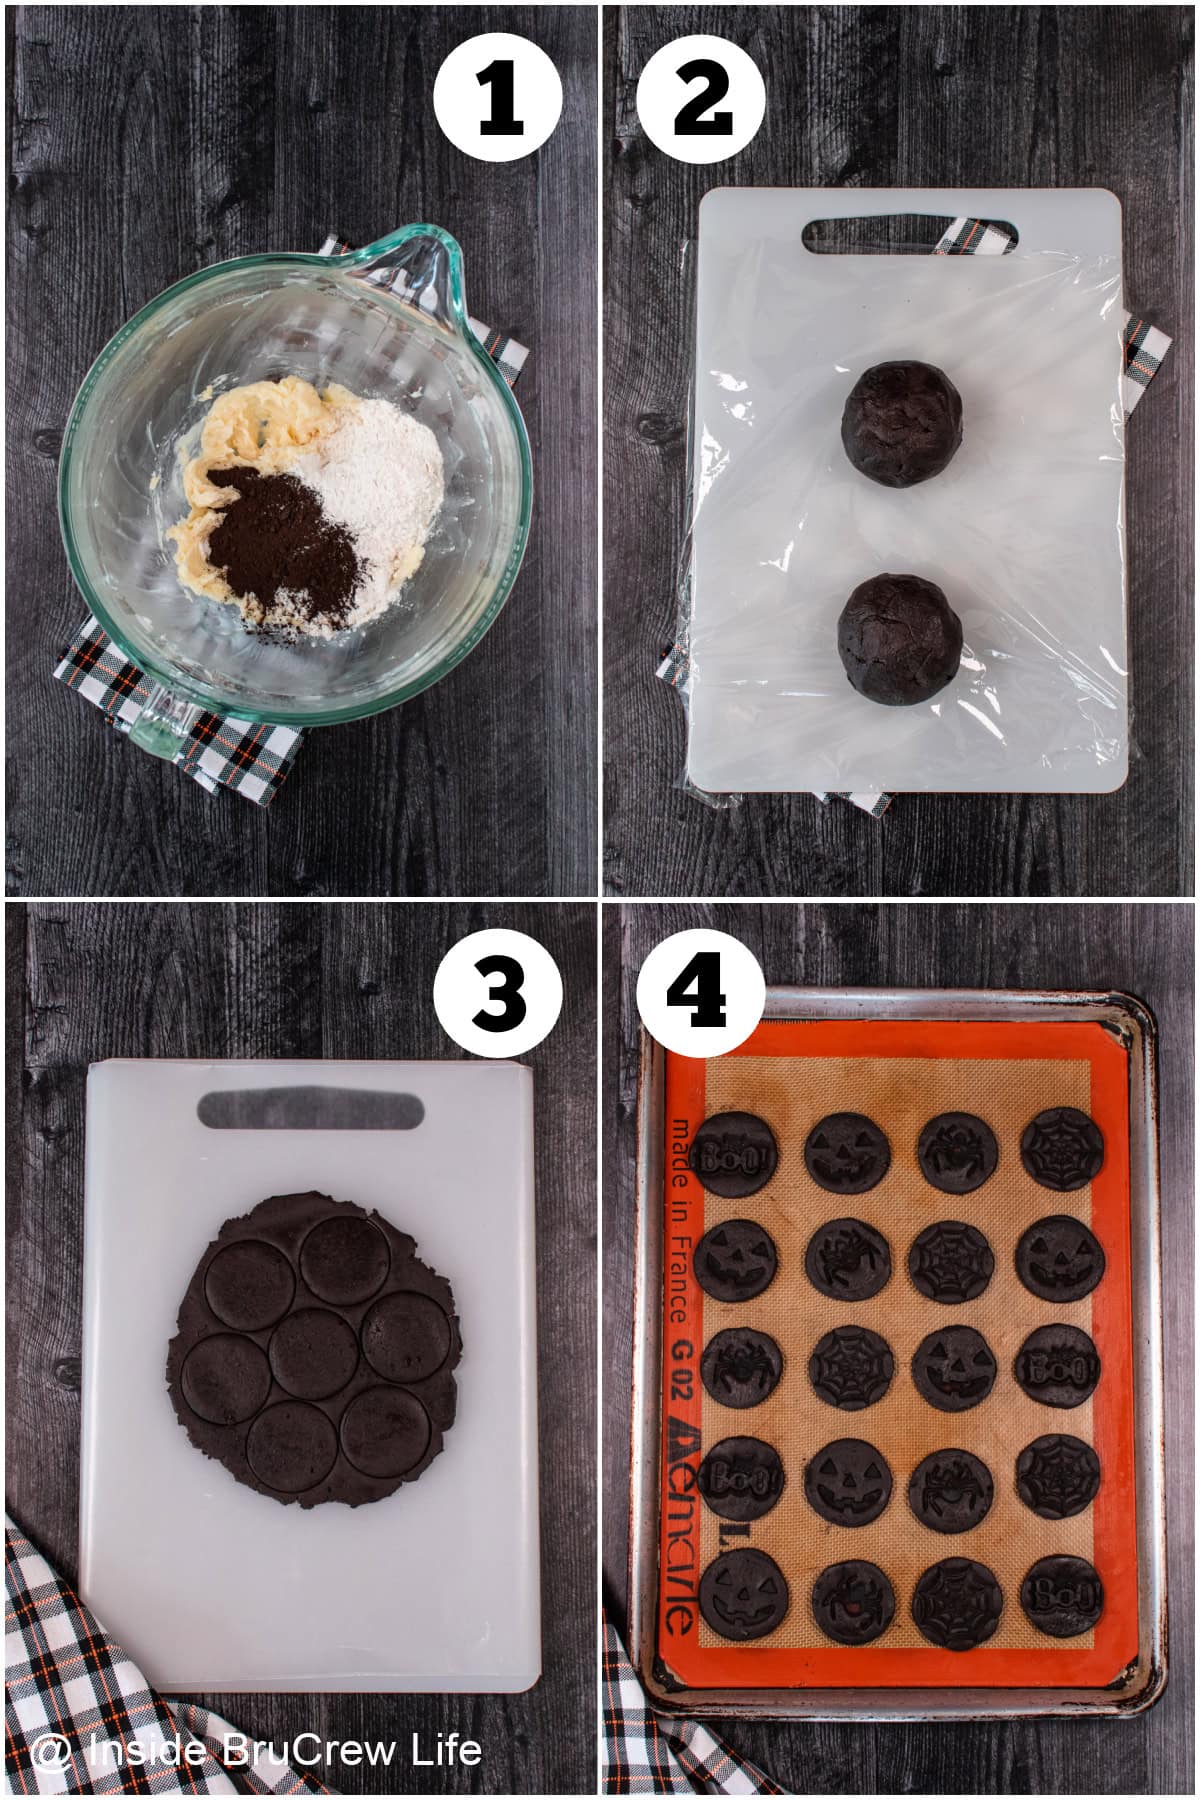
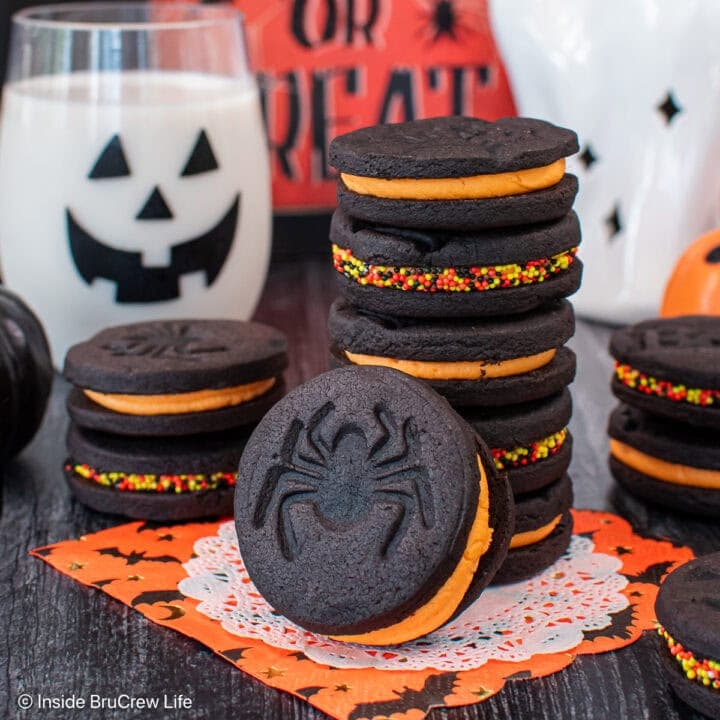
This Oreo cookie recipe is super easy and so much fun to make. The cookies turn out with a fantastic flavor and texture. Who wouldn't love a spooky cookie with a cute spider on it?
- Make the dough. Beat the butter and sugar with an electric mixer until creamy. Add the vanilla and salt, and then beat again. Slowly mix the dry ingredients into the butter mixture. Divide the dough into two balls, then wrap it in plastic wrap and refrigerate for 30 minutes.
- Roll and cut. Place each ball between two sheets of wax paper, then roll out to ¼ inch thick. Use a 2-inch round cookie cutter to cut ten circles from each dough ball. (You will need to reroll the scraps a few times.)
- Press and bake. Place cookies on a prepared baking sheet, and then press a cookie stamp into the tops of the dough. Bake until set, then let them cool on the pan for 5 minutes before moving to a wire rack or sheet of parchment paper.
- Cool and fill. Once the cookies are completely cool, place the frosting in a piping bag and squeeze a swirl on half of the cookies. Top with the remaining cookies.
Storage Recommendations
Any leftover Halloween cookies should be kept in a loosely sealed container at room temperature for 3-4 days. The butter in the frosting will make the cookies soften the longer they sit.
Wrap the cookies tightly and freeze them in an airtight container for 2-3 months. Thaw in the fridge before serving.
Tips and Tricks
- Use black cocoa to make the cookie dough dark, almost black. If you don't have it, dark cocoa will work, but it won't be as deep in color.
- Place the dough in the fridge before rolling it out. This keeps the cookies from spreading and makes them easier to work with.
- Roll the cookie dough evenly so it's the same thickness throughout. This will result in perfect cookies when sandwiched together.
- Pipe the frosting onto the cookies using a piping bag with a round tip to keep the filling neat.
- While classic vanilla frosting is the most common choice for regular Oreos, this recipe is versatile. Try dark chocolate icing for a delicious twist, or experiment with other flavors to make it your own.
- Use Halloween cookie cutters to make ghosts, bats, or pumpkins for extra spooky fun.
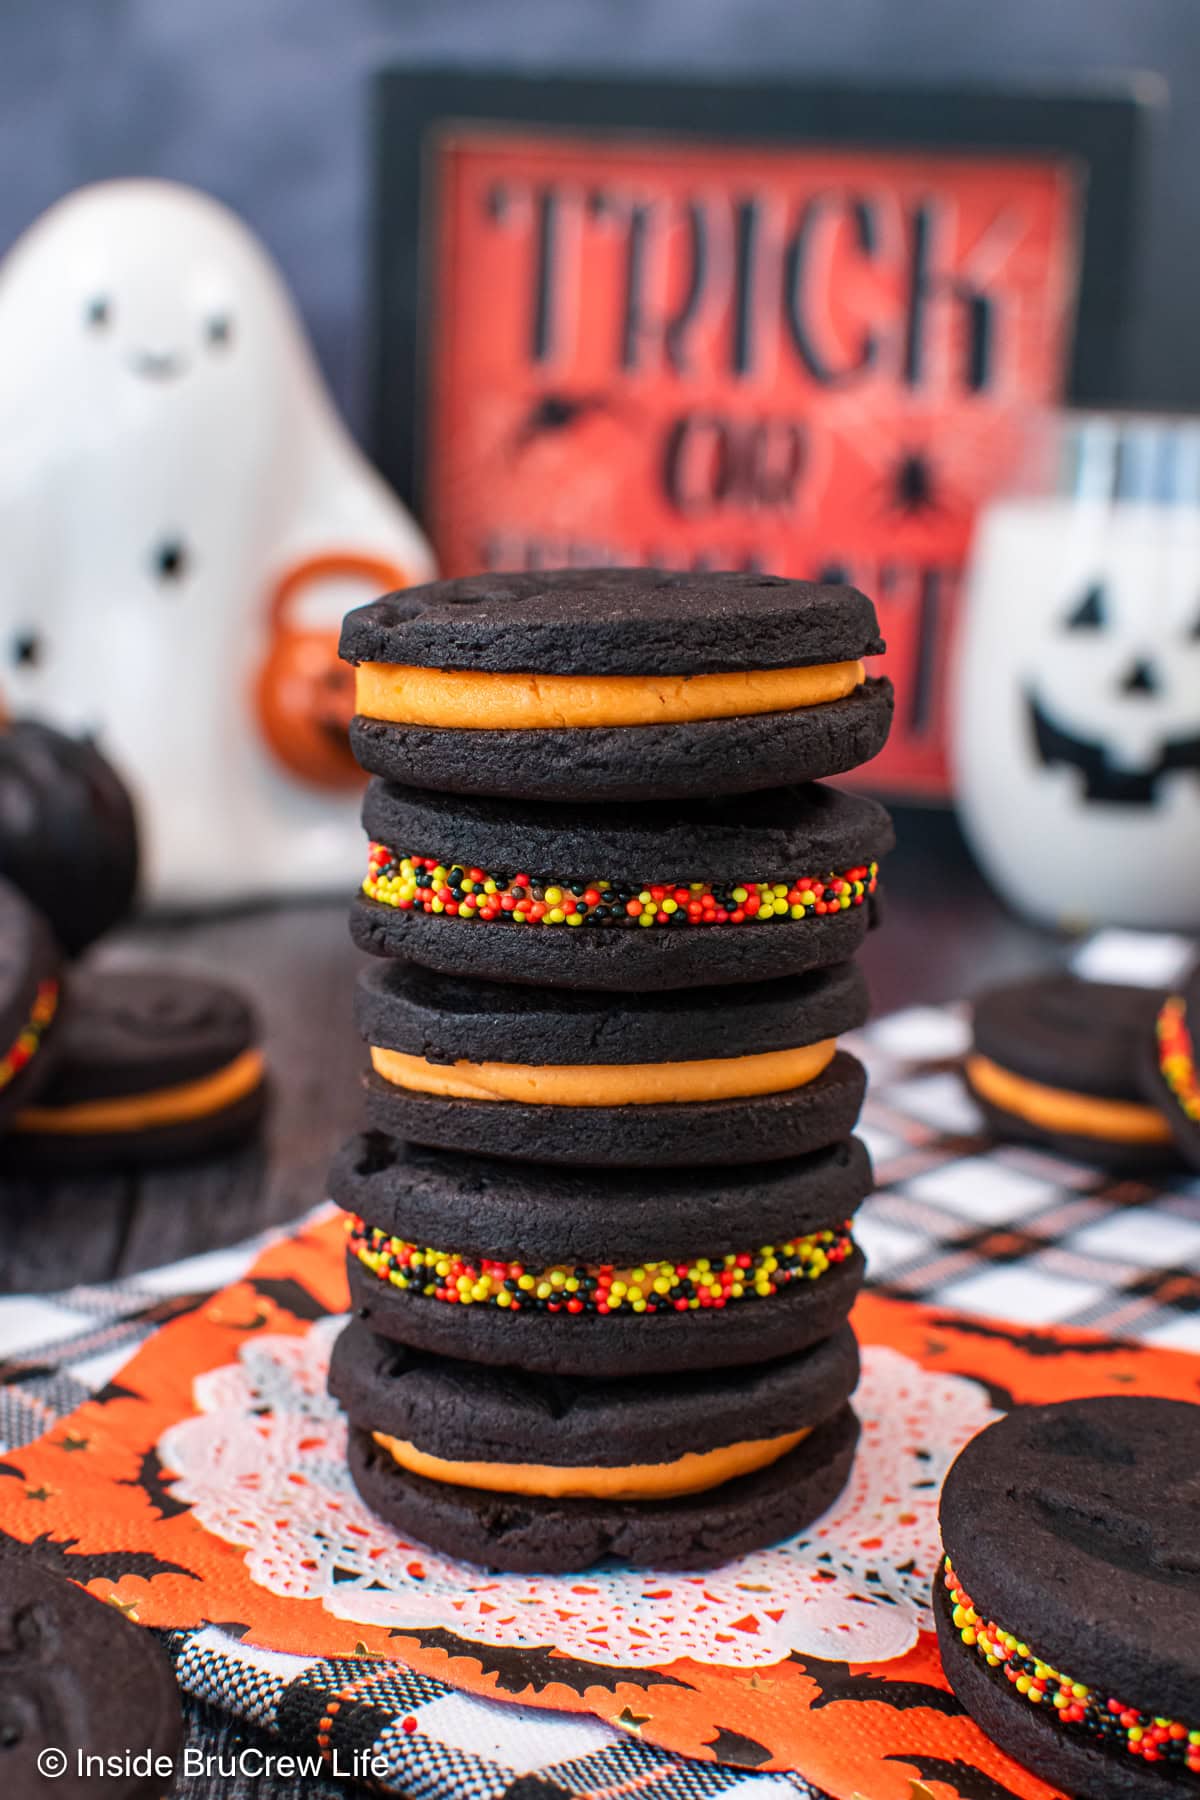
- Roll the frosting edges in Halloween sprinkles, or press candy eyes into the filling for a little extra flair!
FAQs
Yes! But your cookies will be a little lighter in color. Black cocoa is what makes them look like your favorite store-bought cookies.
Chilling the dough keeps the cookies from spreading too much as they bake on the cookie sheet.
You can use gel food coloring to get a vibrant orange color without affecting the texture of the frosting. Add a little until you get the shade you want for your Halloween treats.
More Halloween Party Treats
Do you love a recipe you tried from Inside BruCrew Life?
Please leave a 5-star ⭐️ rating and a review in the comments section below.
Recipe
Halloween Oreo Cookies
These Halloween Oreos are a playful take on the classic sandwich cookie. With a spooky imprint and vibrant orange frosting, these homemade Oreo cookies will stand out at any Halloween party!
Ingredients
For the Cookies
- ½ cup unsalted butter, softened
- ½ cup powdered sugar
- 1 teaspoon vanilla extract
- ¼ teaspoon table salt
- 1 cup all purpose flour (120g)
- 2 tablespoons black cocoa powder
For the Frosting
- ¼ cup unsalted butter, softened
- ¼ cup vegetable shortening
- ½ teaspoon vanilla extract
- 1 ¾ cup powdered sugar
- orange gel coloring
Instructions
- Beat butter and sugar until creamy. Add vanilla and salt and mix again.
- Whisk together flour and cocoa powder and slowly add it to the butter mixture.
- Gather the dough into a ball and cut it in half. Wrap in plastic wrap and refrigerate for 30 minutes.
- Preheat oven to 350°F.
- Place one dough ball between two wax paper sheets and roll out to ¼" thick. Use a 2" round cookie cutter to cut out circles. Reroll the scraps until you have 12 circles.
- Place the circles on a nonstick baking sheet. If desired, use cookie stamps to gently press images onto the tops. Refrigerate the pan while you repeat with the second dough ball.
- Bake for 11-12 minutes. Remove and cool on the hot pan for 5 minutes before placing on a wire rack.
- Beat the frosting ingredients until smooth and creamy. Add gel coloring with a toothpick until you get your desired shade.
- Spoon the frosting into a piping bag fitted with icing tip #10. Swirl the frosting on half of the cookies. Top with the remaining cookies and press gently to spread the frosting. Roll the edges in sprinkles, if desired. Store in a loosely sealed container.
Recommended Products
As an Amazon Associate and member of other affiliate programs, I earn from qualifying purchases.
Nutrition Information:
Yield: 10 Serving Size: 1Amount Per Serving: Calories: 323Total Fat: 19gSaturated Fat: 11gTrans Fat: 0gUnsaturated Fat: 7gCholesterol: 39mgSodium: 56mgCarbohydrates: 37gFiber: 1gSugar: 26gProtein: 2g
Nutrition facts are an estimate and are not guaranteed to be accurate. If you need special diet advice, please see a registered dietician.





Leave a Reply