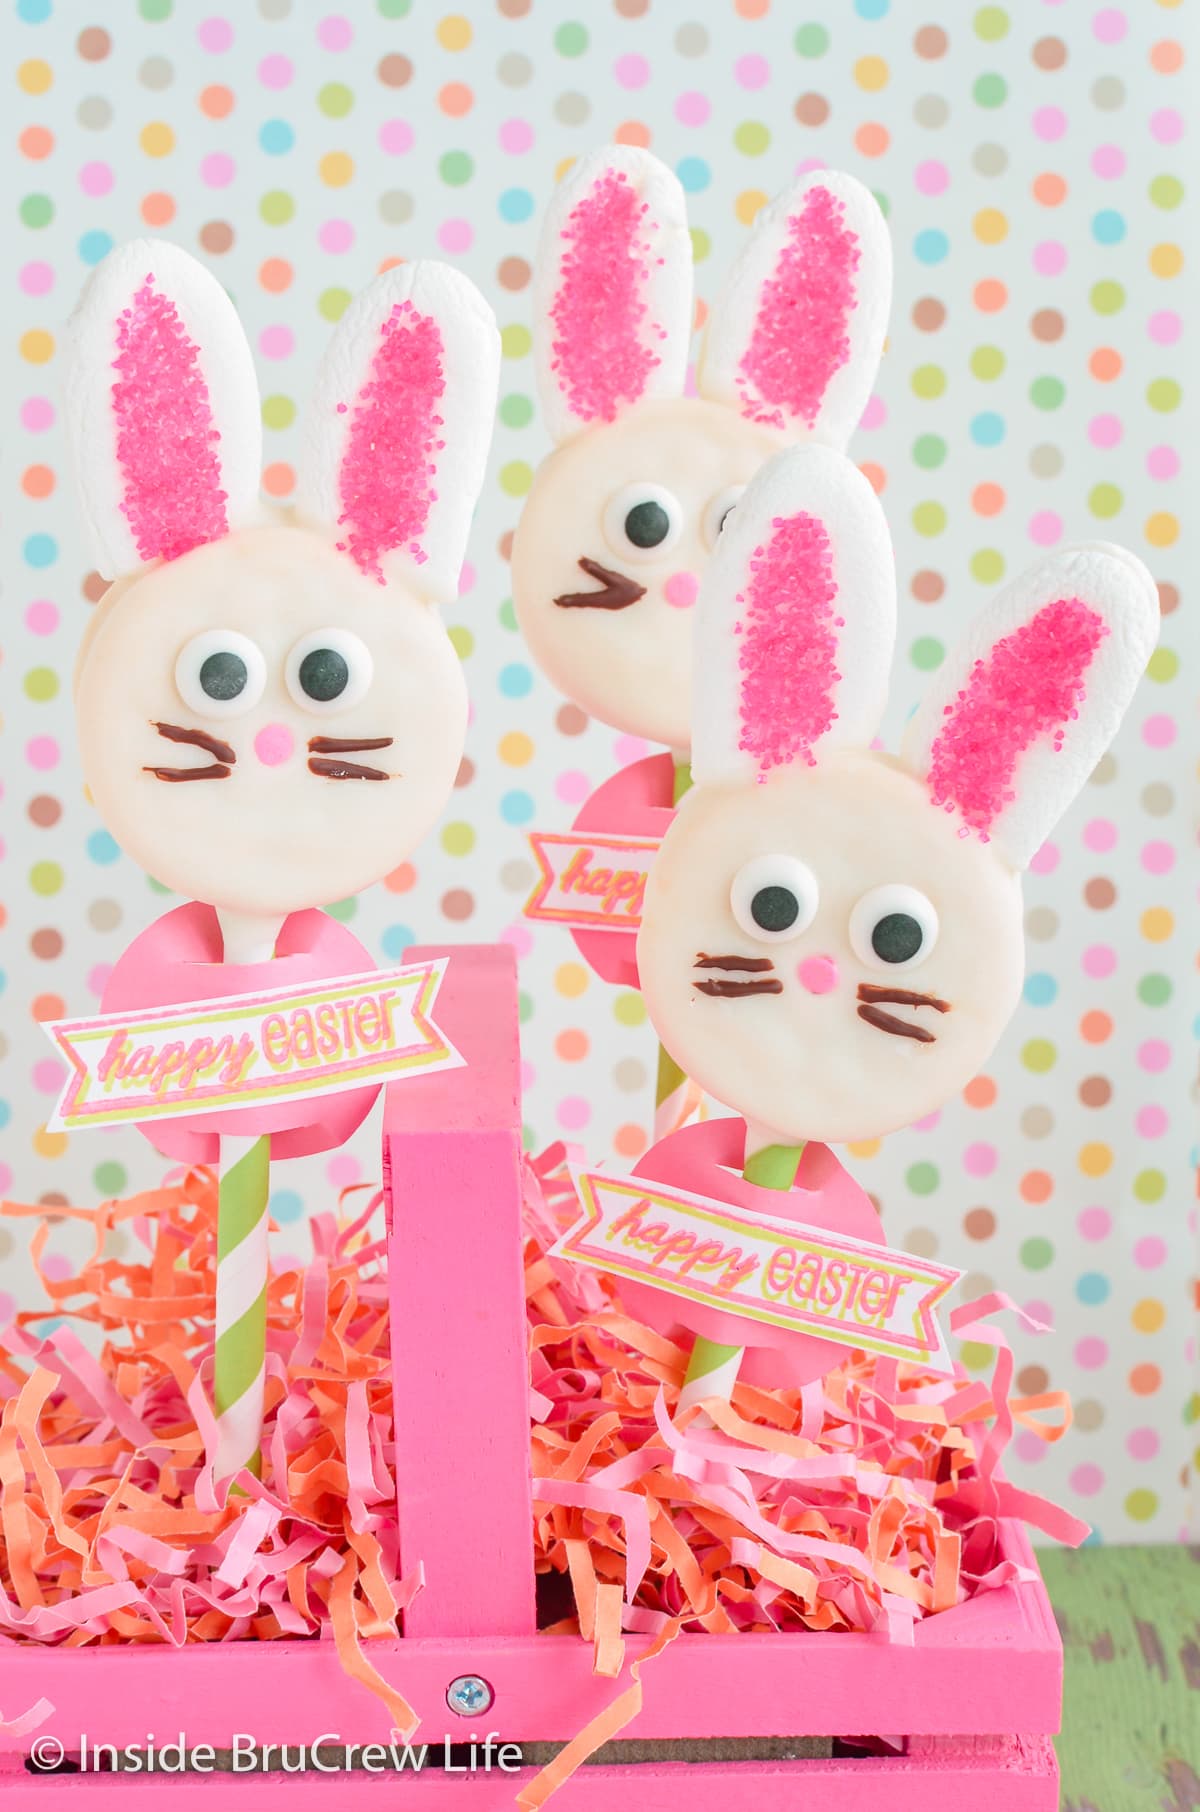
Are you looking for a cute Easter treat that is easy to make in minutes? No bake Oreo Bunnies are so fun and easy to put together. Kids of all ages will enjoy making and eating these cute chocolate covered bunny cookies.
Jump to:
I love finding fun and adorable treats that I can add edible candy eyes to. A few of my favorite Easter treats with eyes are these Oreo chicks and these bunny cupcakes.
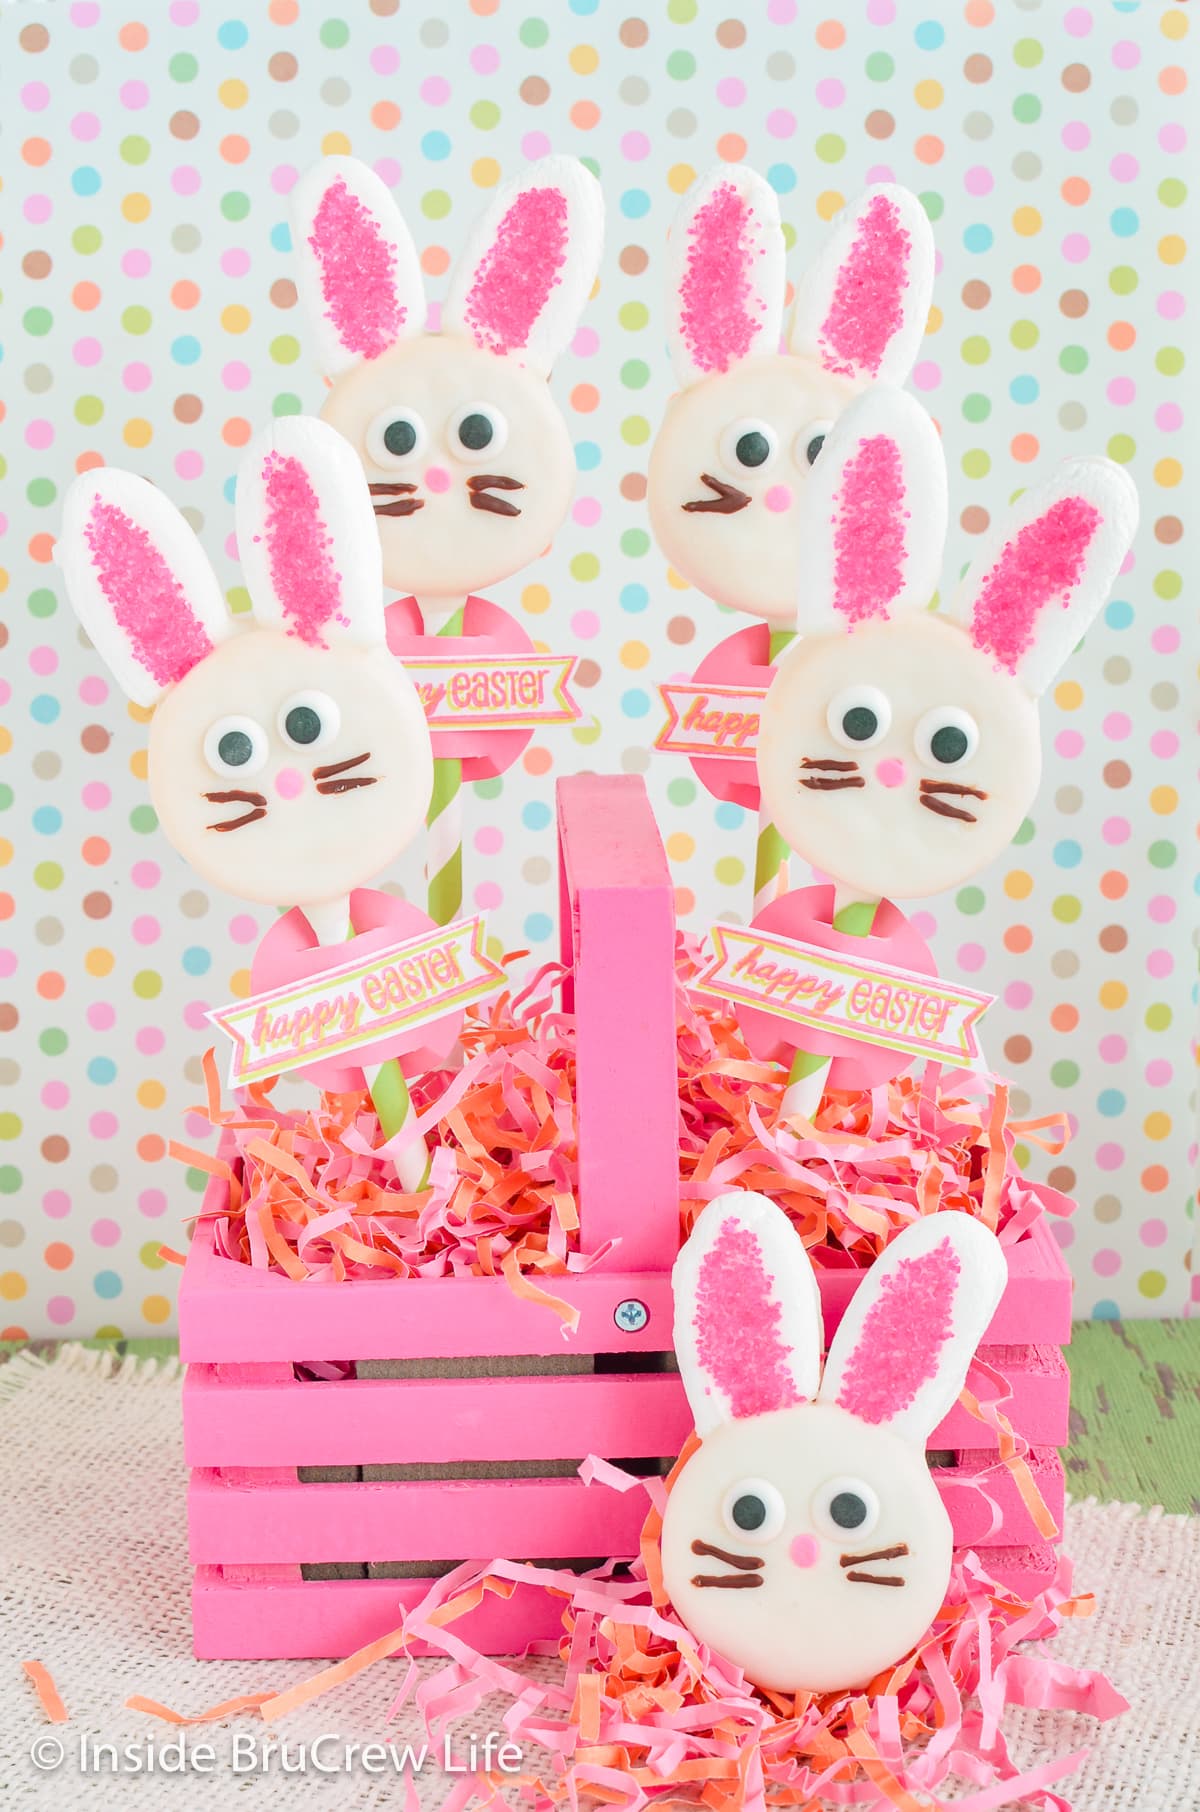
Since Easter is coming soon, I decided to hop to it and turn chocolate covered Oreos into bunnies. Adding straws and putting them into a basket made a fun centerpiece for our dinner table.
BONUS! If you love no bake Easter recipes then you will love these bunny butt rice krispies or these easy no bake Easter desserts!
Why You Will Love Easter Oreos
Most Easter recipes require lots of ingredients and lots of time in the kitchen. Our bunny Oreo pops are an easy treat that can be made in no time at all.
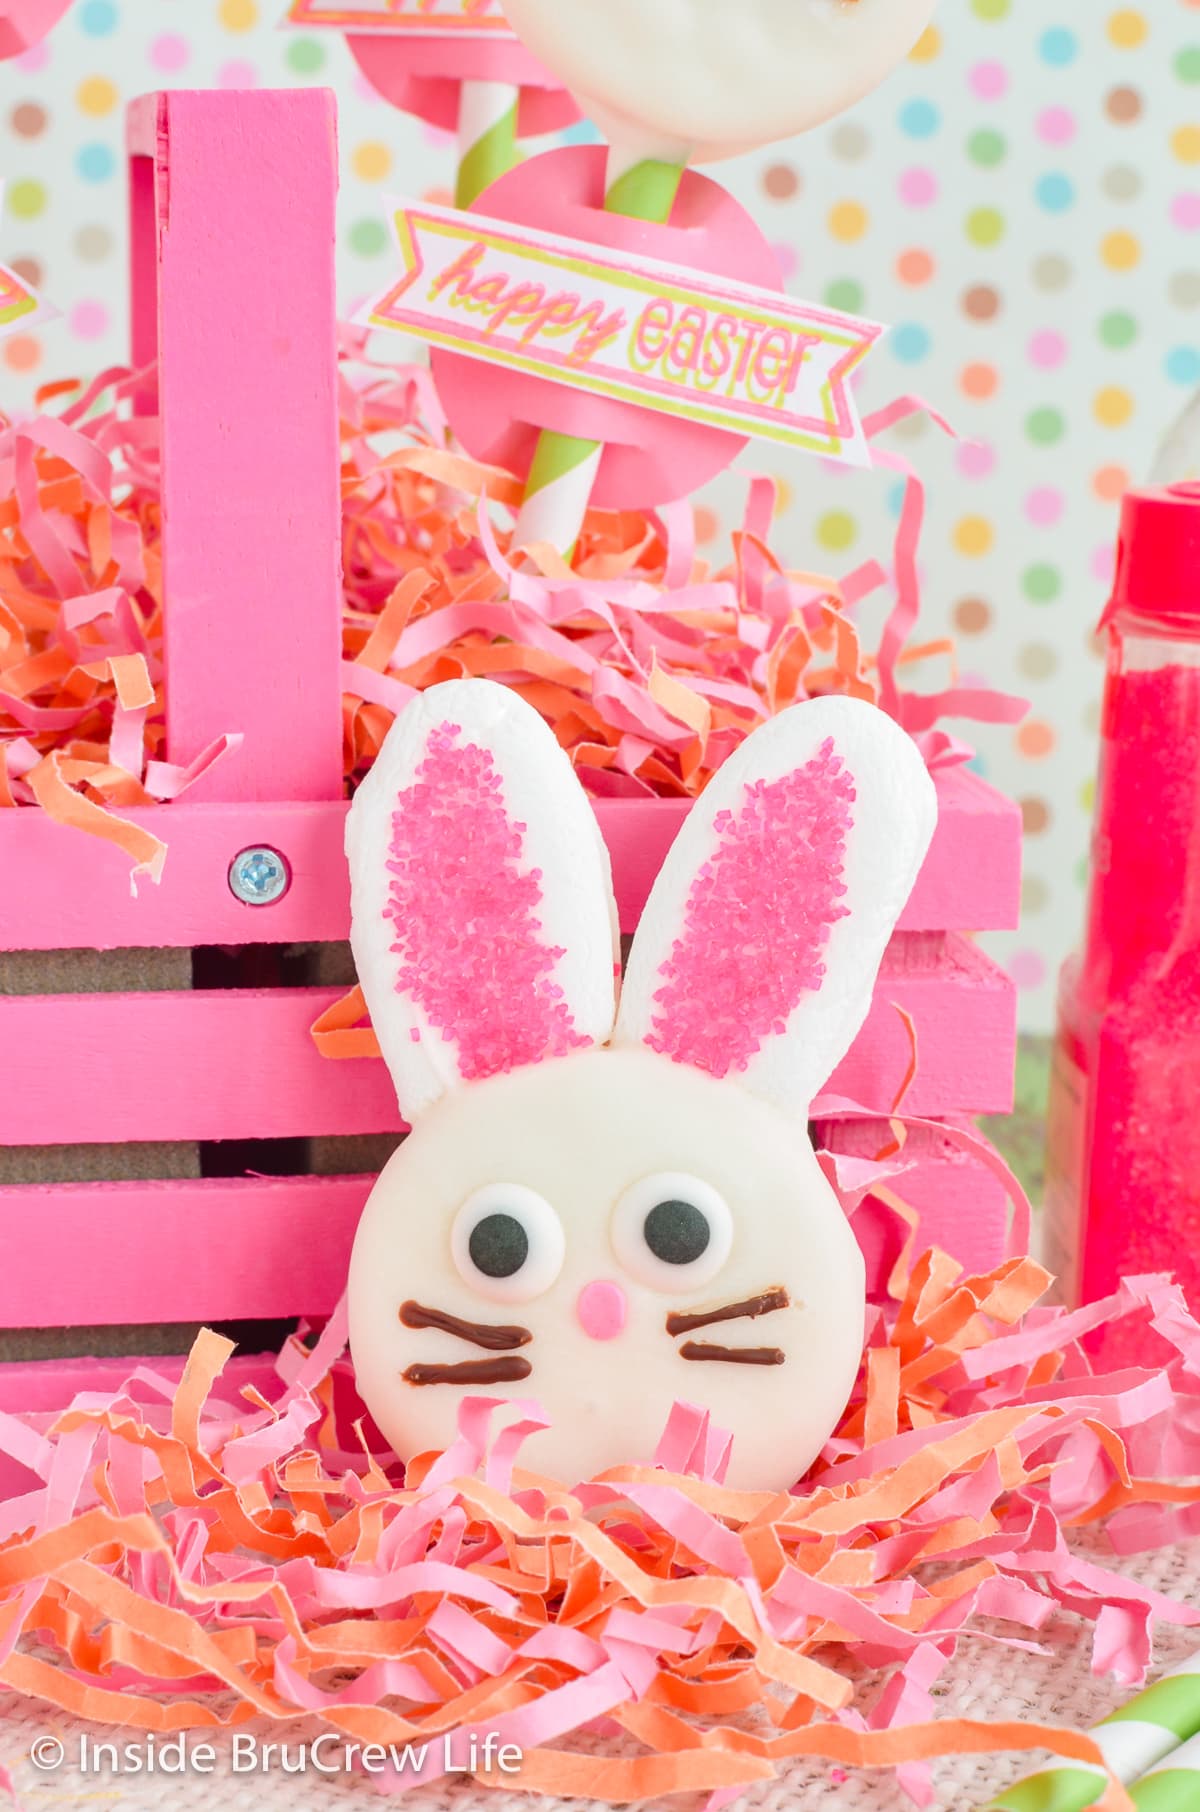
White chocolate, marshmallows, and pink sprinkles transformed the cookies into the cutest Easter Oreos in a matter of minutes.
- No baking required! All you have to do is melt chocolate in the microwave and dip the Oreos.
- Fun Easter craft. Kids of all ages can dip and decorate the cookies while Easter dinner is still cooking.
- Edible Centerpiece. Use foam, shredded paper, and a basket to create a cute and delicious decoration for your dinner table.
What You'll Need
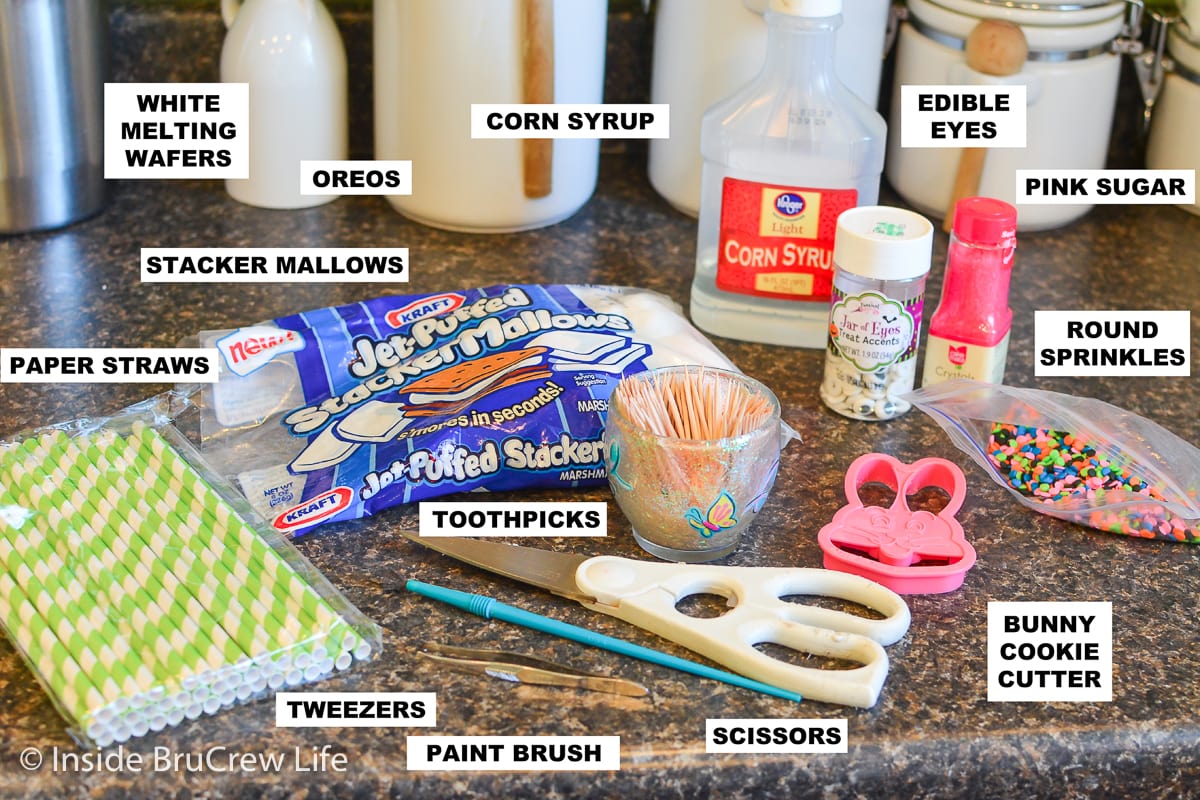
All you need are a few ingredients and some patience while the chocolate dries on these no bake bunny cookies.
Ingredients
- Oreos - Any flavor or variety will work.
- White Candy Melts & Chocolate Candy Melts - We love using Ghirardelli because they melt easy and taste so good.
- Marshmallows - The flat stacker marshmallows are the easiest to cut into ears.
- Pink Round Sprinkles - Use these for the nose. Pink heart sprinkles or mini M&M's are fun too.
- Corn Syrup - Used to make the sugar stick to the marshmallow ears.
- Pink Sanding Sugar - Adds color to the inside of the ears.
- Edible Candy Eyes - Find these fun eyeballs in most grocery stores or craft stores in their baking aisles.
Tools
- Straws - Added if you want to turn the Easter cookies into pops.
- Toothpicks - Makes it easier to draw whiskers on the bunny faces.
- Bunny Cookie Cutter - Any size will work, but one with bigger ears is best.
- Scissors - You will need these to trim the ears.
- Tweezers - These just make it so much easier to place small sprinkles for noses onto wet chocolate.
- Paint Brush - I like to use these to brush the syrup onto the marshmallows.
How to Make Bunny Oreos
Don't let all the details scare you away, these Oreo bunny cookies are quite easy to make. Make sure you have all the ingredients and tools set out before melting the chocolate.
Prep the Ingredients
- Twist apart the Oreos and lay them cream side up on a parchment paper lined baking sheet.
- Melt the white chocolate in a microwave bowl at 50% power. Stir until melted and creamy.
- Flatten one end of a paper straw, dip it in melted chocolate, then place it on the filling side of a cookie. Place the top cookie back on it and let it set. Repeat with all cookies.
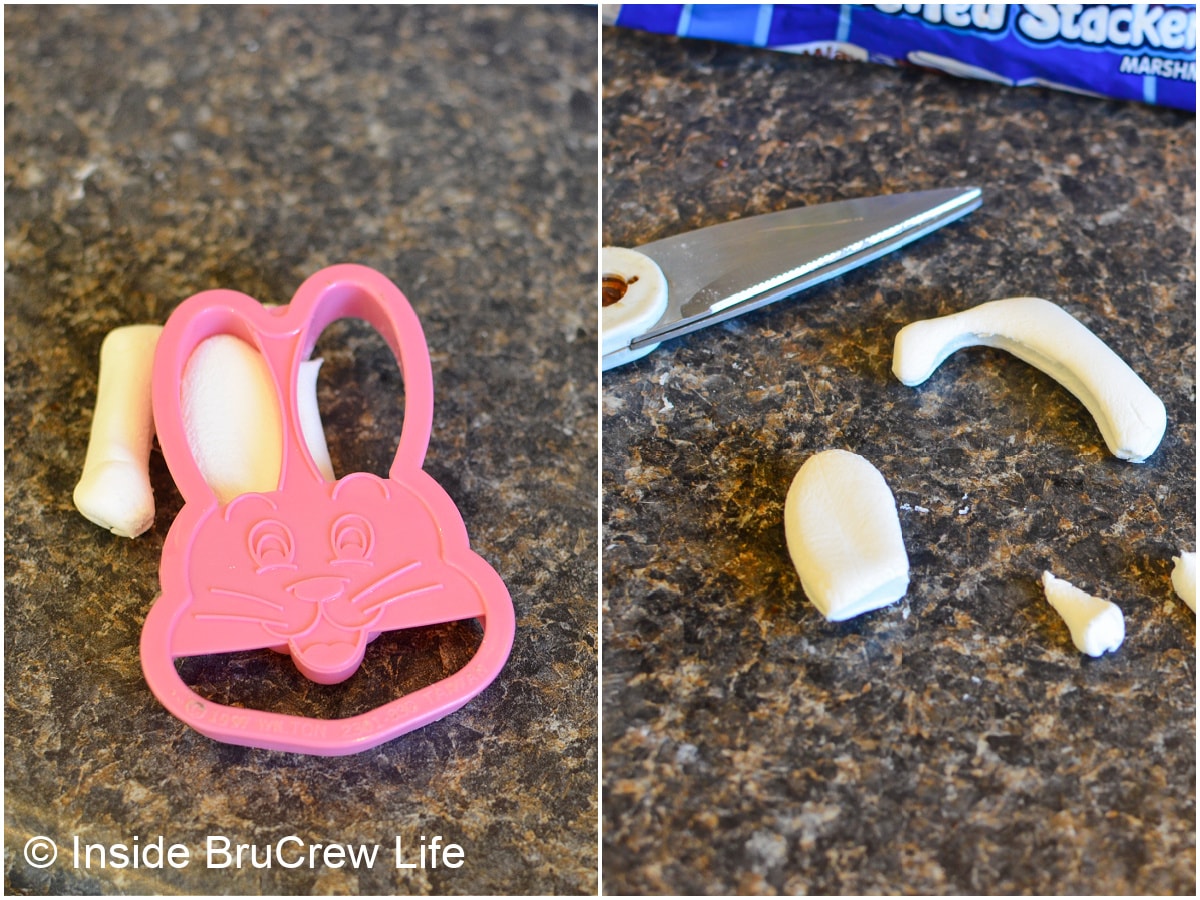
- Cut out the bunny ears. Place the flat marshmallow on a hard surface and press with the cookie cutter, so only one ear is made at a time. Remove the cookie cutter and use scissors to trim the marshmallows. You want to cut a small part off the bottom at an angle, so it will attach to the Oreo better.
Assemble the Bunny Cookies
- Dip the Oreos one by one into the melted white chocolate. Make sure you have the candy eyes, pink sprinkle noses, and tweezers very close by. Use a spoon to cover the whole cookie in chocolate.
- Tap the excess chocolate off very gently. Place the chocolate covered Oreo on a wax paper lined tray.
- While the chocolate is still wet, press the candy eyes in place. Use the tweezers to drop the pink nose onto the chocolate.
- Dip the angled cut side of two marshmallow ears into the white chocolate and carefully attach to the top of the cookie. Repeat all the steps with the rest of the Oreos and let them set.
Decorate the Cookies
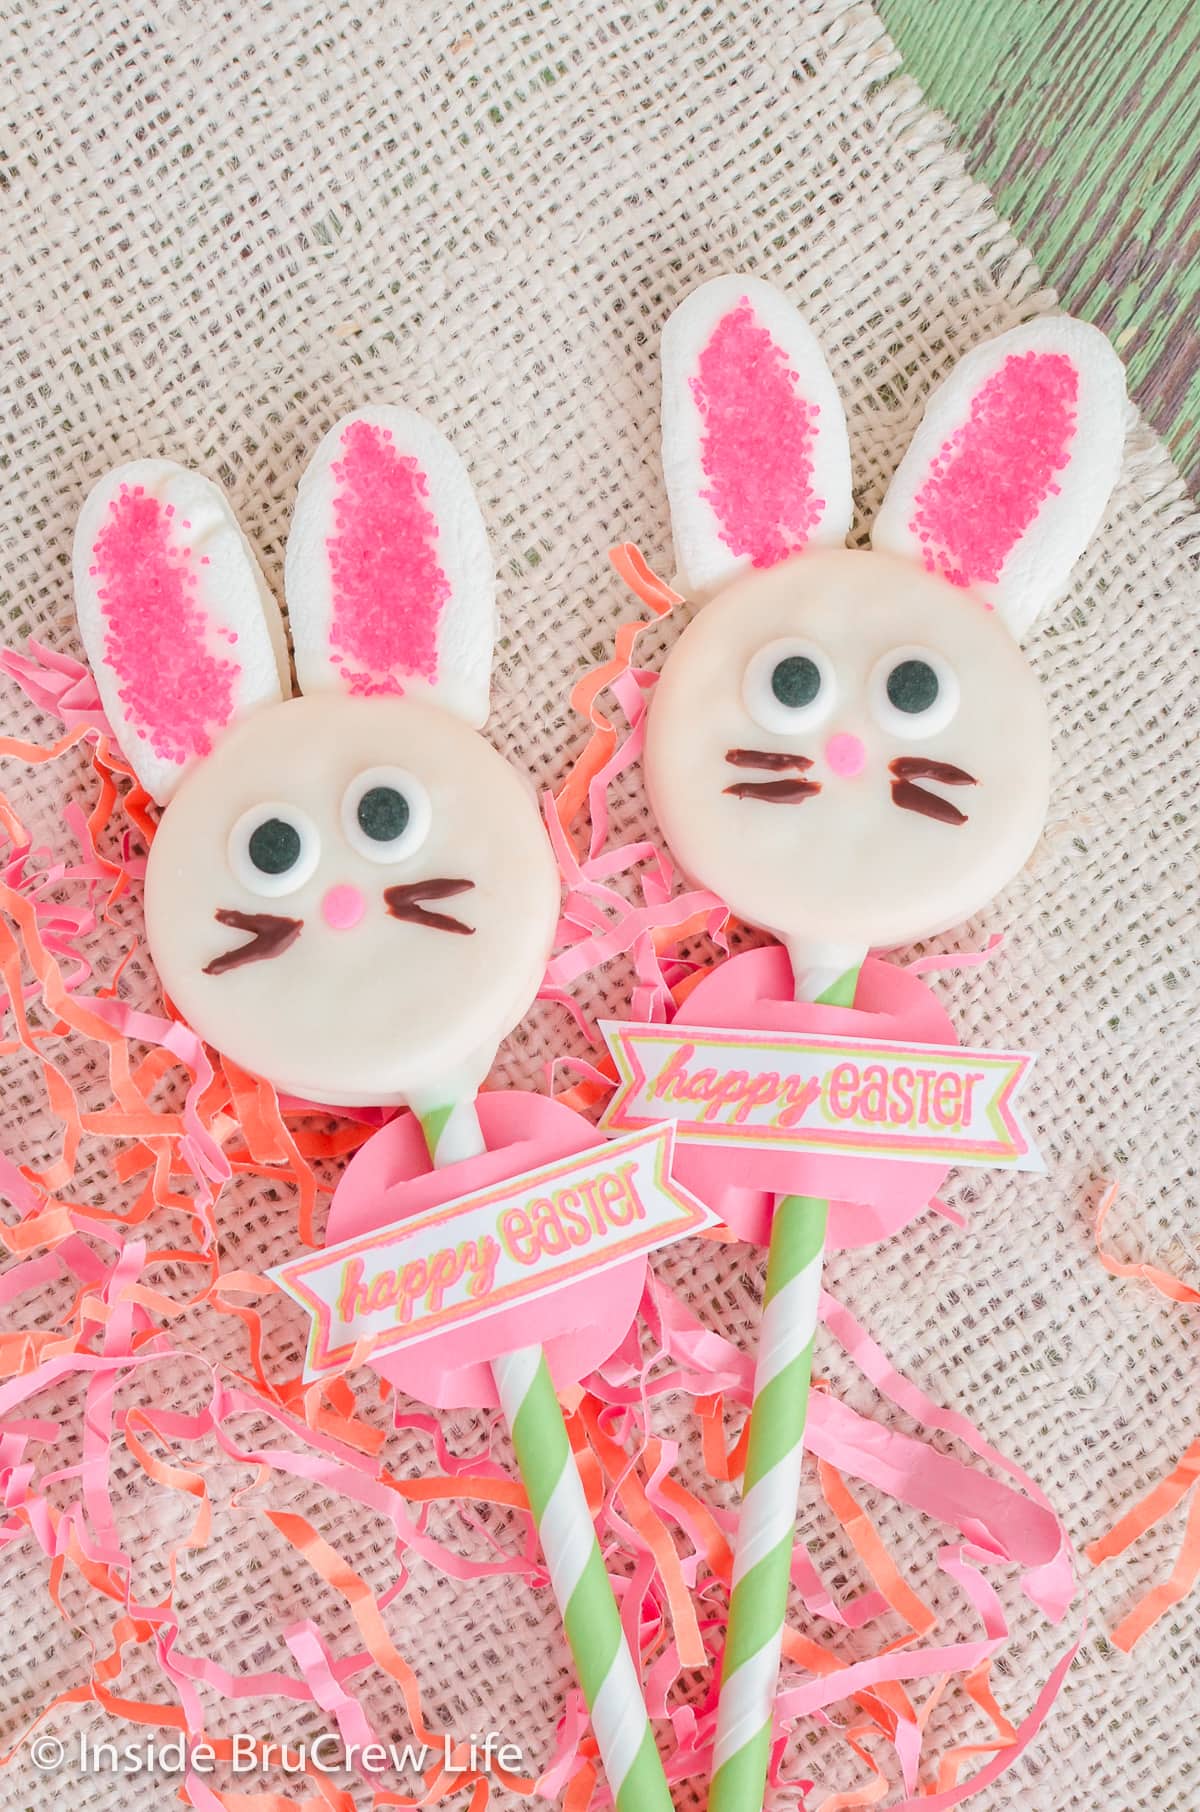
- Once the chocolate has cooled completely, use the paintbrush to coat the center of each marshmallow ear with corn syrup. Then sprinkle with the pink sugar.
- Melt the chocolate wafers. Use a toothpick to very carefully draw whiskers on the bunnies. Let it dry before moving.
- Flip the cookies over and attach half of a mini marshmallow to the back for bunny tails using the white chocolate. Let set again.
Tips and Tricks
- Use double stuffed Oreos to make it easier to add the straws in the center.
- If the chocolate dries before adding your decorations, use a toothpick to dab on a little more melted chocolate and place the sprinkles or ears in place.
- Don't want to make marshmallow ears? You can find Easter Bunny icing decorations at Walmart, Target, and most craft and hobby stores.
- Fill a small wooden basket with foam and colored shredded paper to hold the Oreo bunnies. This would make the cutest center piece for your Easter dinner table.
- Place each bunny cookie individually in small plastic bags and tie ribbons and tags to the outside.
FAQs
Yes, these Oreo bunnies are an easy no bake treat to make a few days ahead of time.
Add a paper straw or lollipop stick to the Oreos before dipping them in melted chocolate to turn these cute bunnies into pops.
Chocolate Oreos will keep for a few weeks if you keep them in a tightly sealed container at room temperature.
More Easy Easter Treats
- Easter Cookie Cake
- Easter Snack Mix
- Amish Peanut Butter Eggs
- Easter Popcorn
- Coconut Cream Eggs
- Italian Easter Cookies
Do you love a recipe you tried from Inside BruCrew Life?
Please leave a 5-star ⭐️ rating and a review in the comments section below.
Recipe

Oreo Bunnies
These Oreo Bunnies are so fun and easy to put together. Kids of all ages will enjoy these cute no bake chocolate covered bunny cookies.
Ingredients
- 12 Oreo cookies
- 24 flat marshmallows (like the Kraft Stacker Mallows)
- 12 miniature marshmallows
- 12 small pink round sprinkles
- 1 tablespoon corn syrup
- 24 edible candy eyes
- 2 tablespoons pink sanding sugar
- 1 - 10 bag white chocolate melting wafers
- 2 tablespoons chocolate melting wafers
- 12 paper straws
- 1 bunny cookie cutter with tall ears
Instructions
- Twist apart the Oreo cookies and set on a tray.
- Flatten the end of a straw and dip it in the white chocolate. Place the straw in the cookie and put the top cookie back on. Let set.
- Using the bunny cookie cutter, cut out one ear from each marshmallow. Use scissors to cut away the excess. Also cut a small angled part of the bottom of each ear. so it sits on the rounded cookie better.
- Melt the white melting wafers according to the package directions. Dip the cookies one a time. Use a spoon to cover the cookie completely. Tap the extra chocolate off very carefully.
- Place the chocolate covered cookies on a wax paper lined tray. Put the candy eyes on while the chocolate is still wet. Using tweezers, place the pink sprinkle nose on.
- Dip the flat end of the marshmallow ears in the white chocolate and place on the top of the cookie while it is lying flat. Let the cookies set.
- After the chocolate is completely set, use a small paintbrush to coat the inside of the ears with corn syrup and sprinkle with pink sugar.
- Melt the chocolate melting wafers in the microwave and use a toothpick to draw whiskers on the bunny faces.
Nutrition Information:
Yield: 12 Serving Size: 1Amount Per Serving: Calories: 738Total Fat: 34gSaturated Fat: 17gTrans Fat: 0gUnsaturated Fat: 12gCholesterol: 15mgSodium: 241mgCarbohydrates: 107gFiber: 1gSugar: 82gProtein: 7g
Nutrition facts are an estimate and are not guaranteed to be accurate. If you need special diet advice, please see a registered dietician.
*The post for Oreo bunny pops was first published March 2013. It was updated March 2023.



Liz says
These are SO cute! My Oreo lovin' family would happily devour them. Thanks for the link love, too. 🙂
Mitzi says
just pinned this! This is the cutest Easter treat I've seen--just love it--thanks for sharing 🙂