

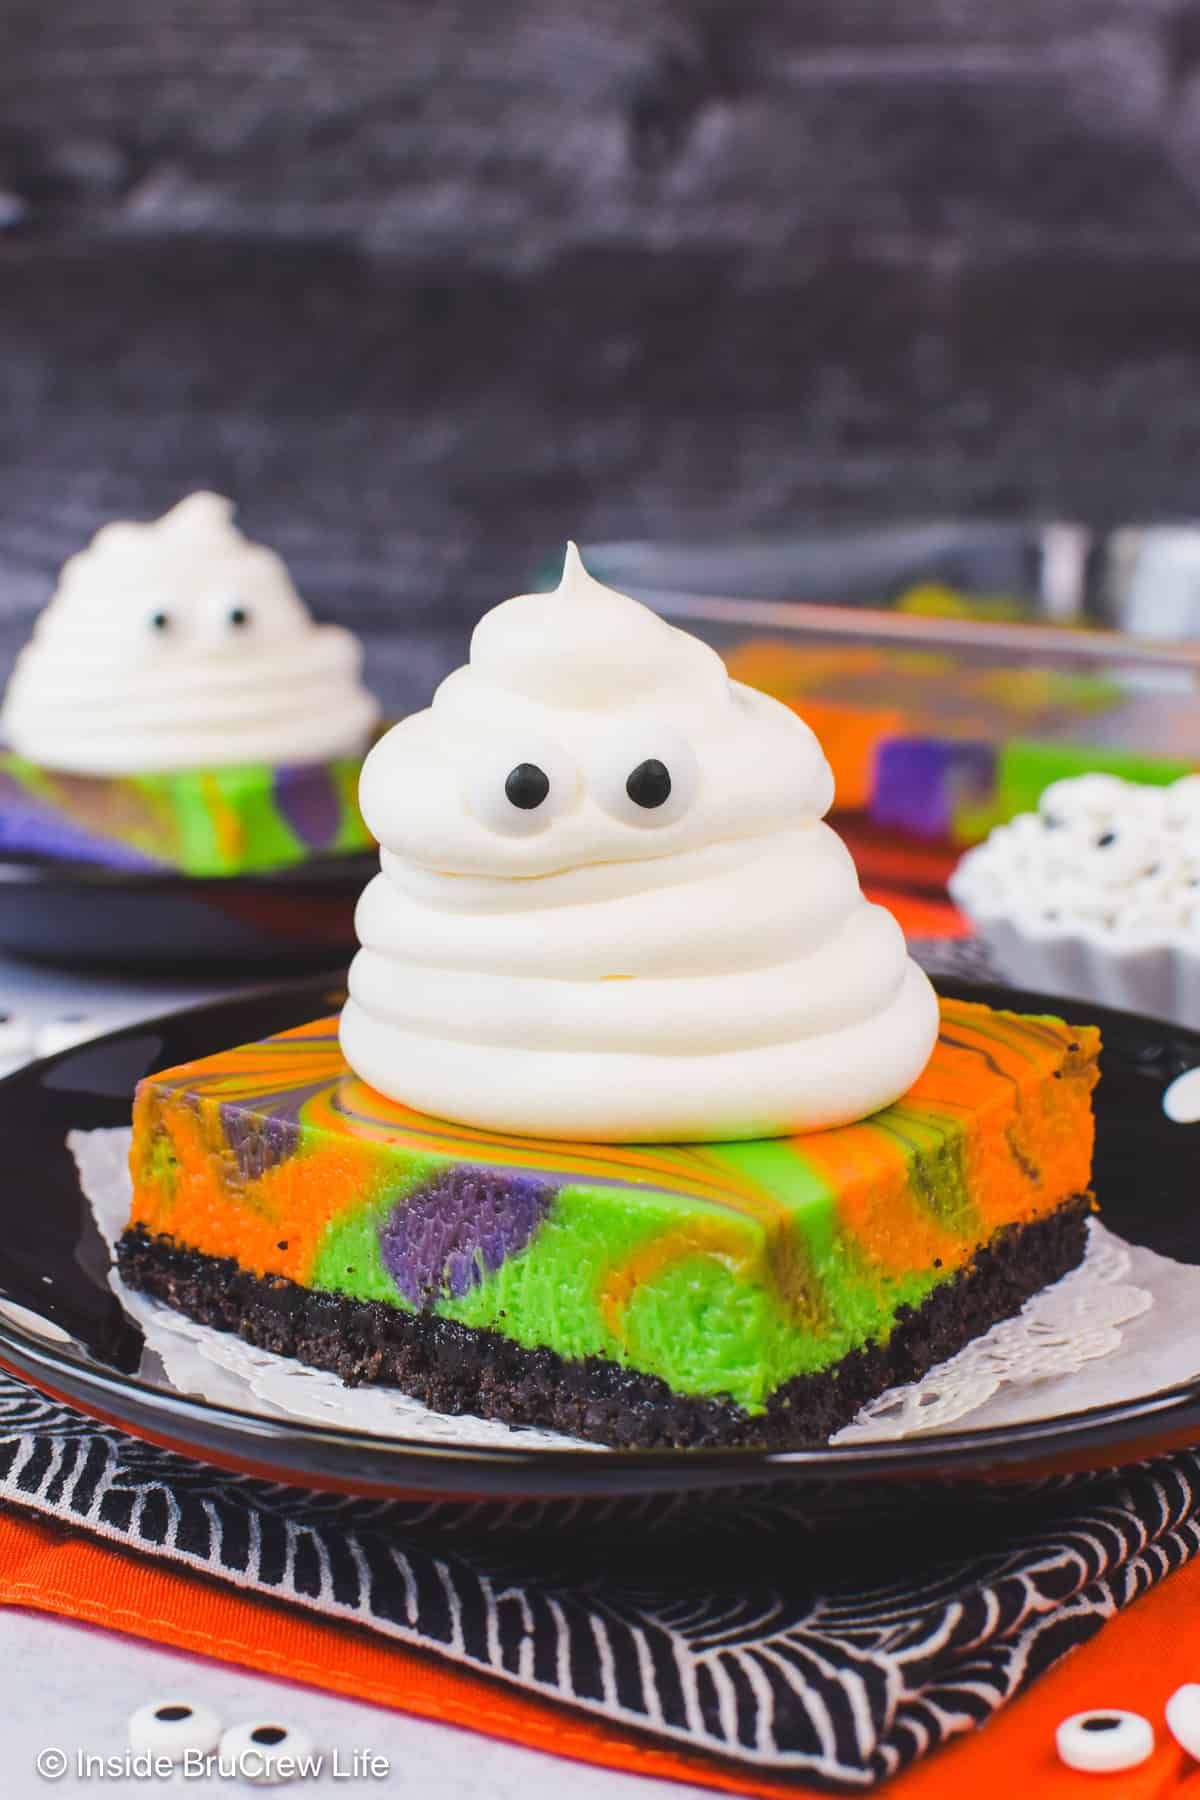
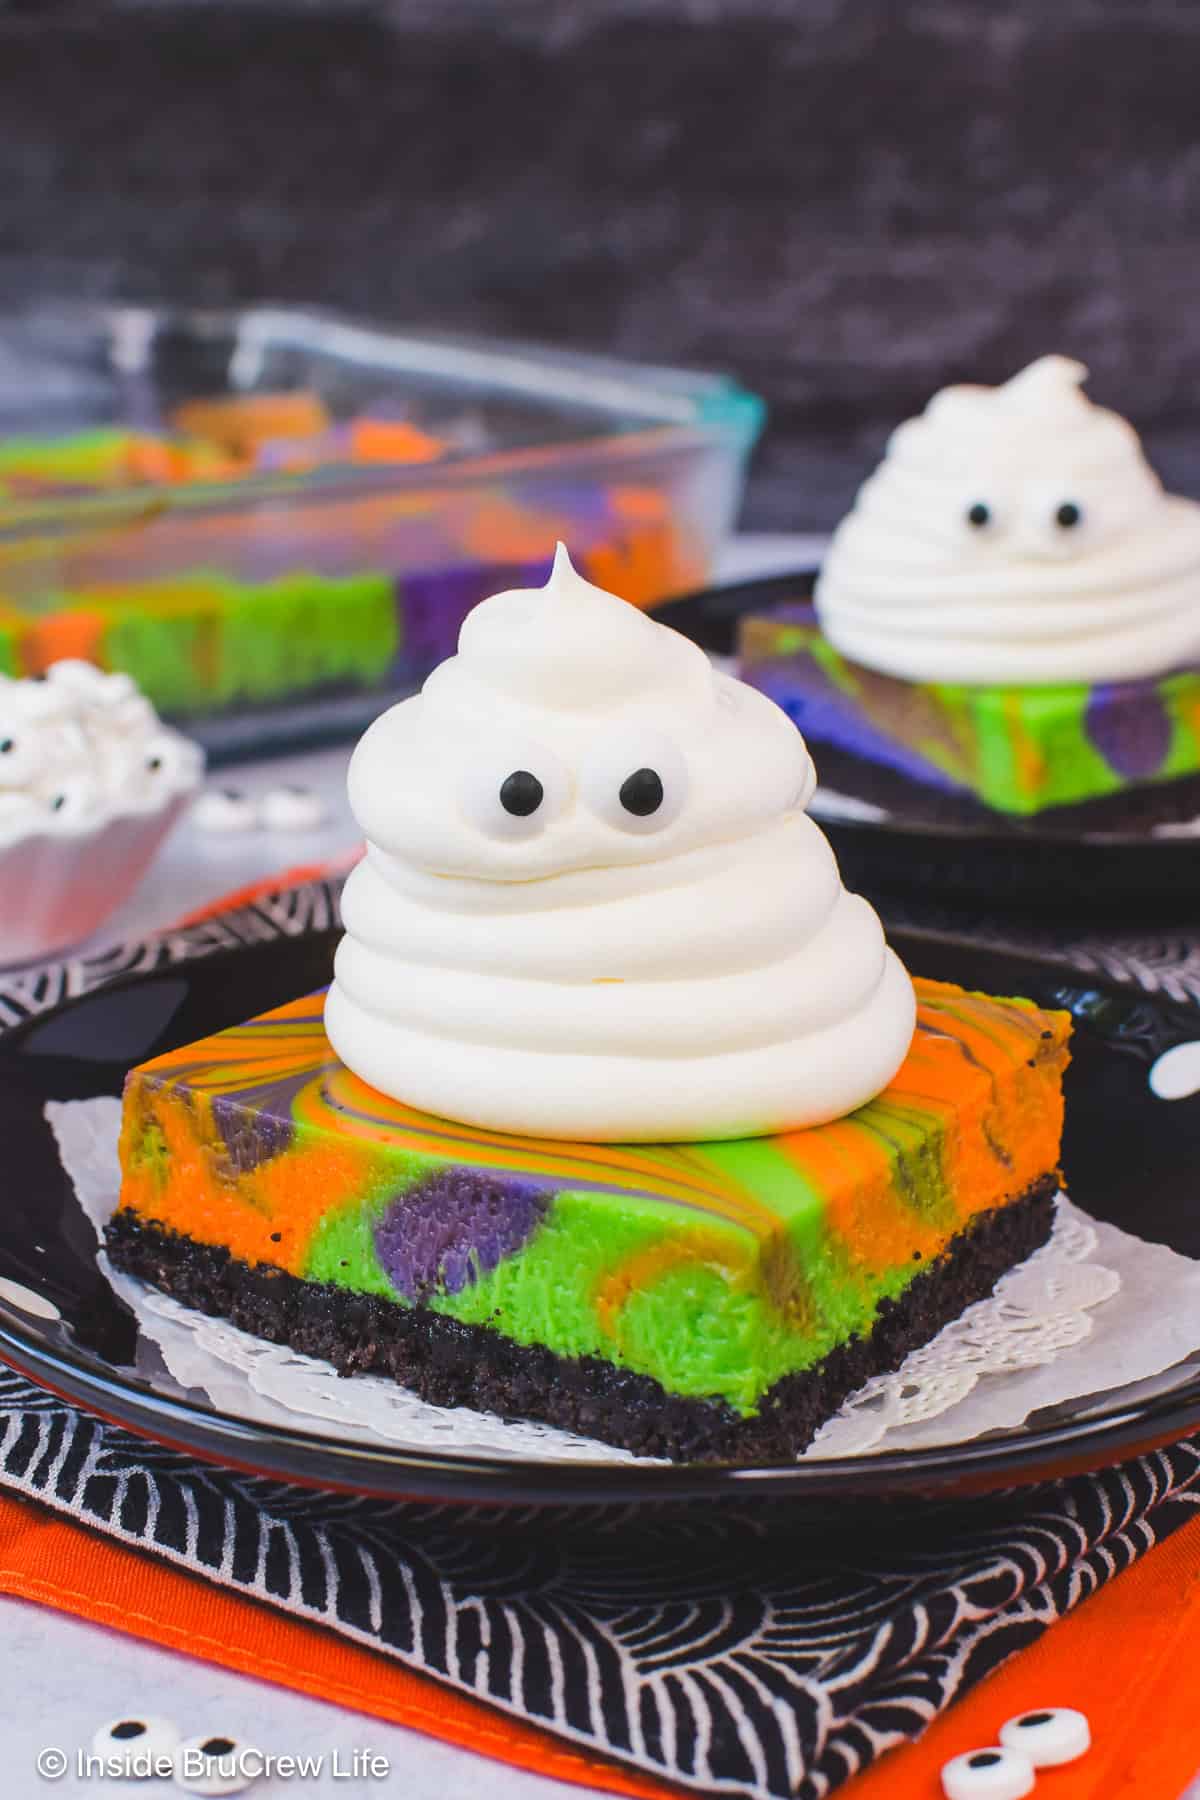
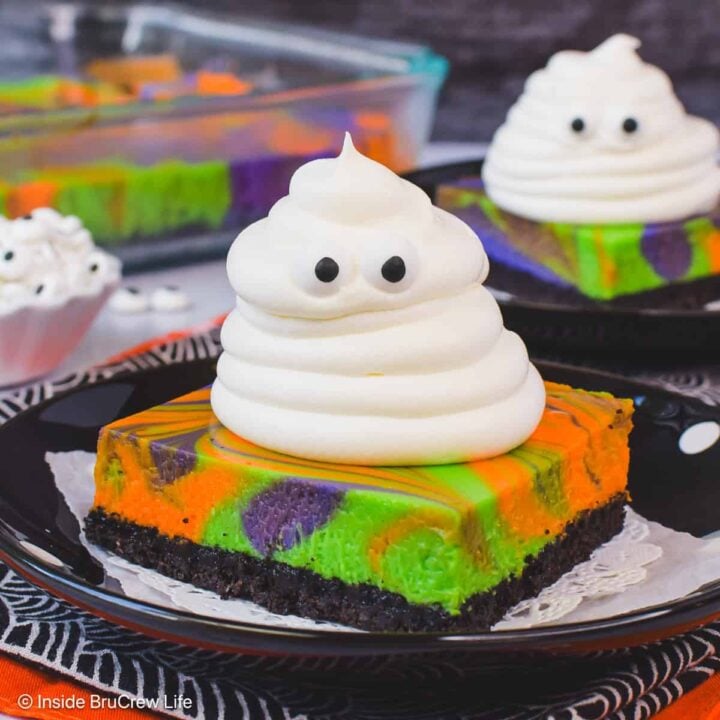
There is no trick to making this fun treat. These colorful Halloween Cheesecake Bars are easy to make and will be the highlight of your fall parties. With an Oreo crust and spooky yet sweet whipped cream ghosts, they're sure to have everyone smiling.
The post for Halloween swirled cheesecake bars was first published in October 2019. It was updated and then republished in October 2025.
Jump to:
I love baking cute and spooky treats for Halloween. Honestly, it's the candy eyes that I love most. In fact, I always keep a jar of them in my sprinkle bin just so I can use them throughout the year.
There is just something extra fun about using the candy eyes during the Halloween season. They instantly turn any treat into something adorable yet slightly creepy.
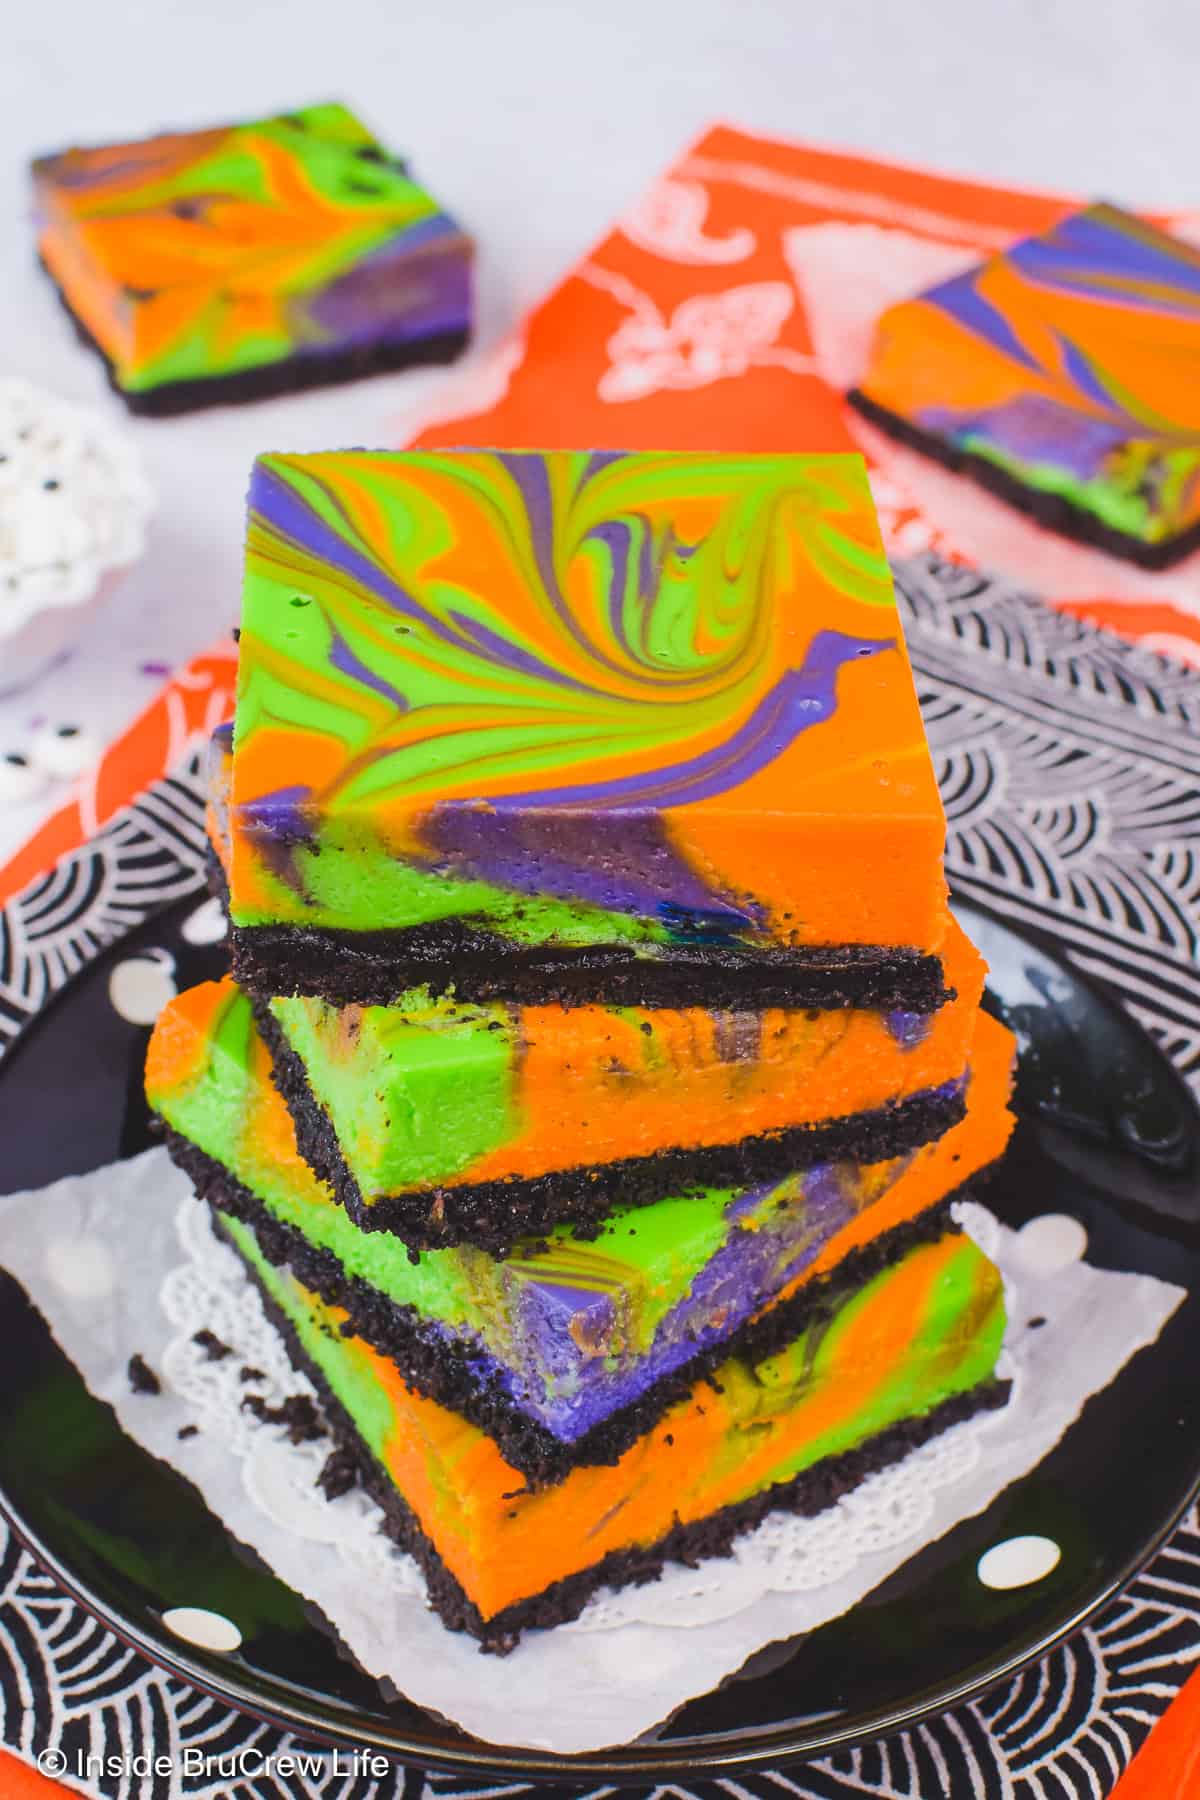
A few years ago, I made these rainbow cheesecake bars. This time, I gave it a spooky twist by swapping out the spring colors for bold purple, green, and orange food coloring. The googly-eyed ghosts on top created a fun monster mash-up, perfect for Halloween parties.
Why Bake Halloween Swirled Cheesecake Bars
If you are looking for a Halloween treat that is equal parts spooky, cute, and delicious, this creamy cheesecake is it. Here are a few of my favorite reasons:
- Bright, festive colors. The vibrant swirls of orange, green, and purple make this dessert stand out on any Halloween table.
- Fun for all ages. Kids and adults will love the colorful design and adorable ghosts with eyes.
- Spooky and silly. It's the right mix of spooky and cute, so it's perfect for sharing with family and friends.
- Easy to serve. 9x13 bars are a great size to cut, serve, and share at parties and events.
- Fun to customize. You can change the colors and decorations for any holiday or theme year-round. (See how we turned it into red white and blue cheesecake bars for July 4th.)
Key Ingredients
The filling for these swirled cream cheese bars is made with a few basic pantry ingredients and then baked on an Oreo crust.

- Oreo Cookie Crust: Crushed Oreos (or any sandwich cookie) combined with melted butter makes an excellent crust for cheesecake.
- Cream Cheese: Set the full-fat blocks of cream cheese out ahead of time, so they are easier to beat without lumps.
- Granulated Sugar: Helps to break down the cream cheese and also sweetens the batter.
- Sour Cream: Adds a little bit of creaminess and tang to the mixture.
- Large Eggs: Avoid overbeating the batter once you add the eggs, as that can introduce air bubbles and cause it to crack during baking.
- Flour: Adds some structure and helps keep the bars from cracking.
- Food Coloring: I prefer using Wilton gel colors because they do not add extra liquid to the batter. You can find them in the cake decorating aisle of craft stores like Michaels or Hobby Lobby.
How to Make Halloween Cheesecake
This easy Halloween-themed cheesecake looks fancy, but it is actually very easy to make. Follow our simple steps, and you can have one baking in your oven in no time at all.
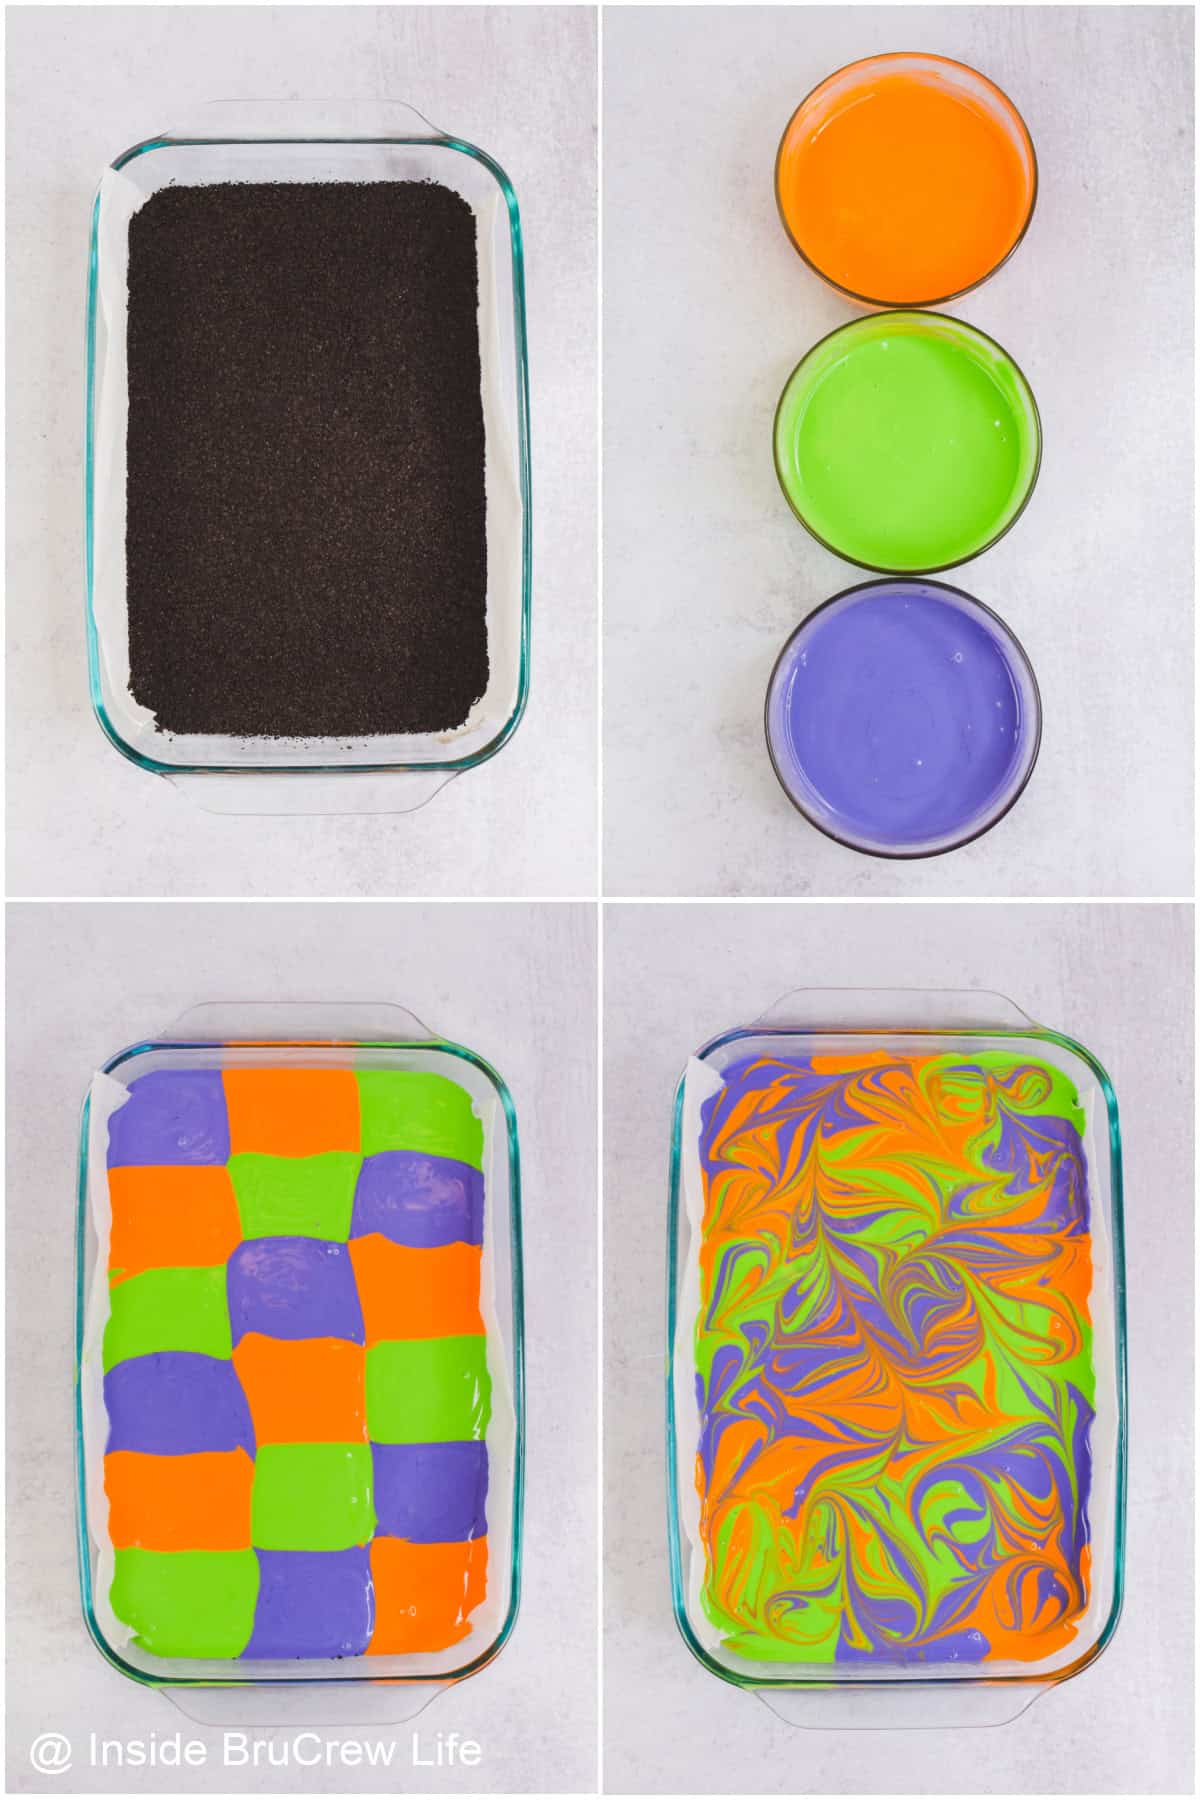
- Crush the Oreo cookies in a food processor, then add the melted butter. Press the mixture into an even layer in a baking pan. Bake and cool.
- In a large mixing bowl, beat the cream cheese and sugar until smooth and creamy. Then add the sour cream, flour, and vanilla extract and beat again. Add the eggs one at a time, mixing slowly until combined.
- Divide the batter into three bowls and tint with your favorite Halloween colors. Use a spoon to drop the cheesecake filling on the crust, then swirl with a knife.
- Place the pan on an oven rack over a pan of steaming water. Bake until the edges are set and the center wiggles as a whole. Remove and cool on a wire rack for an hour, then refrigerate until chilled and firm.
Storing and Freezing Cheesecake
- Refrigerator. Keep the undecorated cheesecake bars in an airtight container in the fridge for 3-4 days. Decorate with whipped cream right before serving.
- Freezer. Once the bars are completely chilled, wrap the whole cheesecake or individual squares tightly in plastic wrap. Place in a freezer bag or container and freeze for 2-3 months.
- Thawing. Place in the fridge overnight to thaw. If necessary, use a paper towel to blot off any excess moisture or condensation before adding decorations.
BruCrew Tips
- Line the pan with parchment paper. This will allow you to lift the entire cheesecake out of the pan later for serving.
- Use the cookie filling. Leave the cream filling in the cookies when you crush them in a food processor. The filling helps hold the crumbs together along with the butter.
- Do not overmix. Beating too much and for too long will add air bubbles to the cream cheese mixture, resulting in cracks as the dessert bakes.
- Buy gel food colors. These concentrated pastes are best for creating vivid colors without adding extra liquid.
- Pipe whipped cream ghosts. Fit a piping bag with icing tip 1A, then fill it with homemade whipped cream. Swirl a ghost shape on top of the cooled bars, then press eyeballs into each one.
- Make clean cuts. Run a sharp knife under hot water, then dry it off with a paper towel after each cut for smooth edges and sharp lines.
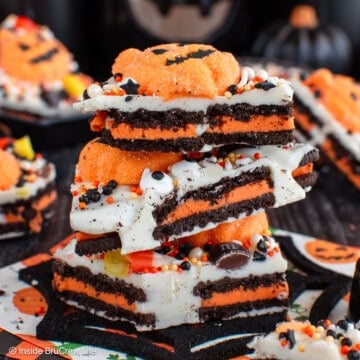
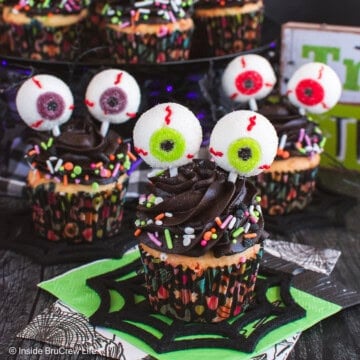
More Spooky Halloween Desserts
Do you love a recipe you tried from Inside BruCrew Life?
Please leave a 5-star ⭐️ rating and a review in the comments section below.
Recipe
Halloween Cheesecake Bars
There is no trick to making this fun treat. These colorful Halloween Cheesecake Bars are easy to make and will be the highlight of your fall parties. With an Oreo crust and spooky yet sweet whipped cream ghosts, they're sure to make everyone smile.
Ingredients
For the Crust
- 30 Oreo cookies
- 4 tablespoons unsalted butter, melted
For the Cheesecake
- 3 (8 oz) packages cream cheese, softened
- 1 ½ cups granulated sugar
- 3 tablespoons sour cream
- 1 ½ teaspoons vanilla extract
- 3 tablespoons all-purpose flour
- 3 large eggs
- Orange, purple, and green gel colors
For the Whipped Cream
- 2 cups heavy cream
- 1 cup powdered sugar
- 48 candy eyes
Instructions
- Preheat oven to 325°F. Spray a 9x13-inch pan with nonstick baking spray. Set aside.
- Crush cookies (with filling) in a food processor. Stir in butter. Press evenly into the bottom of the prepared pan. Bake 10 minutes, then remove and cool.
- Place a large rimmed sheet pan on the bottom rack of the oven and fill it halfway with water.
- Beat cream cheese and sugar until creamy. Add sour cream, vanilla, and flour, and beat again.
- Add eggs one at a time, mixing until incorporated. Do not over-mix batter.
- Divide the cheesecake batter evenly into 3 bowls. Use gel colors to tint the batter to the desired colors.
- Spoon batter evenly over the cooled crust, alternating colors. Use a butter knife to swirl the colors gently. Do not over-swirl.
- Place the cheesecake pan on the oven rack above the rimmed sheet with water and bake for 45 minutes.
- Remove and cool on a wire rack for 1 hour. Refrigerate 4-6 hours or overnight.
- Just prior to serving, place the mixing bowl and whisk attachment in the freezer for 10 minutes.
- Pour heavy cream and powdered sugar into the chilled bowl. Beat on high until light and fluffy.
- Use a piping bag and icing tip 1A to swirl whipped cream on top of the squares. Press candy eyes into each swirl right before serving.
Notes
- Line the pan with parchment paper. This will allow you to lift the entire cheesecake out of the pan later for serving.
- Use the cookie filling. Leave the cream filling in the cookies when you crush them in a food processor. The filling helps hold the crumbs together along with the butter.
- Do not overmix. Beating too much and for too long will add air bubbles to the cream cheese mixture, resulting in cracks as the dessert bakes.
- Buy gel food colors. These concentrated pastes are best for creating vivid colors without adding extra liquid.
- Make clean cuts. Run a sharp knife under hot water, then dry it off with a paper towel after each cut for smooth edges and sharp lines.
Nutrition Information:
Yield: 24 Serving Size: 1Amount Per Serving: Calories: 324Total Fat: 17gSaturated Fat: 9gTrans Fat: 0gUnsaturated Fat: 6gCholesterol: 62mgSodium: 111mgCarbohydrates: 42gFiber: 1gSugar: 32gProtein: 3g
Nutrition facts are an estimate and are not guaranteed to be accurate. If you need special diet advice, please see a registered dietician.
Diane says
I can’t find the ingredients amounts either. Why not post them with the instructions?
Jocelyn says
The recipe card with the ingredients and instructions are at the very bottom of the post.
Anavelia says
What are the measurements for this halloween bars?
Jocelyn says
The printable recipe card with all the ingredients and instructions is at the bottom of the blog post.