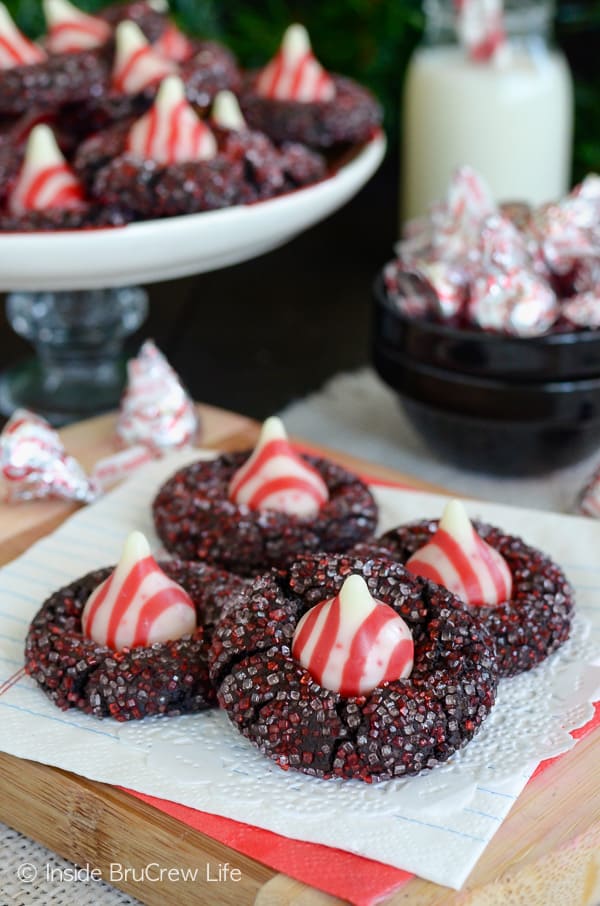
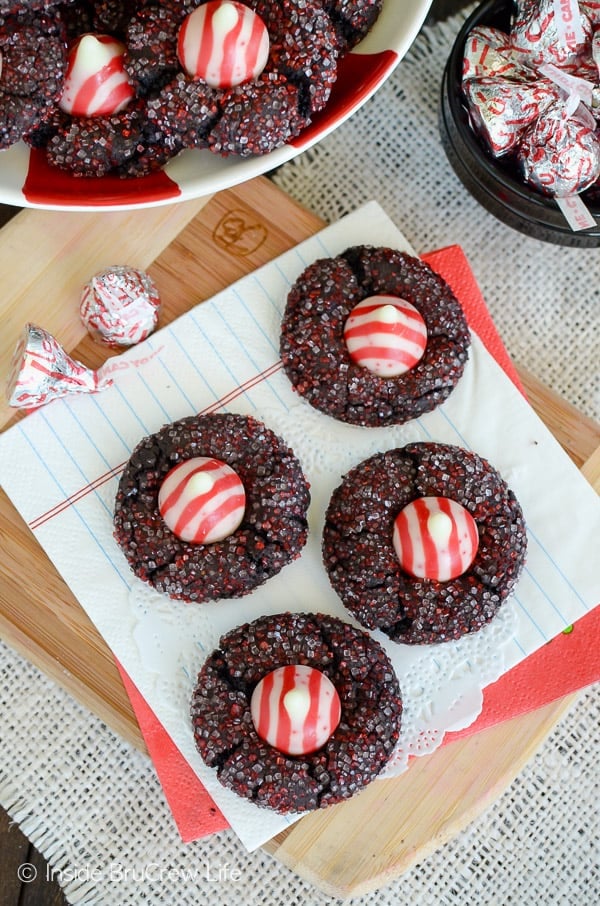
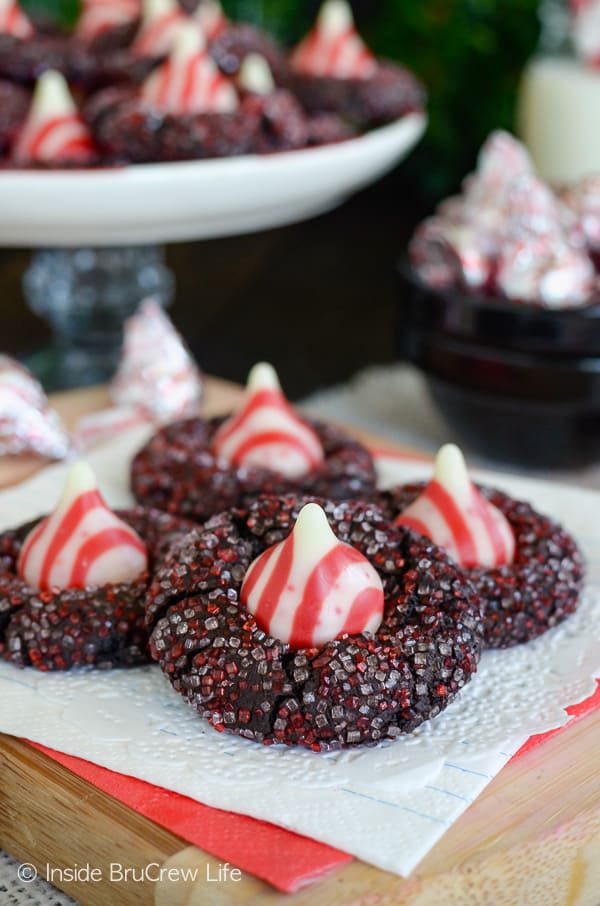
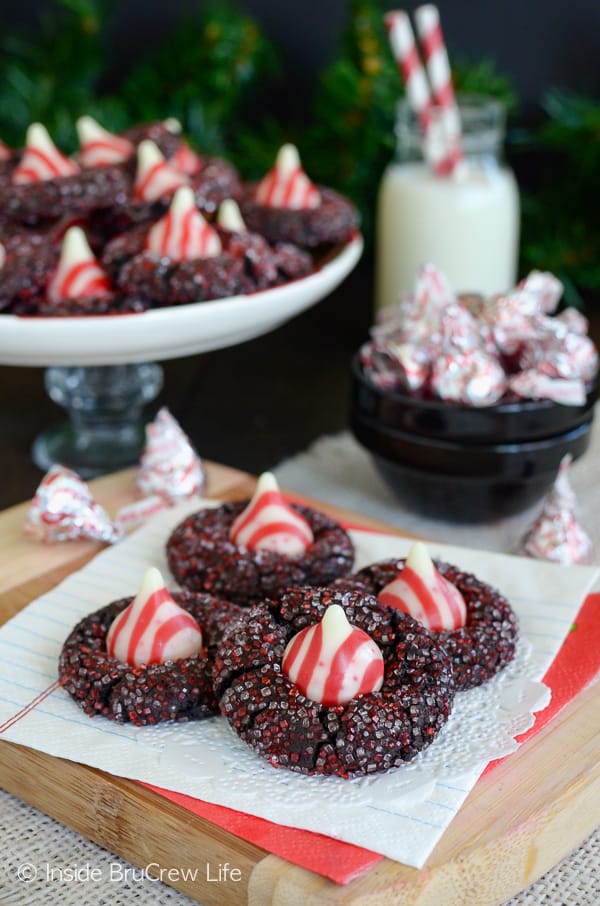
Red and white sugar and a candy kiss give these Candy Cane Kiss Cookies a festive holiday look. These sparkly chocolate kiss cookies will be the first treat to disappear off your holiday cookie tray this year.
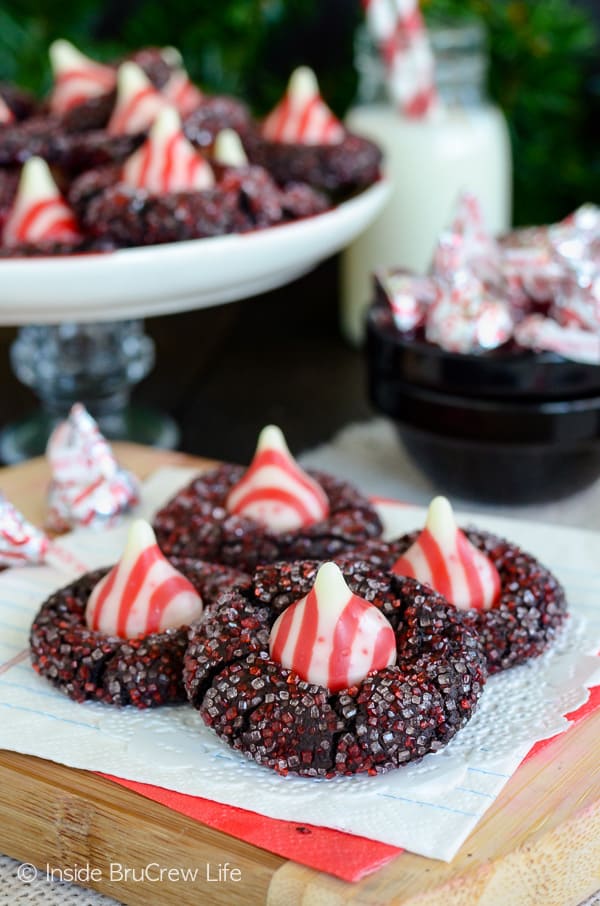
I don't know about you, but I just love this time of year. I think it has something to do with all the cookies and fudge and candy that is always sure to be anywhere we go.
Yes, my sweet tooth gets a workout more than normal during the holidays. Thank goodness for weight and cardio workouts to keep me in check.
One thing that is an absolute must during the holidays is a cookie baking marathon. Just make sure you do NOT wrap your cookies in ziplock bags or saran wrap and put them on a tray INSIDE the oven.
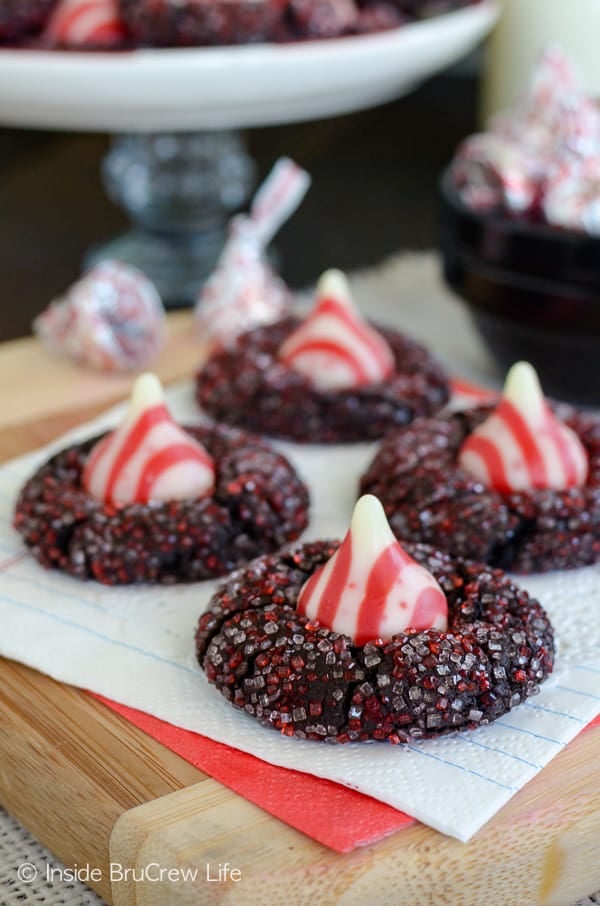
Yes, that happened to us one year. We spent all day making peppermint snowball cookies, peppermint Oreo cookies, peppermint Oreo bark, and these Christmas kiss cookies.
We had to be somewhere later in the afternoon, so I bagged up the cooled cookies in a few Ziplock bags and left a few that were still cooling on the cookie sheets. I then proceeded to place all of the above items inside the oven.
You see, we had a dog who liked to steal goodies, so I thought I was being smart by hiding the trays and bags from her.
It turns out I'm not as smart as I think because we got home, and I decided to make a batch of peppermint brownie truffles that night. I turned the oven on and started to work on the cookie dough.
In a few minutes the smell of burning plastic had me running to the oven in a hurry and then a lot of crying may have happened.
Ever since then I have been a compulsive oven checker. I turn the oven on and open the door every.single.time now!
Ingredients Needed
Most of these ingredients are probably already in your pantry or fridge. So, just run out and buy a bag or two of the kisses and some colored sugars, so you can get baking.
- Butter - Set it out ahead of time, so it is easier to mix the cookie dough.
- Sugar - A mixture of granulated sugar and brown sugar sweetens the dough.
- Egg & Greek Yogurt - Adds moisture and binds the ingredients together.
- Baking Soda - Provides the lift as the cookies bake.
- Cocoa Powder - I like to use Hershey's dark cocoa powder to give these cookies a dark look.
- Flour - Thickens the dough. See how to measure flour correctly, so your cookies turn out right every time.
- Toppings - red and white sanding sugars and Hershey's Candy Cane Kisses give the kiss cookies a pretty holiday look.
How to Make Candy Cane Kiss Cookies
Make Cookie Dough
Beat the butter and sugars until the mixture is creamy. Add the egg and yogurt and mix it again.
Stir together the flour, baking soda, and cocoa powder. Slowly beat this into the butter mixture. Refrigerate the dough for 2 hours.
Scoop out 36 dough balls. Roll each one into a round shape. The dough is sticky, so you will need to spray your hands with nonstick baking spray to keep it from sticking to you while you roll the dough.
Bake & Decorate Cookies
Roll each dough ball in the sanding sugars and place on a baking sheet and bake. Remove and let the cookies cool on the tray for a few minutes.
Transfer the cookies to a sheet of parchment on your counter and top each one with an unwrapped candy cane kiss. The heat from the cookies will cause the kisses to "melt" and get soft.
Do not move the cookies until everything has cooled and the kiss has set back up again.
Storage Recommendations
Keep the cooled cookies in a tightly sealed container on the counter for 3-4 days. The chocolate kiss cookies can also be frozen in a freezer safe bag or container for 1-2 months. Thaw overnight on the counter.
More Easy Holiday Cookies
- Easy Red Velvet Blossoms
- Mint Truffle Kiss Cookies
- Orange Cardamom Cookies
- Shortbread Bar Cookies
- Peppermint Crunch Chocolate Cookies
- Peppermint Mocha Cookies
- Mint Chocolate Pudding Cookies
- Molasses Crackle Cookies
- Peppermint Meltaways
- Peanut Butter Cup Cookies
Recipe
Candy Cane Kiss Cookies
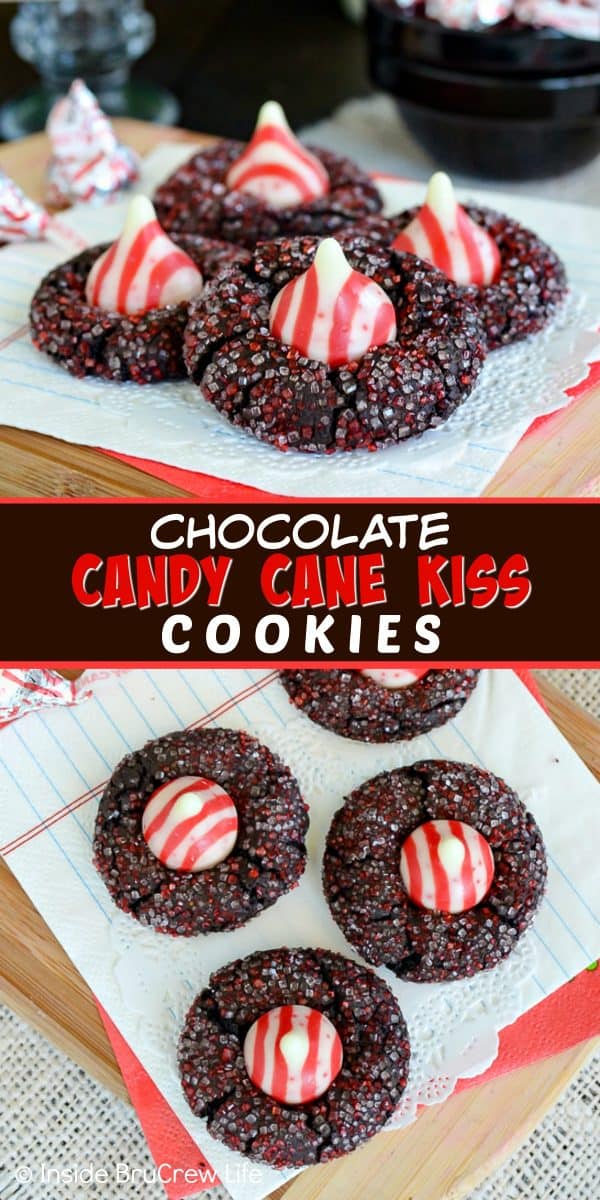
These chocolate Candy Cane Kiss Cookies are rolled in red and white sugar and then topped with a candy kiss. They will be one of the first cookies to disappear off your holiday cookie tray.
Ingredients
- ⅓ cup unsalted butter, softened
- ½ cup packed brown sugar
- ¾ cup granulated sugar
- 1 large egg
- ⅓ cup plain Greek yogurt
- ⅔ cup dark cocoa powder
- 1 teaspoon baking soda
- 1 ½ cups all purpose flour
- coarse red and white sanding sugar
- 36 Candy Cane Kisses, unwrapped
Instructions
- Preheat the oven to 350 degrees. Unwrap the kisses and place in a bowl in the freezer.
- Beat the butter and sugars until creamy. Add the yogurt and egg and beat again.
- Stir together the cocoa powder, baking soda, and flour. Slowly beat into the butter mixture. Refrigerate the dough for 2 hours.
- Roll the dough into 36 balls and roll in the red and white sugar. The cookie dough will be very sticky. Place on a baking sheet.
- Bake for 8-9 minutes. Cool on baking sheet for 2 minutes. Place on a cooling rack on the counter.
- Press a frozen kiss into the top of each cookie. Do not move the cookies until they are completely cool and the kiss has set back up.
Nutrition Information:
Yield: 36 Serving Size: 1Amount Per Serving: Calories: 130Total Fat: 2gSaturated Fat: 1gTrans Fat: 0gUnsaturated Fat: 1gCholesterol: 10mgSodium: 45mgCarbohydrates: 26gFiber: 0gSugar: 16gProtein: 1g
Nutrition facts are an estimate and are not guaranteed to be accurate. If you need special diet advice, please see a registered dietician.
*The post and recipe for these Chocolate Candy Cane Kiss Cookies was originally published on December 2013. It was updated and republished December 2018.




Betsy Schneekloth
I make these cookies every year and they are a family favorite. Can the cookies be made ahead and frozen for 10 days to 2 weeks?
Thanks,
Betsy
Jocelyn
Yes, these cookies are fine to be frozen. I would wrap the cookies individually to keep the kiss from getting disturbed and broken off.
Barb
I just made these and LOVE them!! They definitely are sticky to work with but the outcome was so worth it. They are so pretty with the sparkling sugars I used. I had no trouble with my kisses melting. I unwrapped them and put them in the fridge the night before. I followed your directions of letting them cool for one or two minutes on the cookie sheet, then putting them on the waxed paper on my counter. I took the kisses out of the fridge and there was no melting at all. They look beautiful and are so tasty! Thank you for the great recipe! Merry Christmas!
Patti
Well, I followed this recipe exactly, including the timing on when to put the kisses on, etc. The kisses totally melted down into the cookie. They taste great, but they sure look funny and not nearly as nice as yours. Oh well. Thank you for the nice recipe!
Jocelyn
Oh, no!!! I know that if you freeze the kisses that can help them keep their shape. I don't usually freeze these ones though. I'm glad they taste good though!!! Merry Christmas!!