


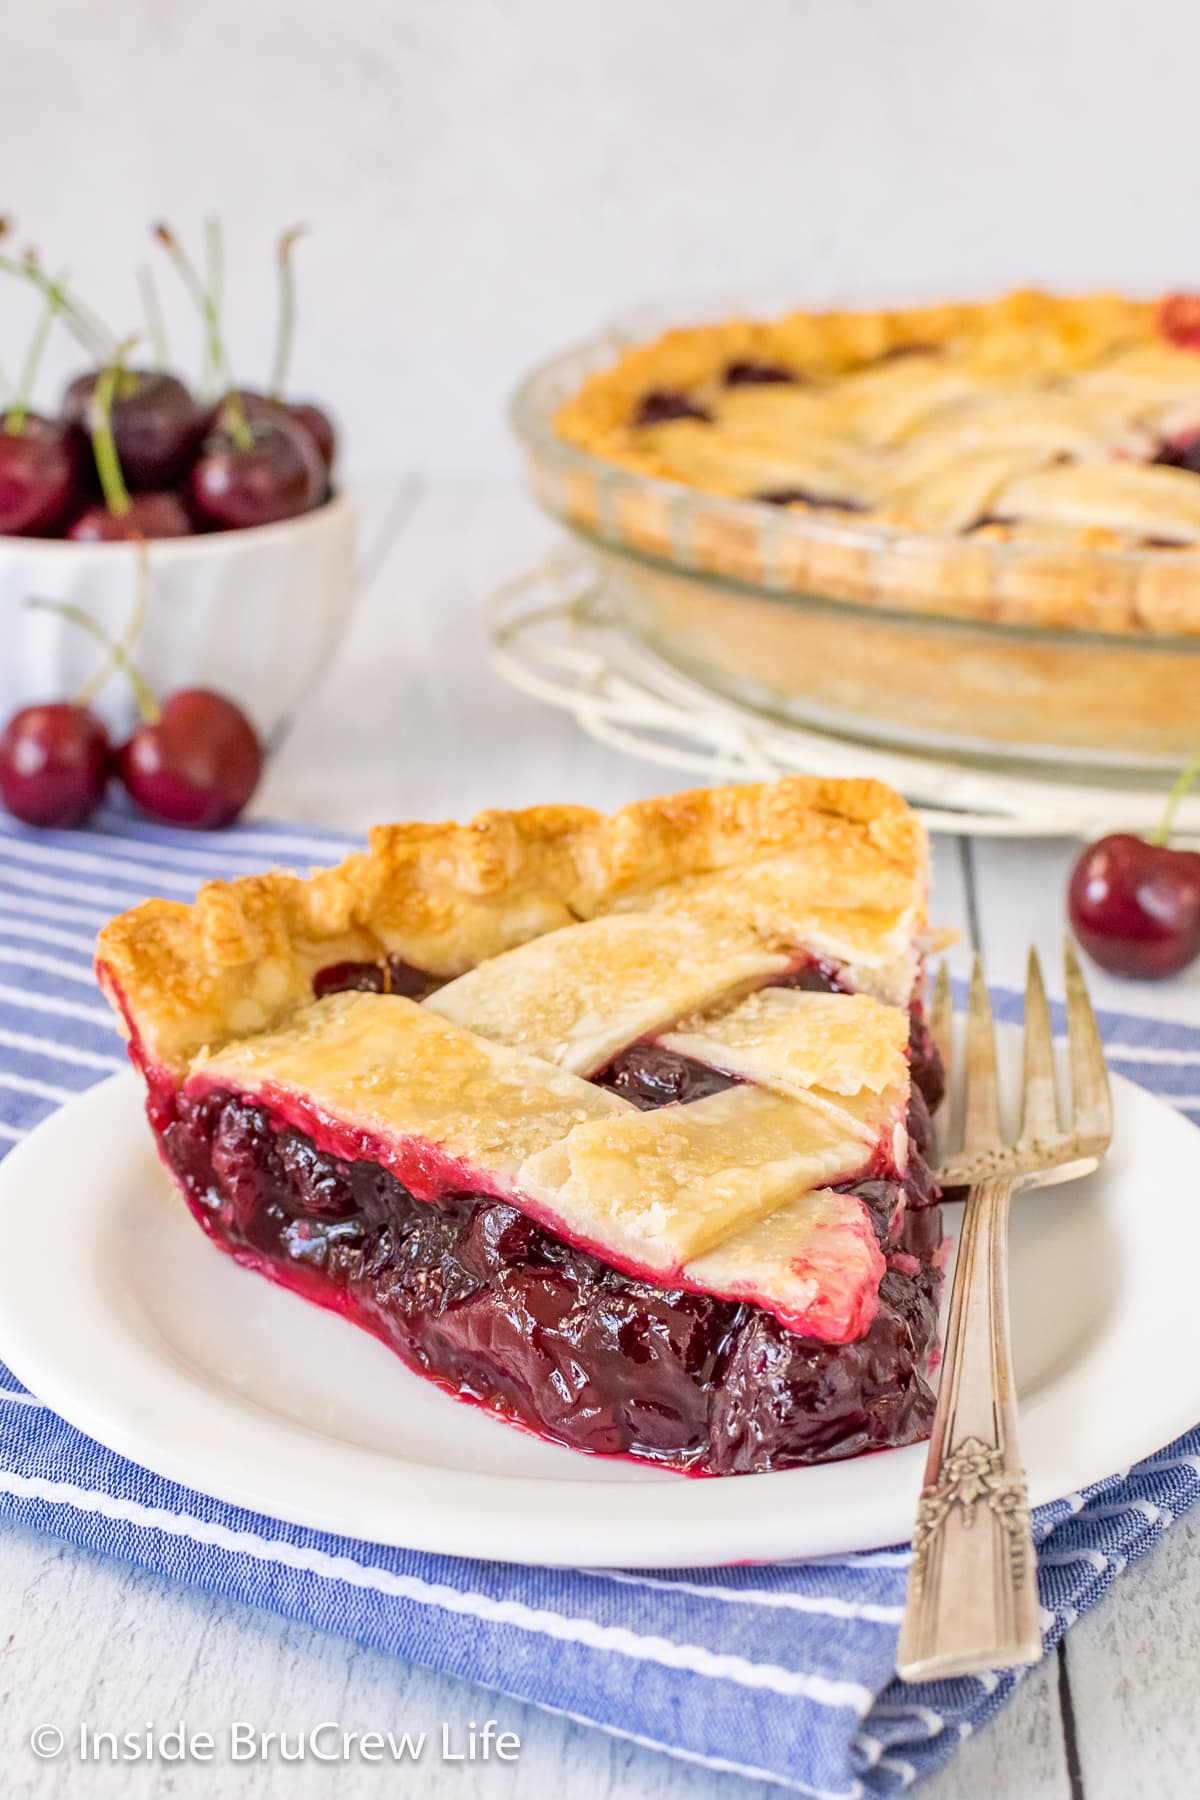
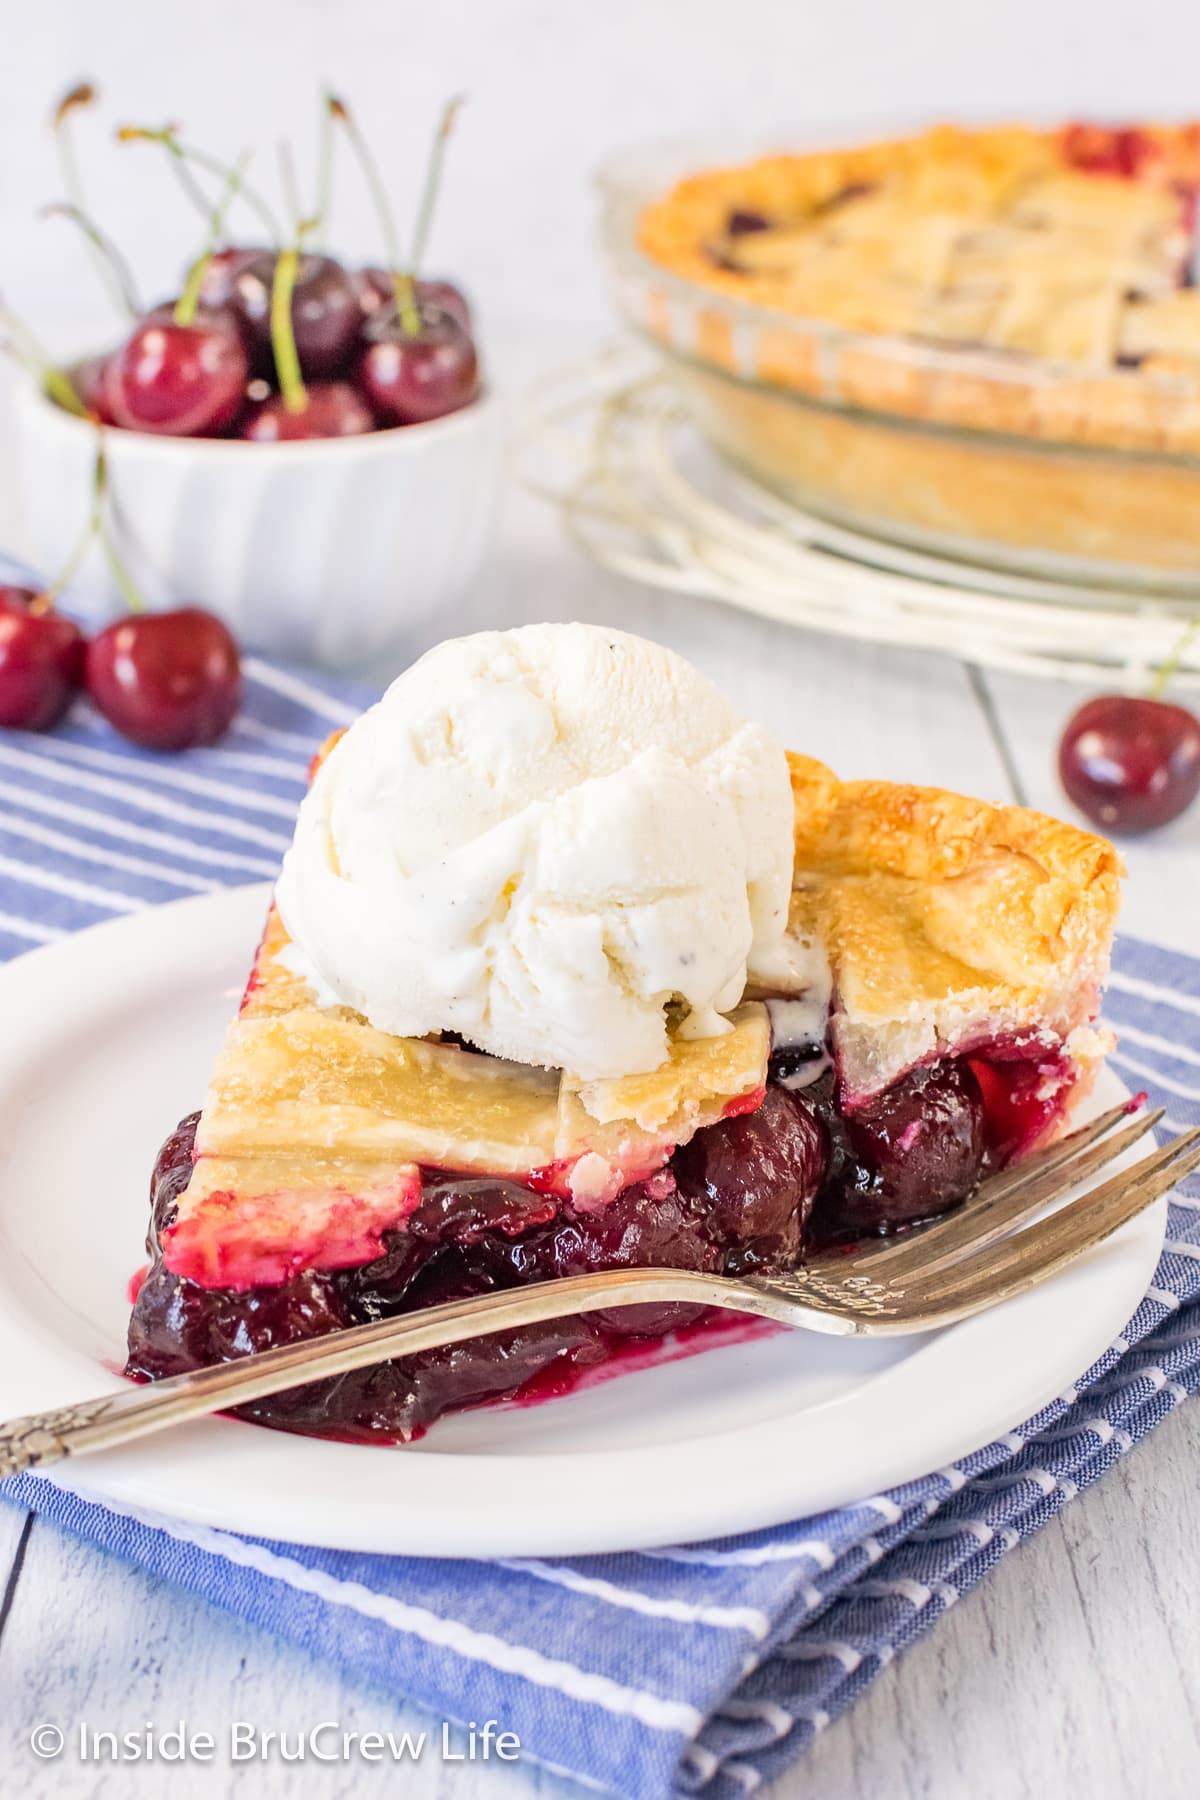
Fall in love with our easy cherry pie recipe! With a flaky golden crust and sweet homemade filling, this cherry pie is sure to become your family's new favorite dessert. It's perfect for summer gatherings or holidays.
Jump to:
Cherry season seems to come and go way too quickly each summer. One day, there are plenty of bags of cherries at the store, and the following week, they are gone.
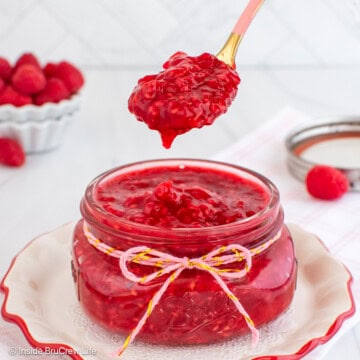
One of my favorite things to make with fresh cherries is homemade cherry pie filling. It's delicious spooned over cheesecake or baked into an easy cherry pie.
Why Make This Cherry Pie
Sure, you could buy a pie from the store or use canned pie filling to make this dessert. But just trust me, dark sweet cherries make our cherry pie taste absolutely incredible!
- Sweet Pie Filling. Cook fresh cherries with sugar and cornstarch creates a thick and delicious filling that can be baked in a pie crust.
- Easy to Make. Whether you are a beginning baker or a pro, this fruit pie comes together in minutes. Follow our step by step instructions for best results.
- Perfect Summer Dessert. Cherries are a seasonal fruit that are usually only available in summer months. The limited availability of fresh cherries makes cherry pie a favorite dessert for picnics and barbecues.
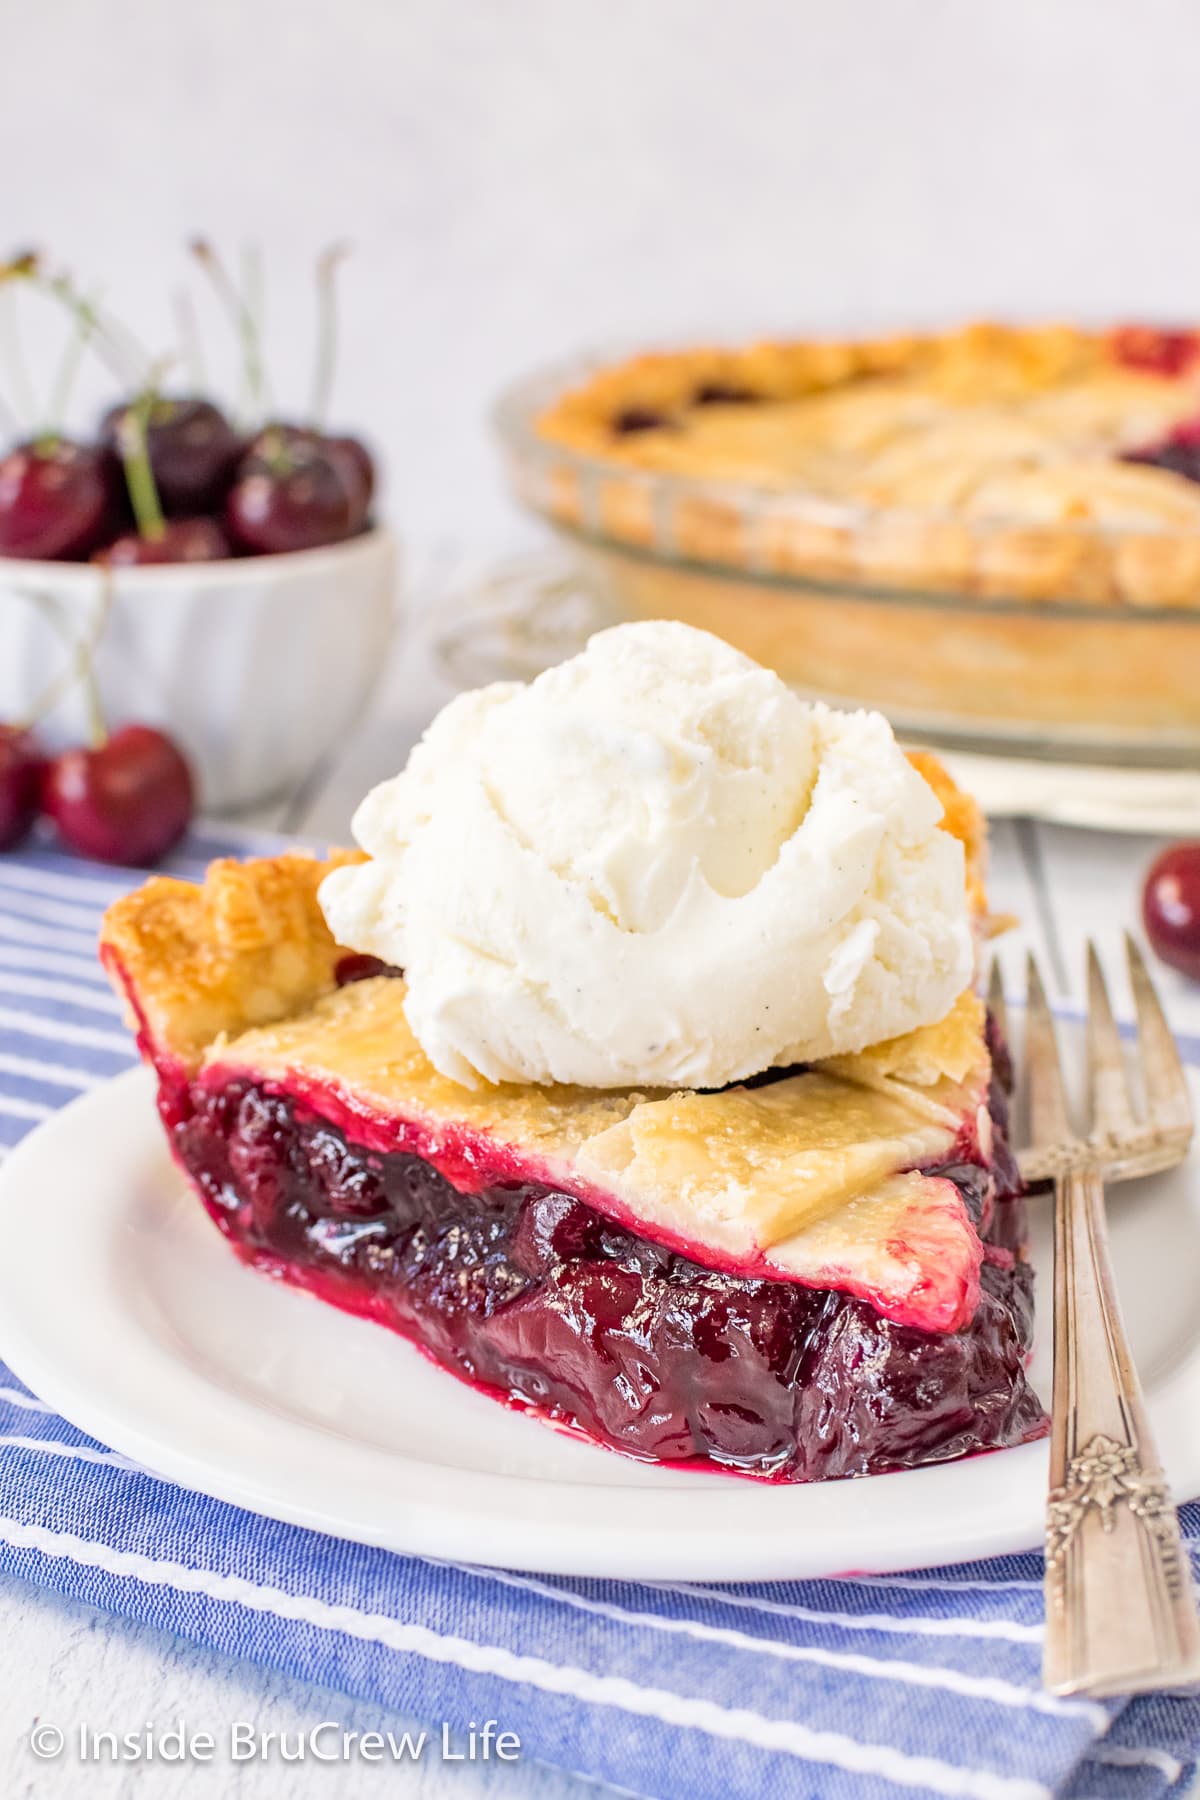
Don't forget to add a big scoop of vanilla ice cream or a swirl of homemade whipped cream. There is nothing better than warm pie with ice cream melting into it!
Ingredients Needed
This homemade cherry pie recipe with fresh cherries comes together so quickly and only requires a few ingredients.
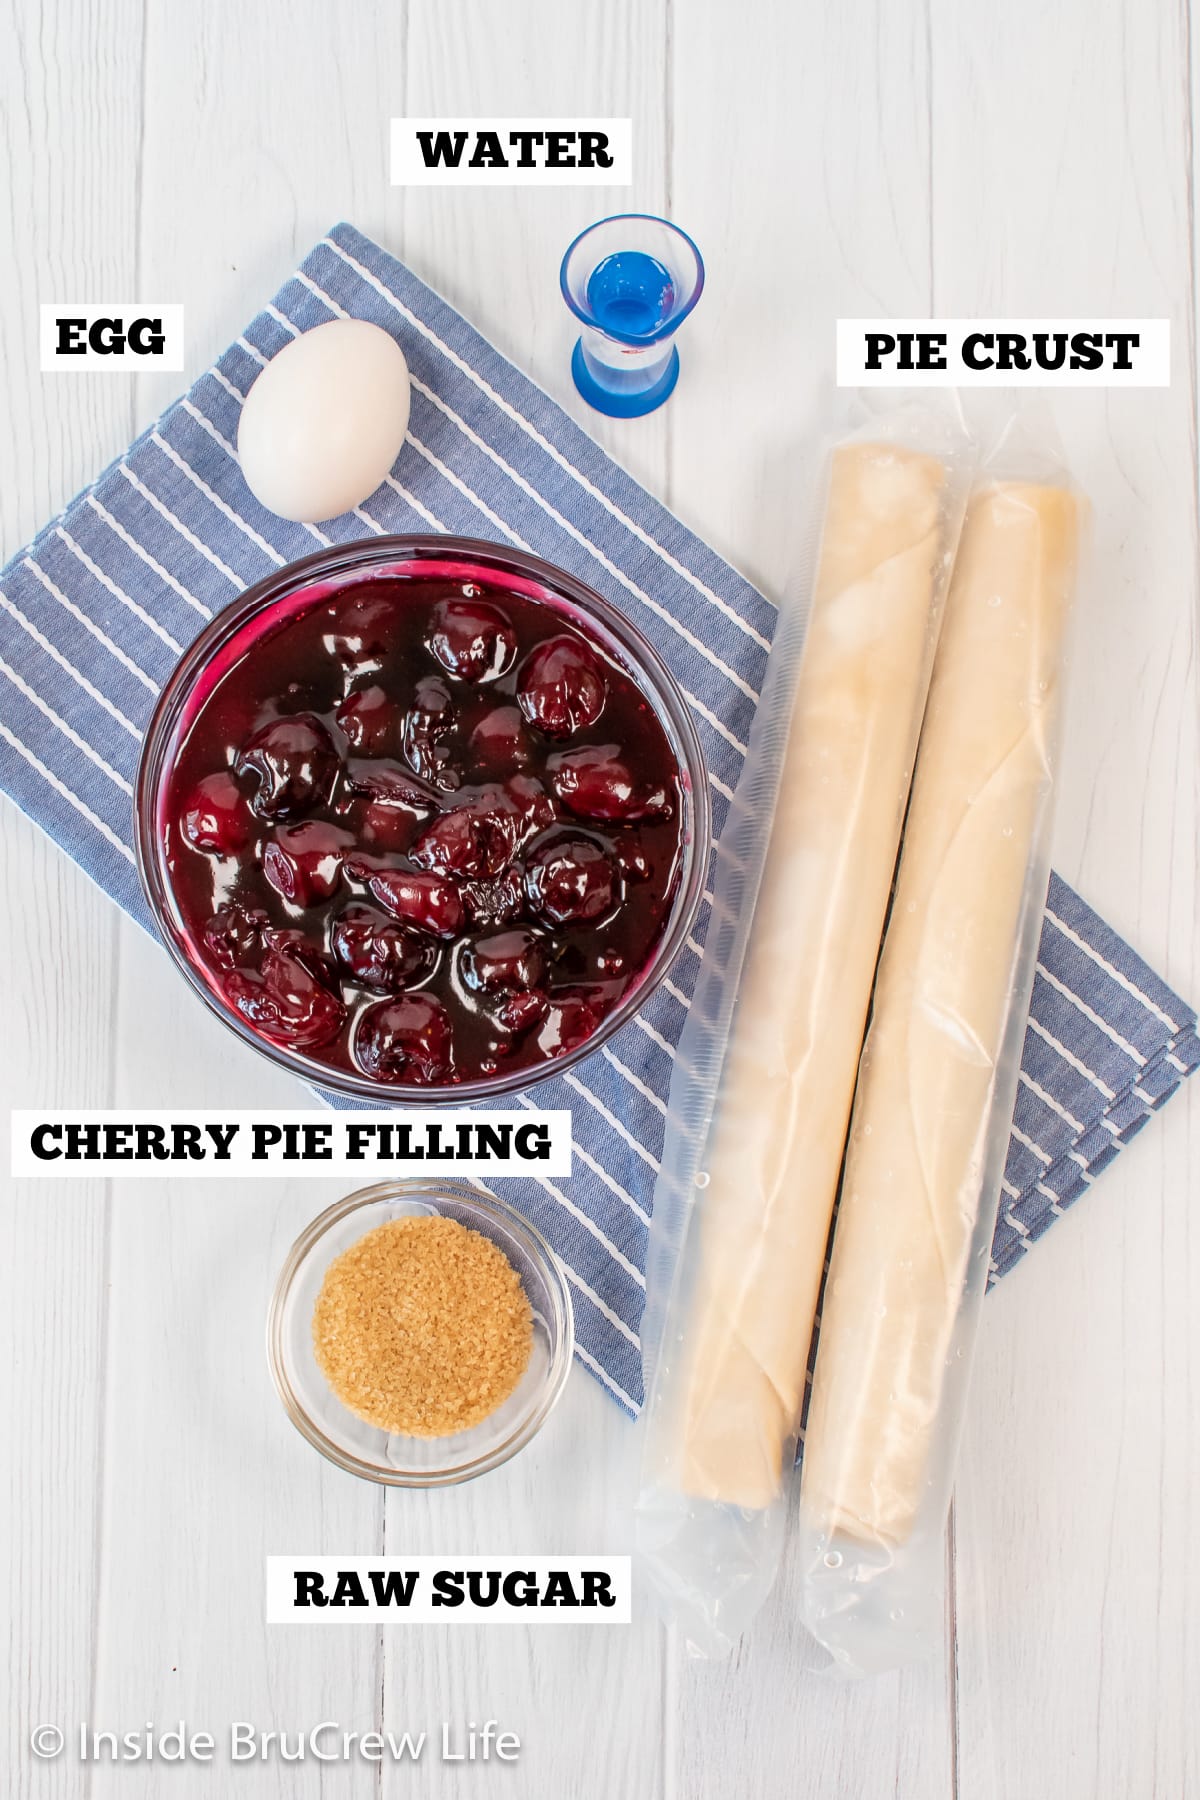
- Pie Dough - Feel free to use a homemade crust or a box of store-bought pie crusts.
- Egg White - Keeps the bottom crust from getting soggy and gives the top crust a golden color.
- Cherry Pie Filling - Canned will work, but homemade is so much better!
- Coarse Sugar - Adds a sparkle and sweetness to the top crust.
Best Cherries For Pie
Sweet Bing and Rainier cherries are the ones you will most likely find in grocery stores. We prefer using the dark, sweet Bing cherries in recipes. Sour cherries work well too, but they are harder to find in stores. A mix of sweet and tart cherries can also give you a good flavor in cherry pie filling or pie.
Cherries have a lot of juice. So, it is best to make a quick and easy stovetop cherry pie filling first. This will draw out the extra juice and thicken it into a jam-like filling. Having a thicker filling to start with will keep your pie crust from getting soggy.
How to Make Cherry Pie
Making cherry pie is easier than you think. Just roll out the crust, fill it, and wait for it to bake and cool. Seriously, it's that easy to have a cherry pie recipe on your table for dessert tonight.
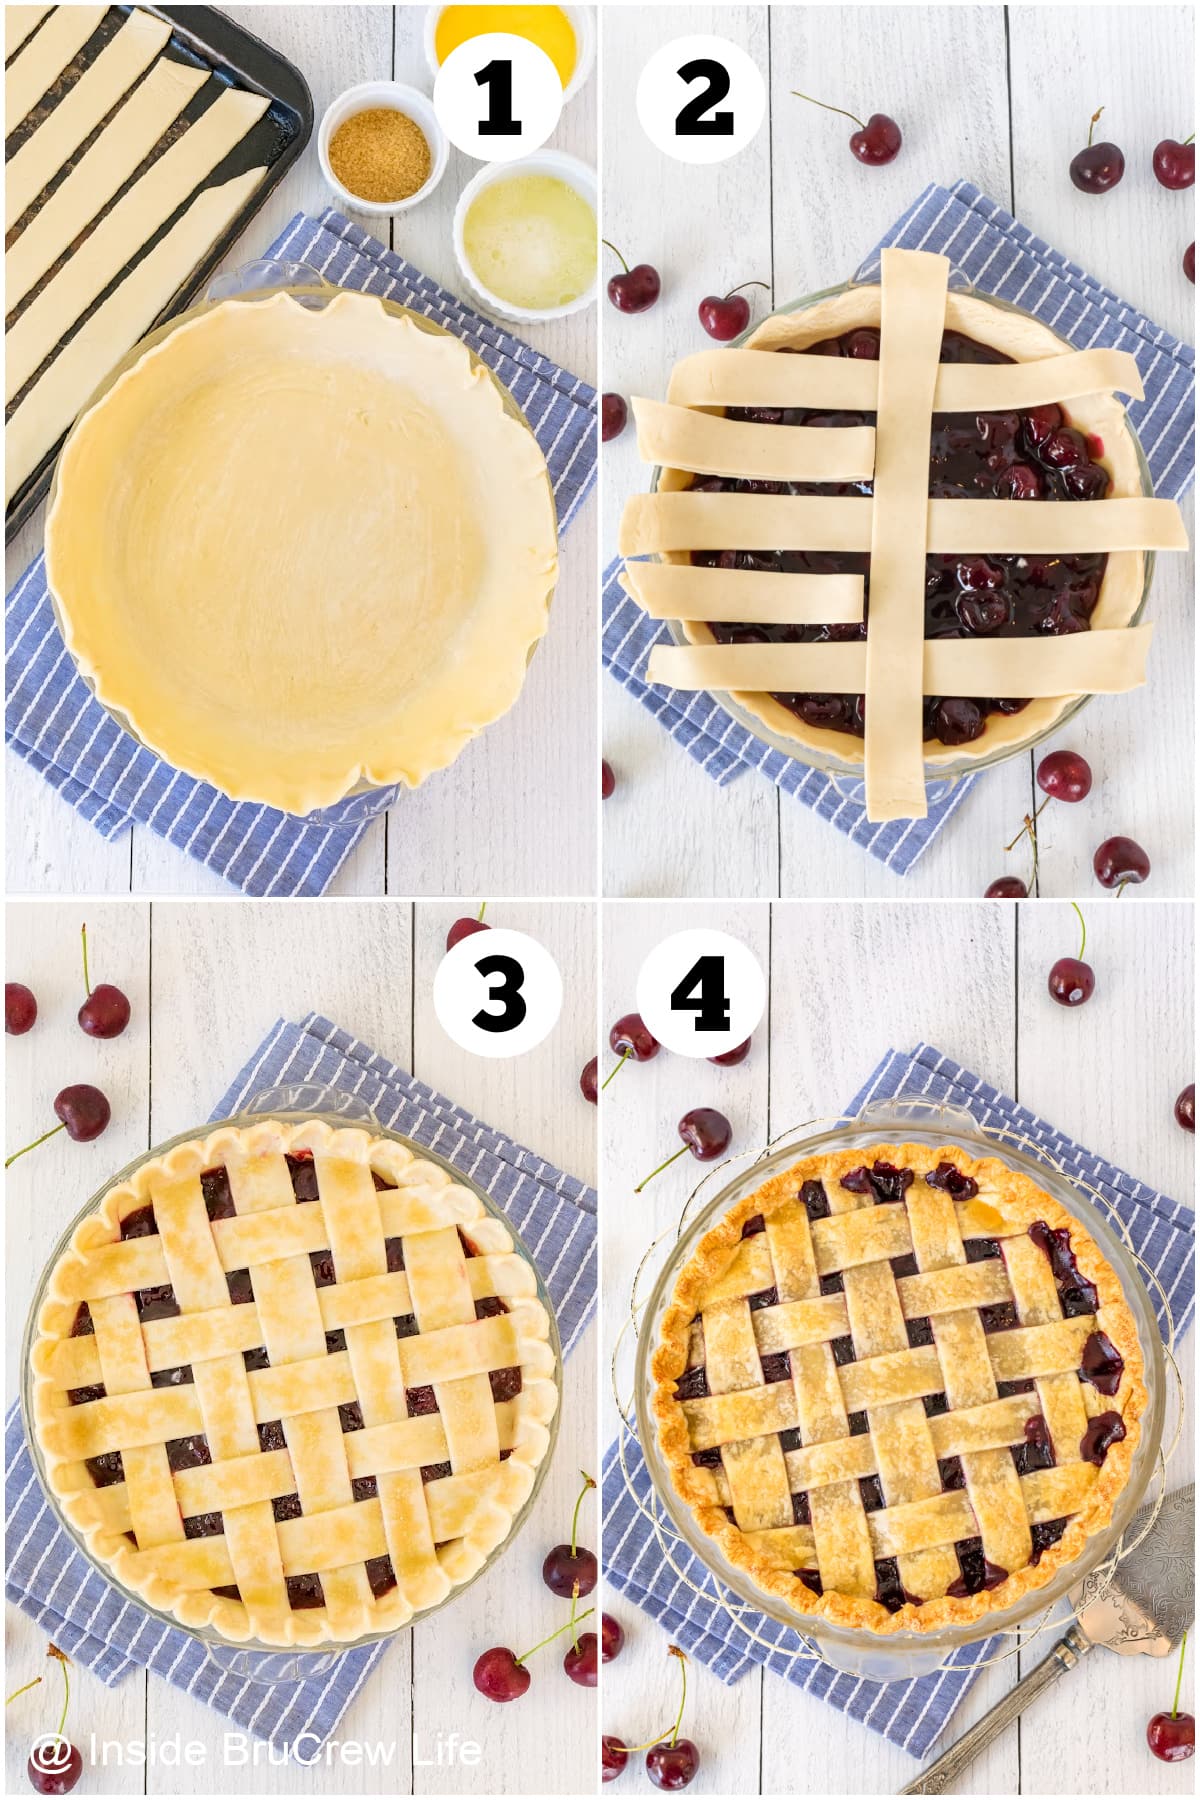
- Prepare the bottom crust. Place one crust in the bottom of a deep-dish pie plate. Whisk together an egg white and a little bit of water until foamy. Brush the pie crust with the beaten egg white and refrigerate for at least 15 minutes.
- Fill and weave. Spoon cooled cherry pie filling into the prepared crust and add a lattice pie crust. We love using this same technique on our blueberry pie. Refrigerate another 15 minutes before baking.
- Add a sugar topping. Brush the top of the crust with an egg wash and sprinkle with raw sugar.
- Bake and cool. Start the pie at a high temperature to set the crust, then lower it and bake until golden brown and bubbly. Remove it from the oven and let it rest on the counter for at least 4 hours before serving.
BruCrew Tip: We love the way lattice crust looks on this pie, but feel free to top it however you like. You could even use the crisp topping from our apple crisp pie for a delicious taste.
Storage Recommendations
On the Counter: Cover the cherry pie loosely and keep it on the counter at room temperature for 2-3 days.
In the Refrigerator: To keep the pie longer, cover it tightly and place in the fridge for 4-5 days.
Make Ahead: Prepare the pie filling a few days ahead of time. Store it in a covered container in the fridge until you are ready to use it.
Freezing Instructions: The baked and cooled pie can be frozen for later. Cover it tightly with plastic wrap and foil. Keep in the freezer for 2-3 months.
To serve, thaw overnight in the fridge, then bring to room temperature. If desired, place the whole pie in a 300°F oven for 15-20 minutes.
Tips and Tricks
- Make the cherry pie filling a day ahead of time, so you can put the pie together faster.
- Use fresh or frozen cherries. That way you can enjoy a slice of cherry pie all year long. Make sure to thaw and drain the frozen fruit very well.
- Use a deep dish pie dish for this cherry pie recipe. This way you do not have to worry about the filling bubbling out and over as it bakes.
- Place a baking sheet under the pie plate just in case it does drip. This will save you time cleaning the oven later.
- Add a pie crust shield or a ring of tin foil when you lower the oven temperature. This will prevent the crust edges from browning too quickly.
- Let the homemade cherry pie cool to room temperature before cutting, so the filling can thicken. If you cut into a hot fruit pie, the filling will ooze out.
- Serve it with cherry vanilla ice cream for even more cherry flavor.
Prevent a Soggy Crust
No one likes to cut into a fruit pie and see a soggy bottom. Doing all or a few of these tips will ensure that your bottom pie crust bakes brown and flakey.
- If you are using a juicier fruit like cherries or blueberries, cook the filling ahead of time to thicken it first.
- Use a glass pie plate because they conduct heat better allowing the crust to bake flakier.
- Brush the bottom of the pie crust with an egg white to seal the crust before baking. Chill it at least 15 minutes before filling.
- Vent the top crust by cutting slits with a knife to allow steam to escape while it bakes. You can also cut out shapes with a small cookie cutter before putting the top pie crust on. Another option is to add a lattice crust.
- Bake the pie at a higher temperature for 20 minutes, then lower it for the remaining time.
FAQs
Frozen cherries work well in pie filling and cherry pie, but make sure you thaw and drain them very well first.
Allow the pie to cool completely, then cover tightly with plastic wrap and foil. Place in a freezer safe bag or container and freezer for 2-3 months.
That really depends on your preference. We like using sweet Bing cherries in our pies. Feel free to use a mixture of the cherries to give it a sweet and tart flavor.
No, the crust in this cherry pie bakes with the filling.
More Cherry Recipes
- Cherry Crisp
- Apple Cherry Crumble
- Cherry Sweet Rolls
- Cherry Smoothie
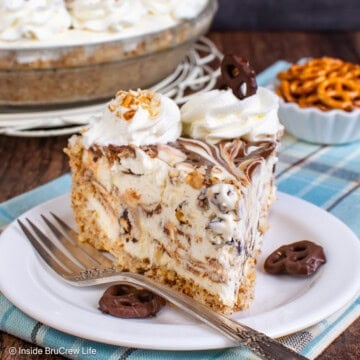
- Chocolate Cherry Dessert
- Cherry Berry Crisp
Do you love a recipe you tried from Inside BruCrew Life?
Please leave a 5-star ⭐️ rating and a review in the comments section below.
Recipe
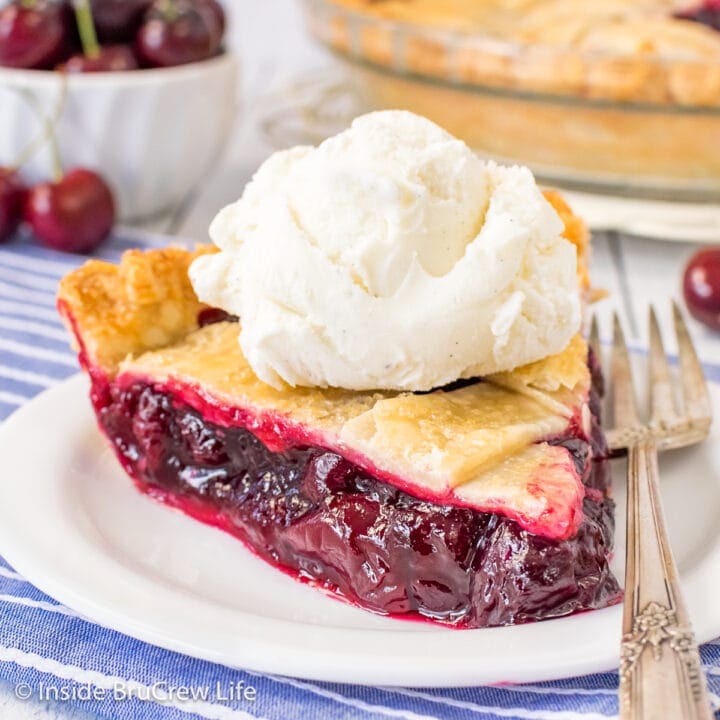
Cherry Pie
A homemade filling and flakey crust makes this easy cherry pie recipe a great dessert for summer get togethers or holiday dinners.
Ingredients
- 1 box refrigerated pie crusts (2 crusts)
- 1 large egg, separated
- 1 tablespoon water
- 2 tablespoons coarse raw sugar
- 1 batch Homemade Cherry Pie Filling
Instructions
- Preheat oven to 425 degrees.
- Place one pie crust in bottom of 9 ½ inch deep dish pie plate.
- Separate the yolk and egg white. Whisk the egg white until foamy. Brush on the bottom of the pie crust. Refrigerate for 15 minutes.
- Spoon the cherry pie filling into the prepared crust.
- Roll out remaining pie crust, cut into strips, and do a lattice top crust. Trim edges and crimp as desired. Refrigerate pie another 15 minutes.
- Add the egg yolk and water to the remaining egg white and stir together. Brush on the top of the pie crust and sprinkle with coarse sugar.
- Bake for 20 minutes, then LOWER oven temperature to 375 degrees and bake an additional 35-40 minutes. Place pie crust shields on the edges of the crust when you lower the temperature, so the edges do not brown too quickly.
- Remove from the oven and let cool to room temperature on the counter for 3-4 hours before serving.
Notes
- Make the cherry pie filling a day ahead of time, so you can put the pie together faster.
- Use fresh or frozen cherries. That way you can enjoy a slice of cherry pie all year long. Make sure to thaw and drain the frozen fruit very well.
- Use a deep dish pie dish for this cherry pie recipe. This way you do not have to worry about the filling bubbling out and over as it bakes.
- Place a baking sheet under the pie plate just in case it does drip. This will save you time cleaning the oven later.
- Add a pie crust shield or a ring of tin foil when you lower the oven temperature. This will prevent the crust edges from browning too quickly.
- Let the homemade cherry pie cool to room temperature before cutting, so the filling can thicken. If you cut into a hot fruit pie, the filling will ooze out.
- Serve it with cherry vanilla ice cream for even more cherry flavor.
Recommended Products
As an Amazon Associate and member of other affiliate programs, I earn from qualifying purchases.


Nutrition Information:
Yield: 8 Serving Size: 1Amount Per Serving: Calories: 180Total Fat: 9gSaturated Fat: 3gTrans Fat: 0gUnsaturated Fat: 6gCholesterol: 23mgSodium: 142mgCarbohydrates: 23gFiber: 1gSugar: 4gProtein: 3g
Nutrition facts are an estimate and are not guaranteed to be accurate. If you need special diet advice, please see a registered dietician.
*This post was first published September 2020. It was updated and republished June 2023.

Cherylynn says
Thank you for the step by step photos to go along with the instructions. That makes it so much easier to understand. You are definitely the dessert lady! Your desserts always look so good.