Crafts
-
Oreo Coconut Cream Truffles
-
Nutella Cream Eggs
-
St. Patrick's Day Boxes
-
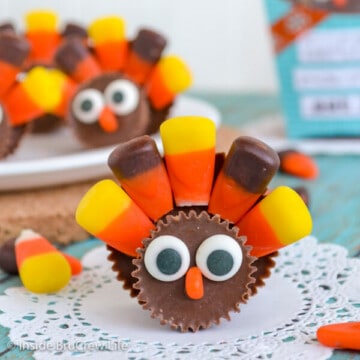
Reese's Candy Turkeys
-
Chocolate Monster Sugar Cookies
-
Chocolate Pudding Cookies
-
Baked Biscoff Donuts
-
Smiling as a Mom!
-
Wooden Spool Snowman
-
Halloween Mod Podge Frames
-
Wooden Spool Yarn Turkeys
-
Beaded Picture Hanger
-
5 Min DIY project
-
Birthday Candy Jar with Printable
-
Rustic Wood Ornaments
-
Snowman Candy Jar
-
Halloween Washi Magnet Clips
-
Easy DIY Fall Wreath
-
How To Make Braided Headbands