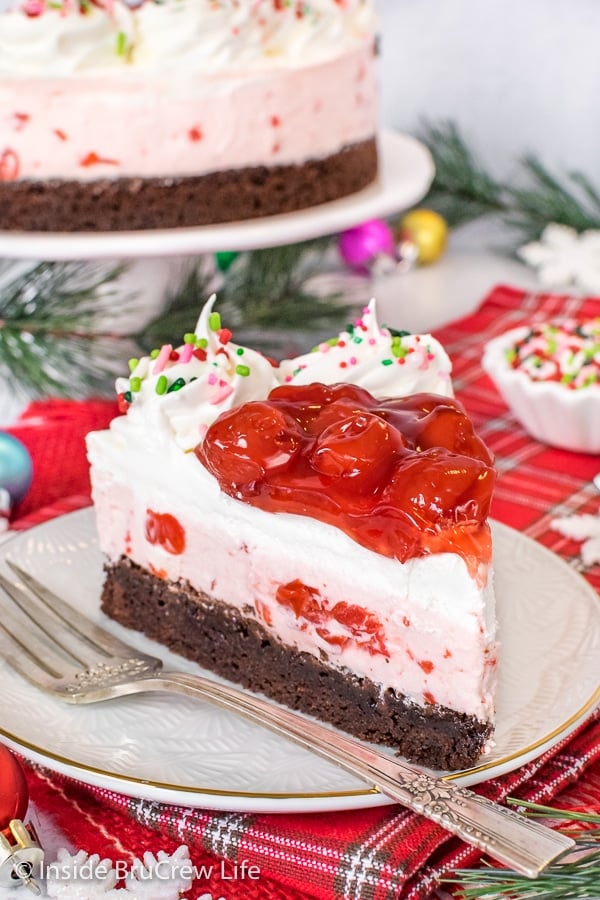
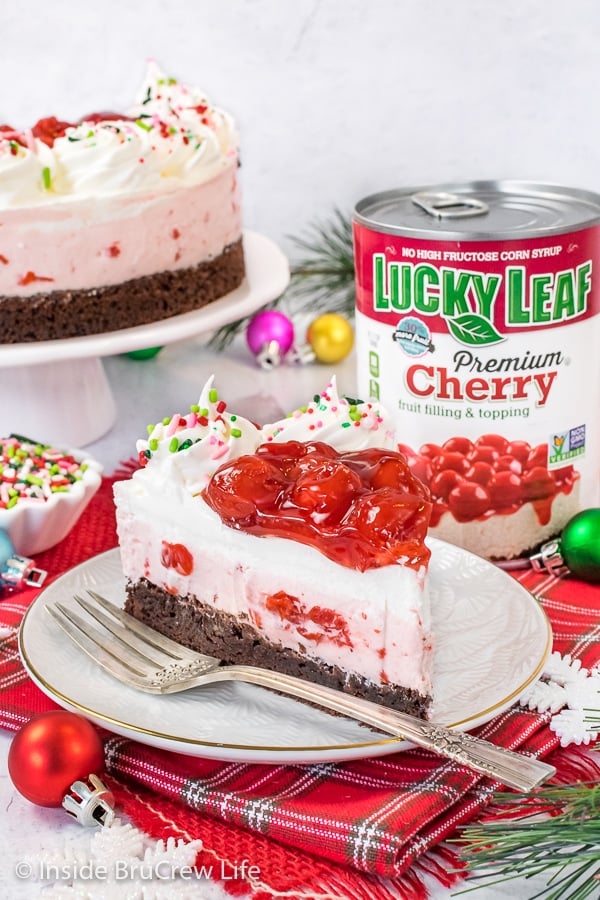
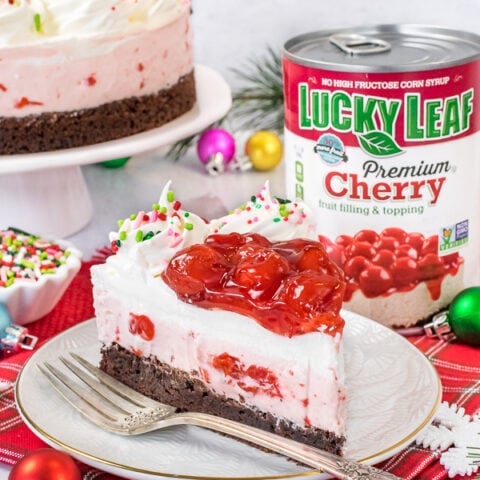
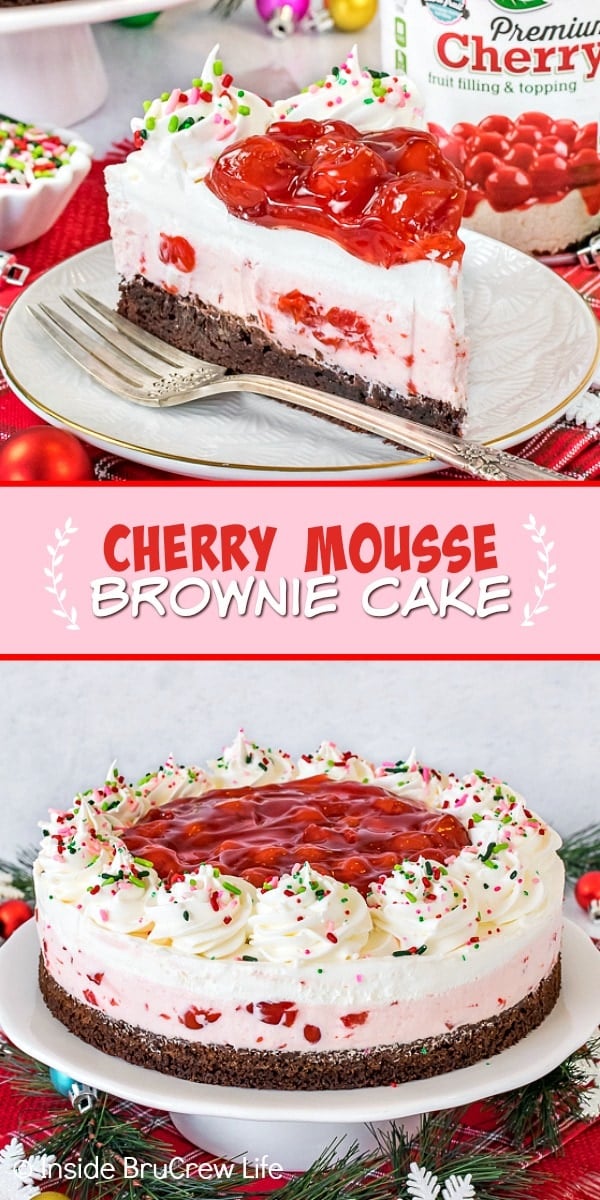
This Cherry Mousse Cake is so easy to make and tastes amazing. The layers of no bake cherry cheesecake with a chewy brownie crust make it a pretty and delicious dessert to make for the holidays.
Jump to:
Why This Works
Brownie cakes have quickly become one of my favorite desserts to bring to parties or events. They are easy to make, and I love the texture contrast from the chewy brownie and the creamy mousse filling.
Fancy cakes like this Oreo mousse cake will have everyone thinking you worked all day in your kitchen. The fact that they are so easy to put together can and will be our little secret.
The layer of no bake cheesecake mousse on a brownie cakes is easy to customize. Candies, marshmallows, cookies, or pie fillings can give it a unique flavor and look without a lot of work or fuss.
Now I realize that when you hear the words pie filling, you automatically think pie. I am excited to share with you just how versatile a can of pie filling can be.
Some of my favorite desserts made with pie filling is this Cherry Danish, Blueberry Key Lime Cheesecake Bars, and these Lemon Coconut Cupcakes.
Ingredients Needed
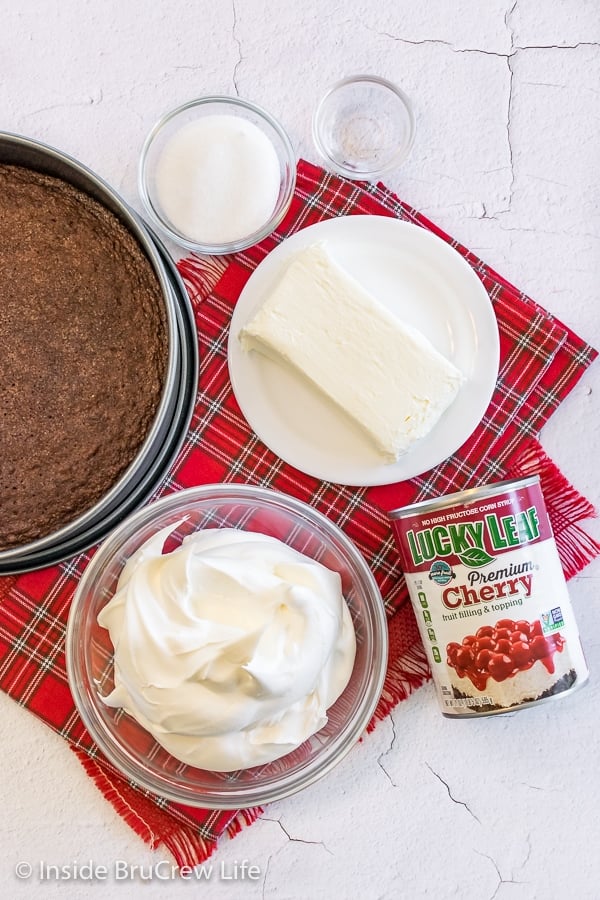
Spreading a layer of no bake cheesecake made with pie filling on top of a brownie is an easy way to make a fancy looking cake, that is actually very easy to do.
You will only need a few simple ingredients to make this brownie cake for your family and friends.
- Brownie Crust - You can use an 8x8 box mix or a batch of these Homemade Brownies.
- Cream Cheese - Be sure to set the cream cheese out ahead of time, so it can soften
- Sugar - This particular recipe uses granulated sugar to help smooth out the cream cheese before adding the pie filling.
- Almond Extract - Almond flavor gives a cherry dessert such a delicious and unique flavor combo. You can also use vanilla if you do not have almond or do not like it.
- Lucky Leaf Cherry Pie Filling - Lucky Leaf fillings are readily available in grocery stores and makes recipes easy to put together. If you do not like cherry pie filling, feel free to use strawberry or raspberry instead.
- Whipped Topping - Use a large tub of store-bought topping, so you have enough for the filling and the decorations. A double batch of Homemade Whipped Cream is another option.
How to make a Cherry Mousse Cake
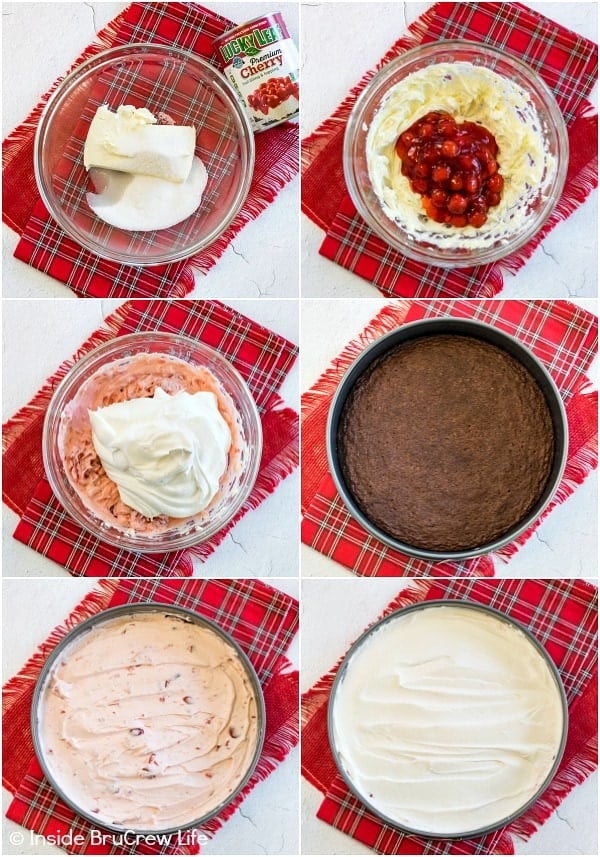
The first thing you will want to do is make your brownie crust. I like to make a homemade brownie layer, but you can also take advantage of a box mix. Let the brownie cool completely before starting on the rest of the layer in the brownie cake.
- To make the filling, beat a package of cream cheese with sugar and almond extract. I love the flavor of almond with cherries. If you are not a fan, feel free to substitute vanilla extract instead.
- Once the cream cheese is nice and creamy, add part of the can of cherry pie filling and beat it again. You want to use the mixer because it will help break up the cherries and spread them out in the no bake cheesecake.
- Fold in whipped cream until it is light and fluffy. Be sure to fold gently, so you do not deflate the topping. Then spread the filling on top of the cooled brownie crust. Add a layer of whipped cream over the top of the cherry mousse.
- Set the brownie cake in the refrigerator to chill and firm up. I like to make brownie cakes in the evening, so it can chill overnight. Easy desserts that can be made ahead of time are always good when you are busy.
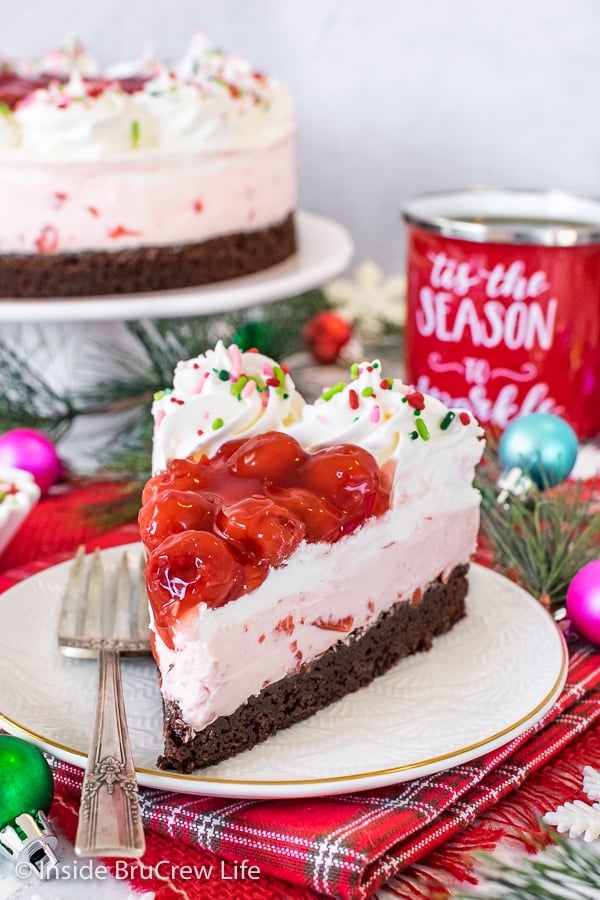
- Right before serving, remove the springform pan sides and add swirls of whipped cream, sprinkles, and the rest of the cherry pie filling to the top of the cake. These little extra garnishes makes the cake look beautiful and lets people know what flavor the cake is.
More recipes using pie filling
- Apple Turtle Cheesecake Tart
- Mini Lemon Cheesecake Pies
- Strawberry Mousse Cake
- White Chocolate Blueberry Mousse Cheesecakes
- Berry Cookies and Cream Fluff Salad
- Cherry Cream Cheese Pie
Do you love a recipe you tried from Inside BruCrew Life?
Please leave a 5-star ⭐️ rating and a review in the comments section below.
Recipe
Cherry Mousse Cake
This Cherry Mousse Cake is so easy to make and tastes amazing. The layers of no bake cherry cheesecake with a chewy brownie crust make it a pretty and delicious dessert to make for the holidays.
Ingredients
For the Brownie
- ½ cup unsalted butter, melted
- ¼ cup dark cocoa powder
- 2 large eggs
- 1 cup granulated sugar
- 1 teaspoon vanilla extract
- ½ teaspoon table salt
- ¼ teaspoon baking powder
- ¾ cup all purpose flour
For the Cherry Mousse
- 1 - 8 ounce package cream cheese, softened
- ¼ cup granulated sugar
- ½ teaspoon almond extract
- 1 - 21 ounce can Lucky Leaf® Premium Cherry Pie Filling
- 1 - 16 ounce container Cool Whip, thawed and divided
Instructions
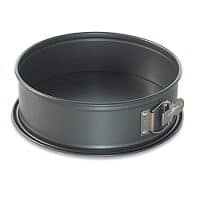
- Preheat oven to 350 degrees F. Line a 9 inch springform pan with parchment paper.
- Stir together the melted butter and cocoa powder. Set aside.
- Beat the eggs and sugar for 2-3 minutes. Add the vanilla and butter mixture and beat again.
- Slowly add the flour, salt, and baking powder and mix until everything is combined.
- Spread in the prepared pan and bake for 25 minutes. Let cool completely.
- Unlatch the sides and peel the parchment off of the brownie. Place the brownie back in the springform pan.
- Beat cream cheese, sugar, and almond extract until creamy. Add 1 cup cherry pie filling and beat again until combined.
- Fold in 3 cups Cool Whip gently. Spread on top of the cooled brownie crust in the pan. Spread 1 ½ cups Cool Whip over the top. Refrigerate until chilled and set.
- Run a knife around the edge of the pan to loosen the brownie cake from the pan. Unlatch the sides of the pan. Remove the cake and place on a plate.
- Place the remaining Cool Whip in a piping bag fitted with icing tip 1M. Pipe swirls around the outside edge of the cake. Top each one with sprinkles.
- Spoon the remaining cherry pie filling in the center of the cake.
Notes
- Make a double batch of Homemade Whipped Cream and use in place of Cool Whip, if desired.
Recommended Products
As an Amazon Associate and member of other affiliate programs, I earn from qualifying purchases.
Nutrition Information:
Yield: 14 Serving Size: 1Amount Per Serving: Calories: 184Total Fat: 8gSaturated Fat: 5gTrans Fat: 0gUnsaturated Fat: 3gCholesterol: 46mgSodium: 103mgCarbohydrates: 26gFiber: 1gSugar: 18gProtein: 2g
Nutrition facts are an estimate and are not guaranteed to be accurate. If you need special diet advice, please see a registered dietician.
*This recipe was sponsored by Lucky Leaf. All opinions expressed are 100% my own. Thank you for letting me share products and brands we use and love. See my disclosure policy for more information.*




Laura J Elsinger says
Can you do this with apple pie filling also?
Jocelyn says
Sure you can do whatever pie filling you like. Just make sure you like the taste of brownies with apples...
Cynthia says
Can you make this in a different type of pan?
Jocelyn says
Yes, you can. You can bake the brownies in an 8 inch springform pan for about 30 minutes or an 8x8 square pan for 25-30 minutes or until done. You can also double all the ingredients and bake the brownies in a 9x13 pan for 30-33 minutes, then double the topping as well. I hope that helps and you enjoy the cake.
Sharon says
Great recipe! The brownie base was the perfect consistency. I swirled the cherries in after the cool whip (just to prevent the pink color) but otherwise followed the recipe. Thanks for a great dessert.
Sharon Carson says
Merry Christmas Jocelyn! That is a gorgeous dessert! This will be on our menu for Christmas. Please tell me where you found those festive sprinkles - love the color combo. Thank you!
Jocelyn says
Thank you so much Sharon. I hope your family enjoys it as much as mine did. That particular sprinkle blend is from Sweets and Treats and is called Berry Bliss.
Long says
This is so delicious!! Definitely a “keeper” for my recipe collection! Thanks you sharing this.