


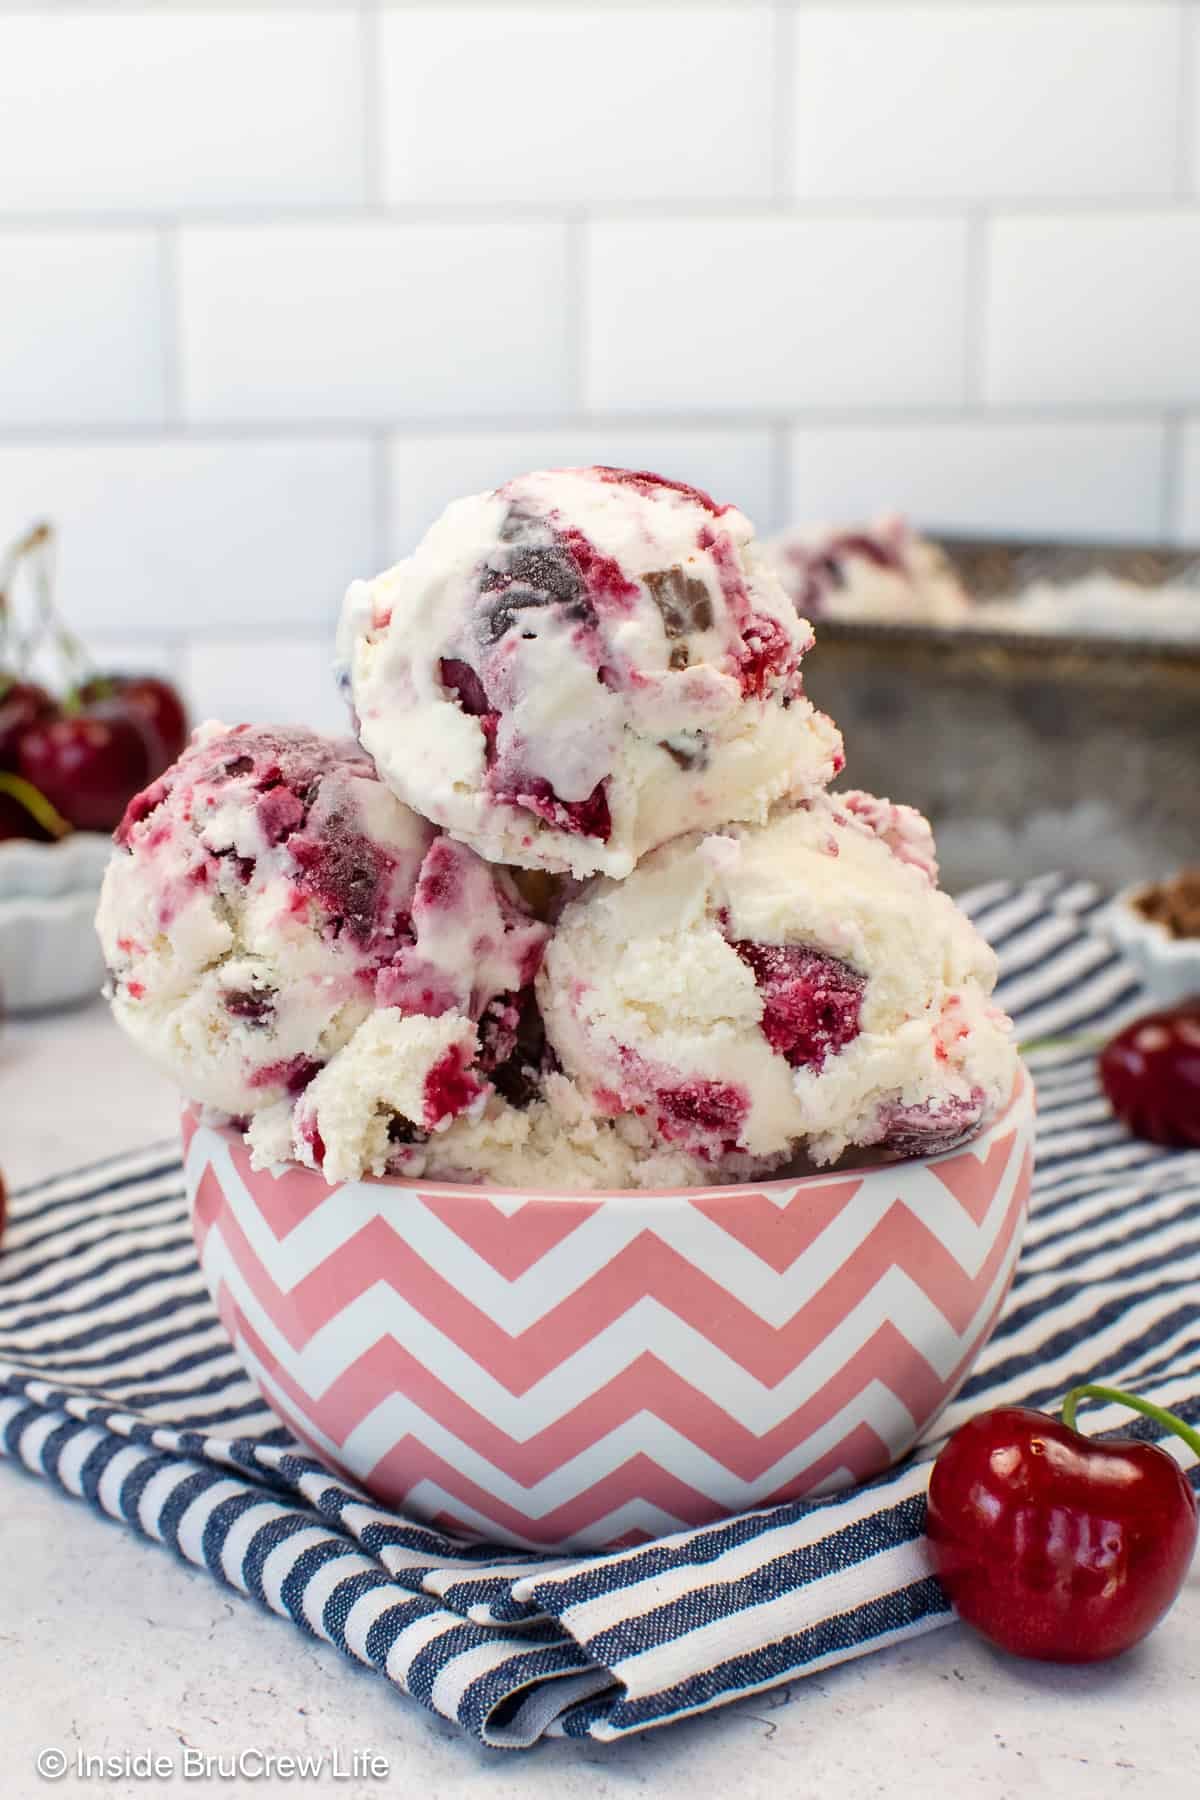
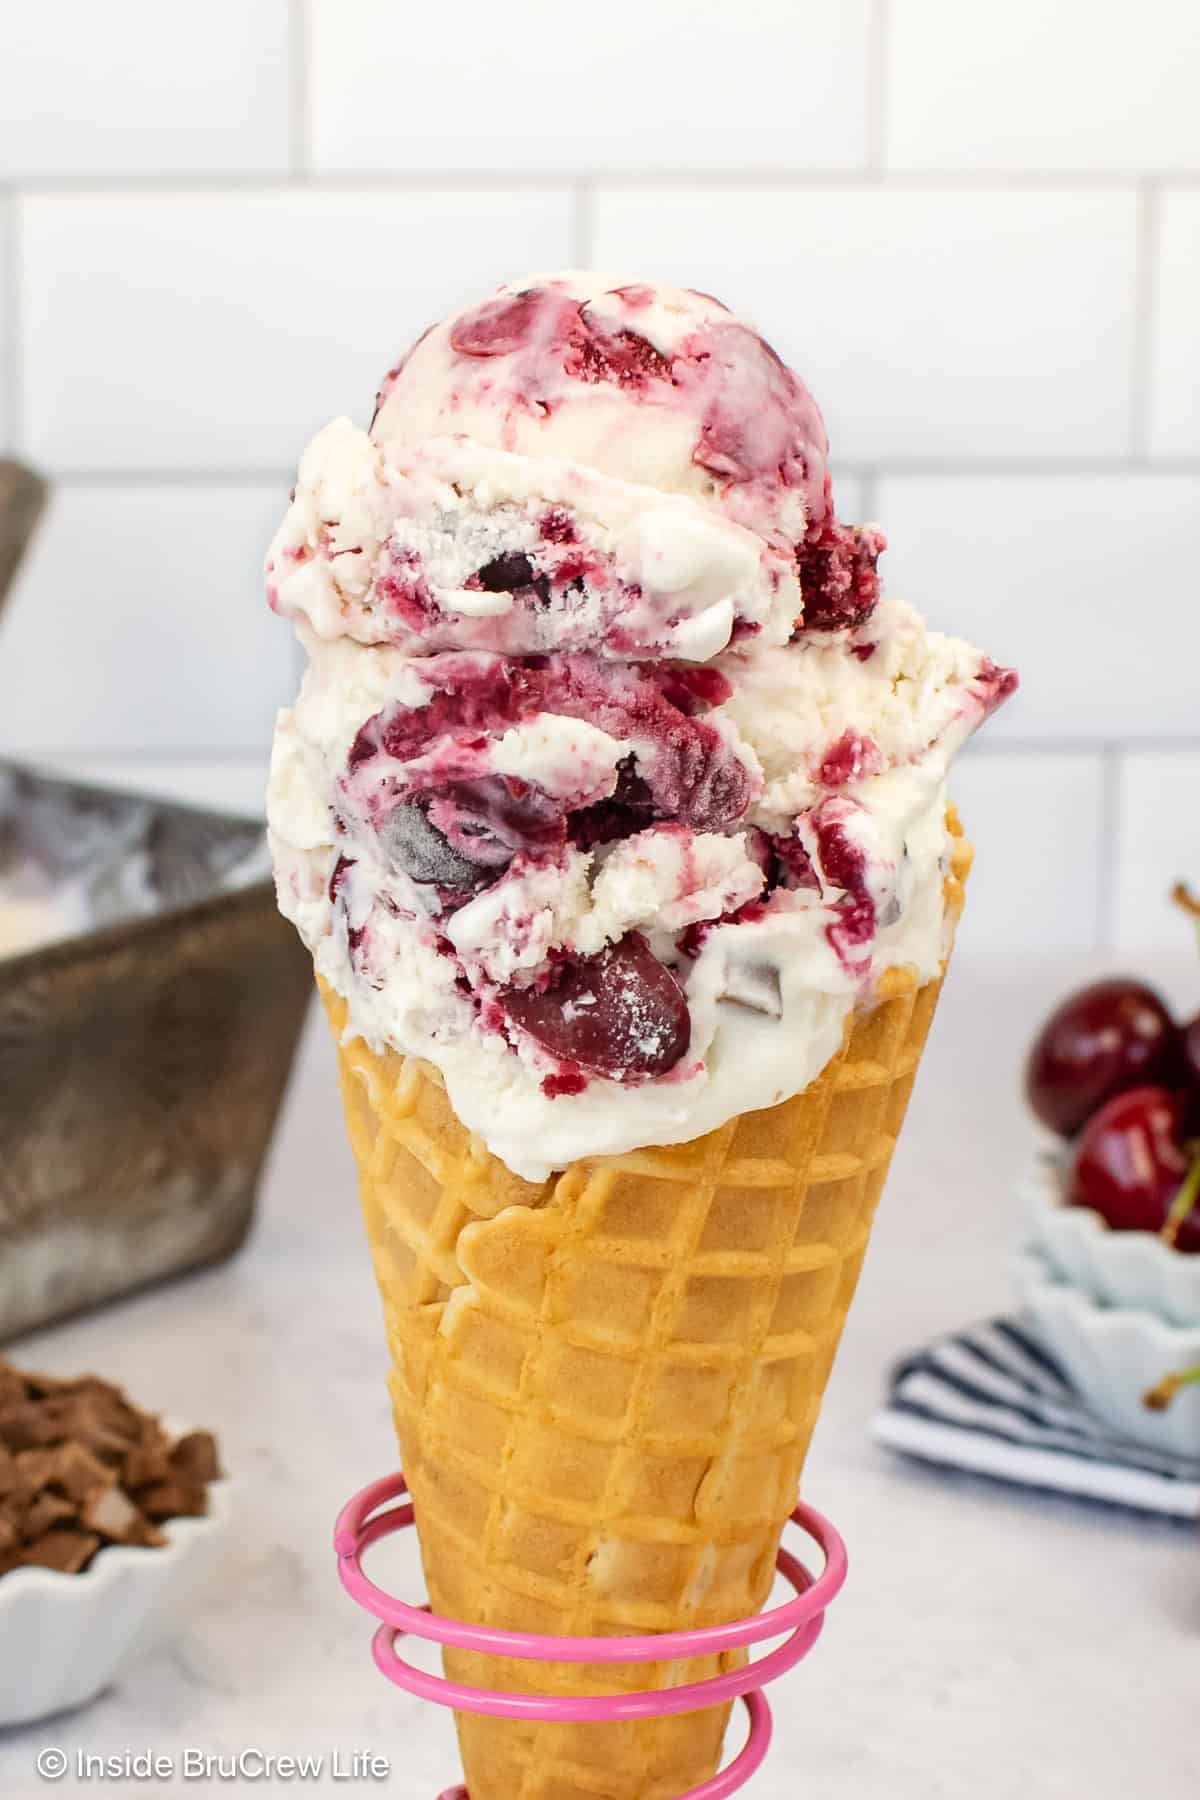
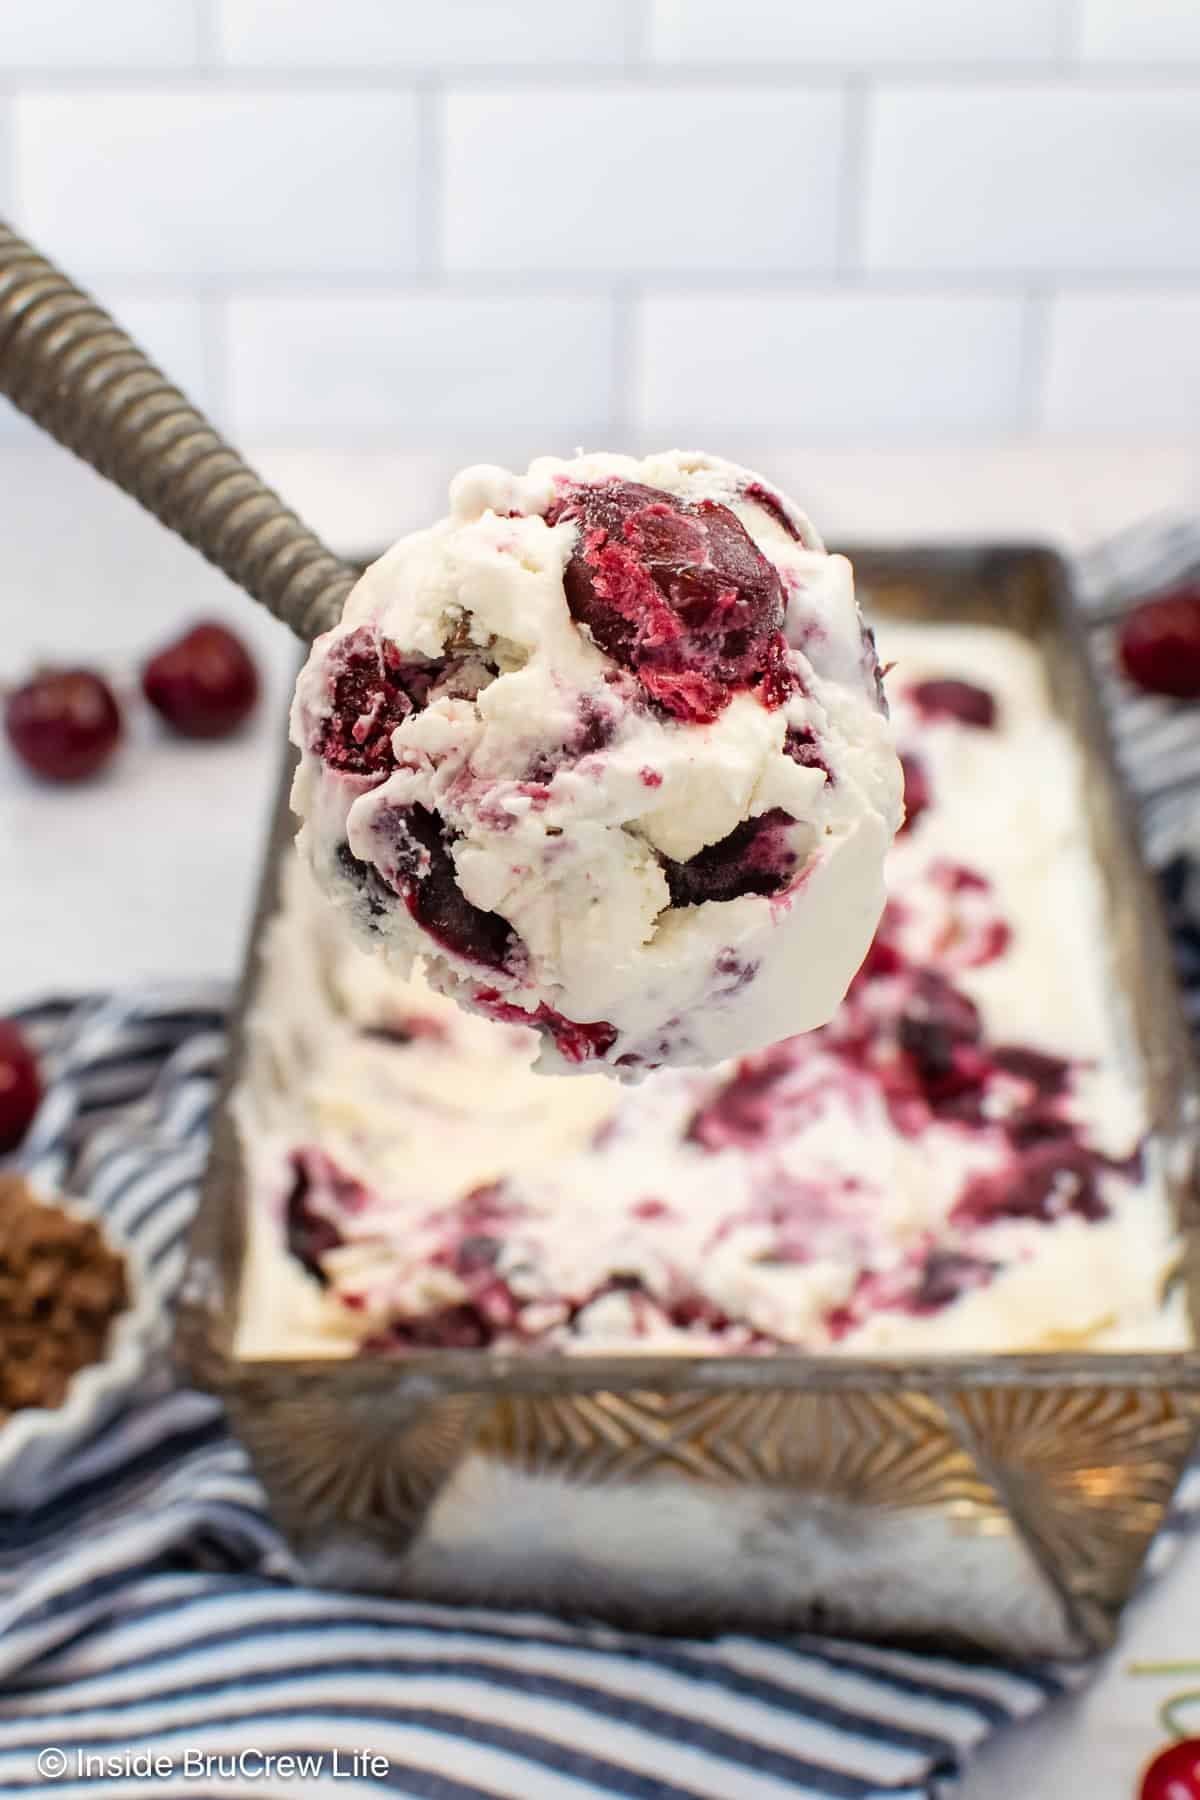
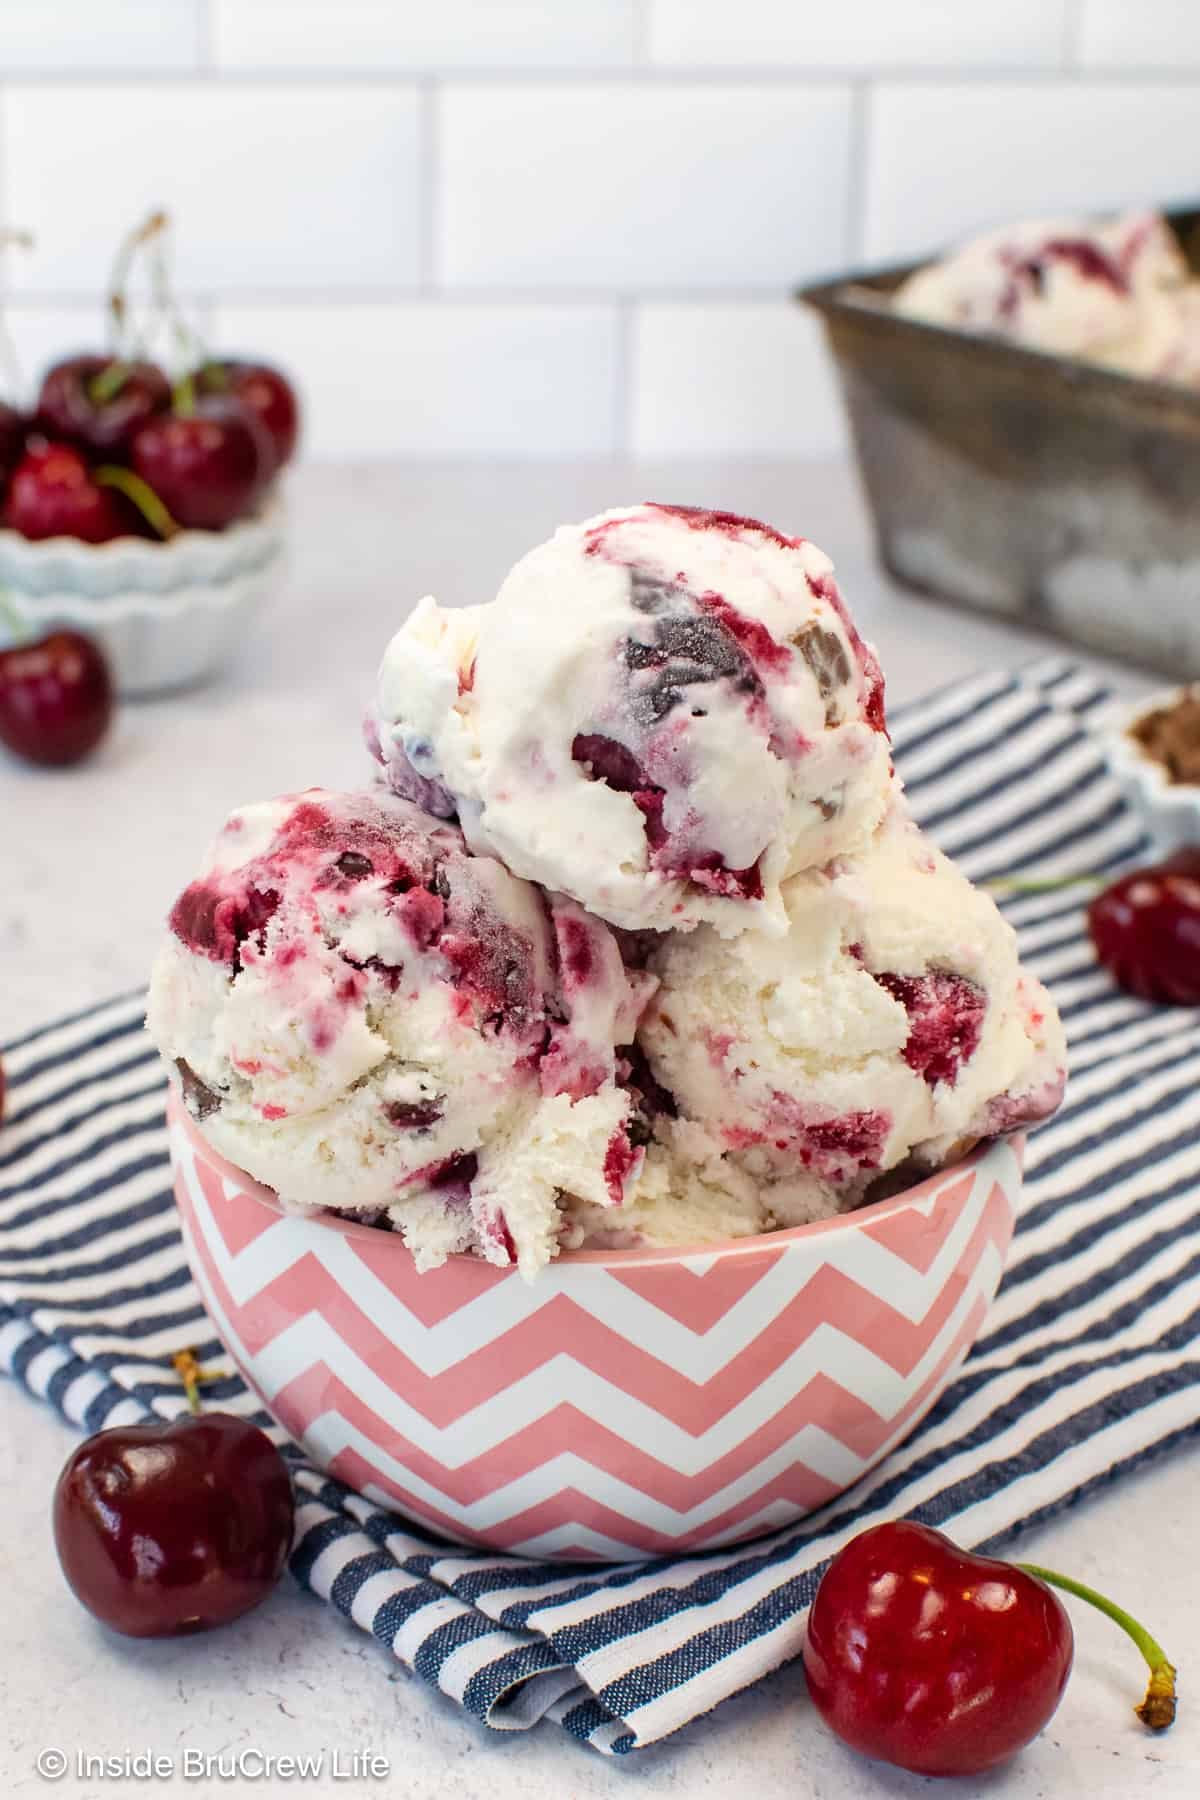
This homemade Cherry Vanilla Ice Cream has swirls of fresh cherry filling and chocolate chunks in every single scoop. It is cool, refreshing, and so much better than anything you can buy in stores!
Jump to:
My husband's favorite ice cream flavor is Ben & Jerry's Cherry Garcia. So a few years ago, I decided to make my own version at home.
Living in Florida means ice cream is a year-round must. I love keeping homemade ice cream in the freezer all the time. The ice cream maker gets used regularly around here. We love making coffee ice cream and cookies and cream ice cream when it's hot outside.
This ice cream base uses no eggs and no cooking. Just whisk everything together and let the machine do all the work. The hardest part is waiting for it to freeze.
I layered the creamy homemade vanilla base with cherry preserves and chopped Hershey bars. It immediately became a family favorite. Every scoop has beautiful cherry swirls and chocolate pieces. Trust me, you will love it too.
Why You'll Love Homemade Cherry Vanilla Ice Cream
- It's a delicious Cherry Garcia copycat. Homemade cherry filling and chocolate candy bar chunks add a fun twist to plain vanilla ice cream. Once you make it at home, you'll never go back to store-bought.
- So easy to make. Just whisk the ingredients together and let the machine do all the work. It's easy and fast.
- The layers are gorgeous. Alternating layers of ice cream and cherries create the swirls in every scoop. It is such an easy technique, but it makes a big difference.
- Perfect for a hot summer day. Cool, creamy, and loaded with fresh summer cherries. This is the kind of treat that makes a hot day feel so much better.
Ingredients Needed
This Cherry Garcia copycat recipe comes together with simple ingredients and a bag of fresh summer cherries. Scroll down to the recipe card for the exact amounts and full instructions.
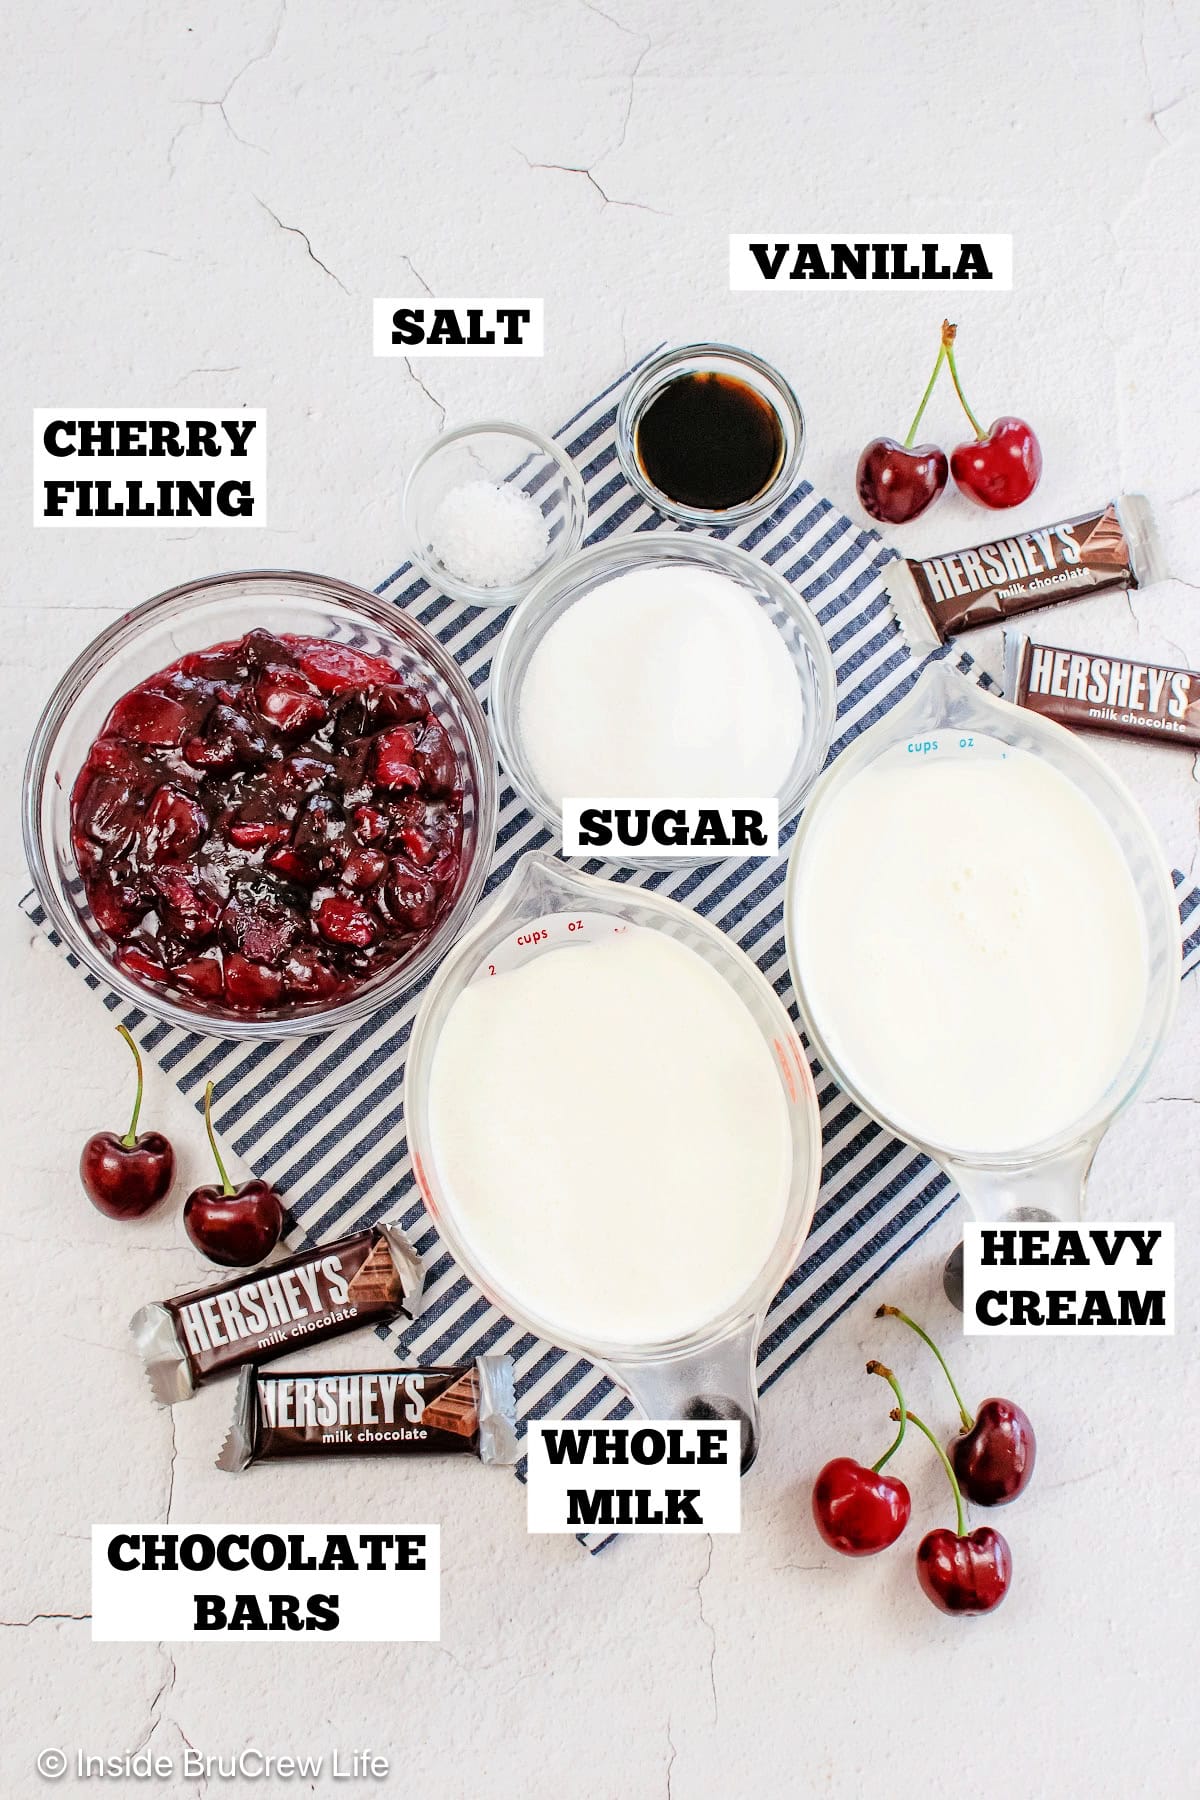
- Fresh Sweet Cherries: Bing cherries are my favorite, but Rainier or black cherries work great too. Thawed, well-drained frozen cherries can be used when fresh cherries are out of season.
- Granulated Sugar: Sweetens and draws out the juice in the fresh fruit. It is also used to sweeten the vanilla milk base.
- Water and Cornstarch: Combined with the sugar to thicken the cherry sauce so it holds its shape in the frozen treat.
- Heavy Whipping Cream and Whole Milk: Use full-fat dairy for a rich, creamy texture. You can use 2% or skim milk to cut calories, but the frozen mixture will have a crystal-like texture.
- Vanilla Extract: Adds a warm, rich flavor.
- Coarse Sea Salt: Just a pinch balances all the sweetness.
- Chocolate Chunks: You can use chopped Hershey's chocolate bars or store-bought chocolate chunks.
Ice Cream Variations
- Add almond extract. A tiny splash of almond takes this cherry ice cream to a whole new level.
- Try brownie chunks. Make a pan of homemade brownies, then cut them into small pieces and use those instead of candy bars.
- Use cherry pie filling as a shortcut. A can of store-bought pie filling is a quick substitute when you are short on time.
- Make a chocolate base. Whisk ¼ cup of dark cocoa powder into the milk mixture before churning.
How To Make Cherry Vanilla Ice Cream
This homemade ice cream has a few steps, but every one is simple and easy. Follow the step-by-step instructions, and you will have a pan chilling in the freezer in no time.
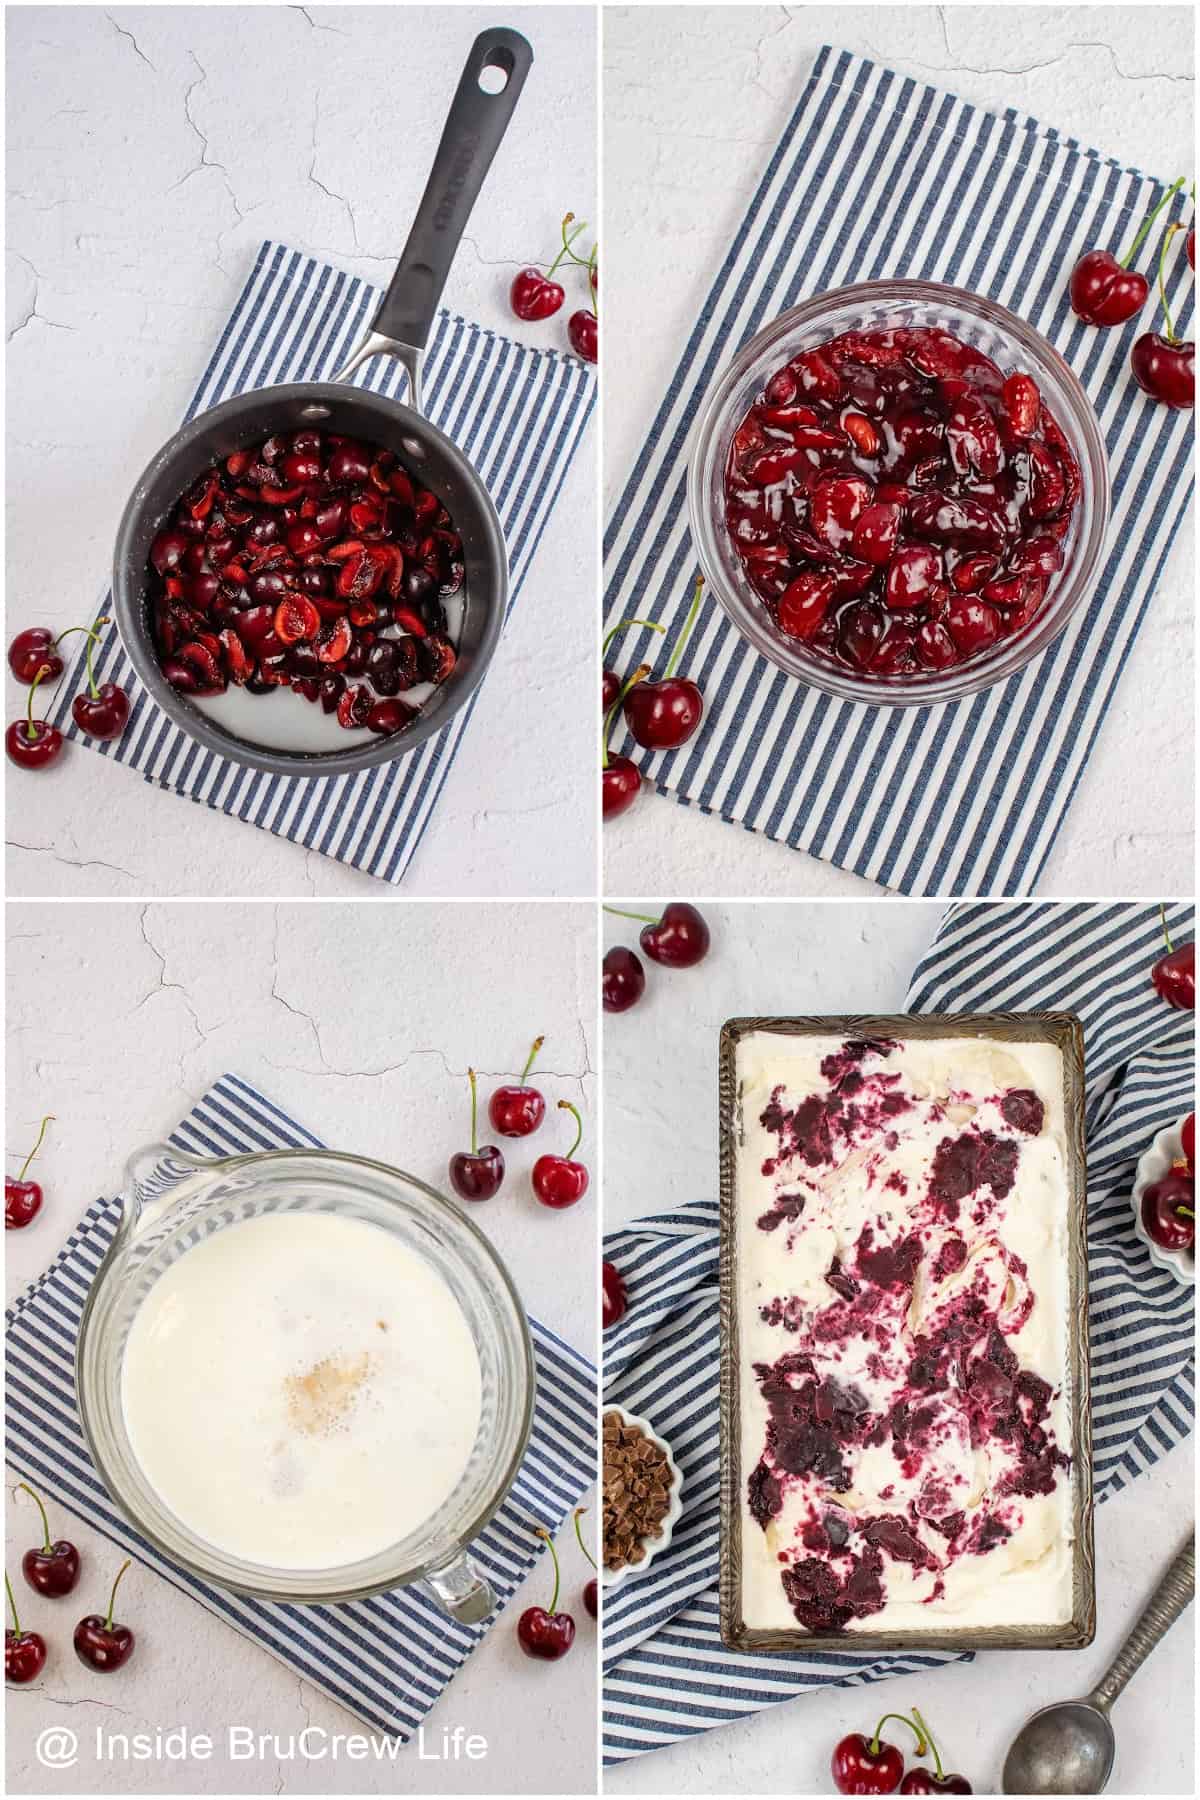
- Make the cherry filling. Stir the water, sugar, cornstarch, and pitted cherries in a saucepan. Heat over medium heat, stirring until it thickens. Remove and cool completely.
- Stir together the vanilla base. Whisk the heavy cream, milk, sugar, vanilla, and salt together until the sugar dissolves. Chill for an hour if you have the time. You can also just pour it into your machine, and it will still turn out delicious.
- Churn. Start the ice cream machine and pour the milk mixture into the chilled bowl. Churn for 20-30 minutes or until it reaches a soft-serve consistency. Once it thickens, add the chocolate chunks slowly through the top while it continues to churn.
- Layer and freeze. Spoon a third of the soft ice cream into a container, then add cherries. Repeat 2 more times. Place parchment paper on the surface before placing a lid on. Freeze for 4-6 hours or overnight.
BruCrew Tips
- Freeze or chill the bowl. If you are using a freezer bowl machine, freeze it for 24 hours prior to making the ice cream. If you are using a compressor maker, chill the bowl for at least 15 minutes before churning.
- Chill the base before churning. Even an hour in the fridge makes a difference in the flavor and texture of the finished ice cream. It also helps it churn faster.
- Start the machine before pouring in the milk mixture. Turn on the machine before adding the liquid so it does not immediately freeze to the bowl walls.
- Add mixins at the end. Stir in solid ingredients such as cookies, chocolate, nuts, or fruit AFTER churning, but before freezing. Flavorings and extracts can be added before churning.
- Chill the cherry mixture before layering. Do not add warm or even room-temperature cherries to the ice cream layers, as they will immediately melt the ice cream.
- Pre-chill your storage container. A cold container keeps the ice cream from melting too quickly as you move it from the machine. I like to use a metal loaf pan.
- Press parchment paper directly onto the surface. This prevents ice crystals from forming on top of the ice cream as it freezes. Air exposure causes crystals to form on top each time you open it. You can protect it even further by placing the covered container in a freezer bag.
Storing and Freezing
Store the ice cream in a tightly sealed, freezer-safe container at the back of the freezer for up to 2 months.
Before serving, let the container sit on the counter for about 10 minutes. Homemade ice cream freezes firmer than store-bought because it does not contain stabilizers. Letting it sit for a few minutes makes scooping easier.
FAQs
Why is my ice cream not freezing?
Ice cream machines will not freeze the ice cream any harder than soft serve. You need to put the soft ice cream into a freezer-safe container, then freeze it for a few hours until it's firm enough to scoop.
How do you keep homemade ice cream from freezing too hard?
- Chill the ice cream base in the refrigerator. This deepens and ages the mixture. If the milk mixture is not cold enough, ice crystals can form during churning.
- Make sure you have enough fat content in your milk mixture. Fat doesn't freeze as well. If you are trying to make a lighter version, the milk mixture may not have enough fat. This can cause it to freeze hard and icy.
- Did you remove some of the sugar? Sugar keeps ice cream soft and scoopable by lowering the mixture's freezing point. Too little, and it will freeze hard; too much, and it will not freeze. Check your ingredients as they may be unbalanced in their ratios.
- Replace some of the sugar in the recipe with honey or corn syrup. These are effective at lowering the freezing point of the milks.
More Homemade Ice Cream
- Chocolate Peanut Butter Ice Cream recipe
- Fudge Swirl Ice Cream
- Cappuccino Ice Cream
- Peppermint Stick Ice Cream
- Confetti Cookie Dough Ice Cream
Do you love a recipe you tried from Inside BruCrew Life?
Please leave a 5-star ⭐️ rating and a review in the comments section below.
Recipe
Cherry Vanilla Ice Cream
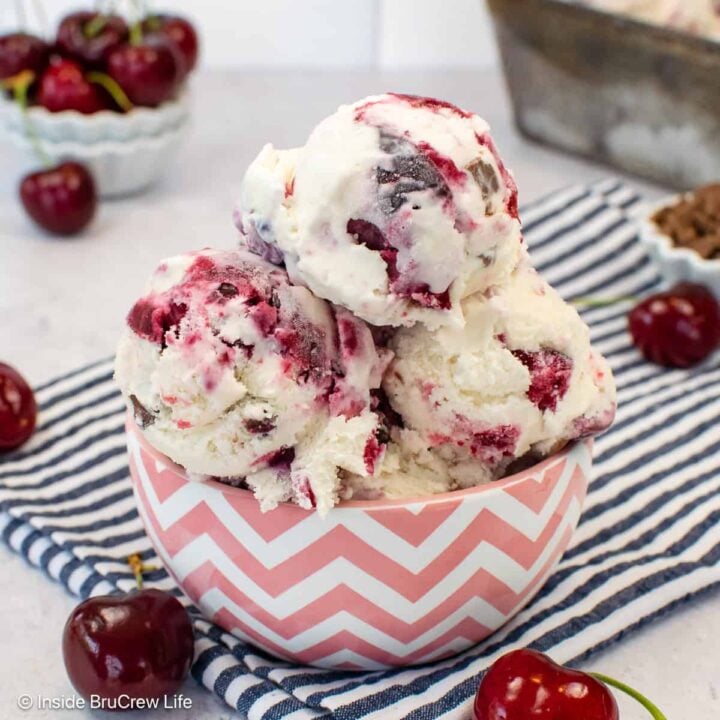
Beat the heat this summer with a bowl of Cherry Vanilla Ice Cream. Chocolate chunks and swirls of cherry filling make this homemade vanilla ice cream the perfect frozen dessert.
Ingredients
For the Cherry Swirl
- 2 cups fresh cherries, pitted and halved
- 2 tablespoons water
- 2 tablespoons granulated sugar
- 1 tablespoon cornstarch
For the Ice Cream
- 2 cups heavy whipping cream
- 1 cup whole milk
- ¾ cup granulated sugar
- 4 teaspoons vanilla extract
- Pinch of coarse sea salt
- ½ cup chocolate chunks
Instructions
- If needed, freeze the ice cream bowl 24 hours in advance.
- Stir together cherries, water, sugar, and cornstarch in a saucepan. Heat on medium heat for 8-10 minutes, stirring until it thickens.
- Remove the filling and cool it on the counter for an hour. Refrigerate until chilled.
- Whisk cream, milk, sugar, vanilla, and salt in a large bowl until sugar is dissolved. Chill for an hour.
- Pour the milk mixture into the ice cream maker according to the manufacturer's directions. Churn 20-30 minutes, depending on the machine.
- When the ice cream starts to thicken, add chocolate chunks slowly while it continues to churn.
- Once frozen, spoon ⅓ of the vanilla ice cream and chilled cherry filling into a container. Repeat layers two more times.
- Place a piece of wax paper directly on top of the ice cream. Cover tightly with plastic wrap or a lid, and place in the freezer for at least 4-6 hours before serving.
Recommended Products
As an Amazon Associate and member of other affiliate programs, I earn from qualifying purchases.


Nutrition Information:
Yield: 8 Serving Size: 1Amount Per Serving: Calories: 480Total Fat: 28gSaturated Fat: 18gUnsaturated Fat: 10gCholesterol: 78mgSodium: 43mgCarbohydrates: 51gFiber: 2gSugar: 47gProtein: 5g
Nutrition facts are an estimate and are not guaranteed to be accurate. If you need special diet advice, please see a registered dietician.
Lorraine Engen says
Do you have a certain brand of ice cream maker that you recommend for making these recipes?
Jocelyn says
I have used two different Cuisinart ice cream machines over the years, and by far my favorite is the Ice 100 compressor machine. I just added links to both in the recipe card for this cherry vanilla ice cream.
Carina says
Hello! I have a quick question, can I use frozen cherries? I can’t wait to make this and that is all I have at the moment:)
Jocelyn says
Yes, you could use the frozen berries. Just thaw them and drain them very well before making the cherry filling. I hope you enjoy the ice cream.
Dianne says
Can I put cherries and chocolate into mixture base and freeze it all together in my electric churn?
Jocelyn says
If you add the cherries and chocolate to the base before churning, the mixture will turn pink/brown, and they will sink to the bottom of the ice cream maker. The mix ins need to be added to the ice cream after it churns to keep them from sinking and to keep the color of the ice cream pretty. I hope that helps and you enjoy the ice cream.