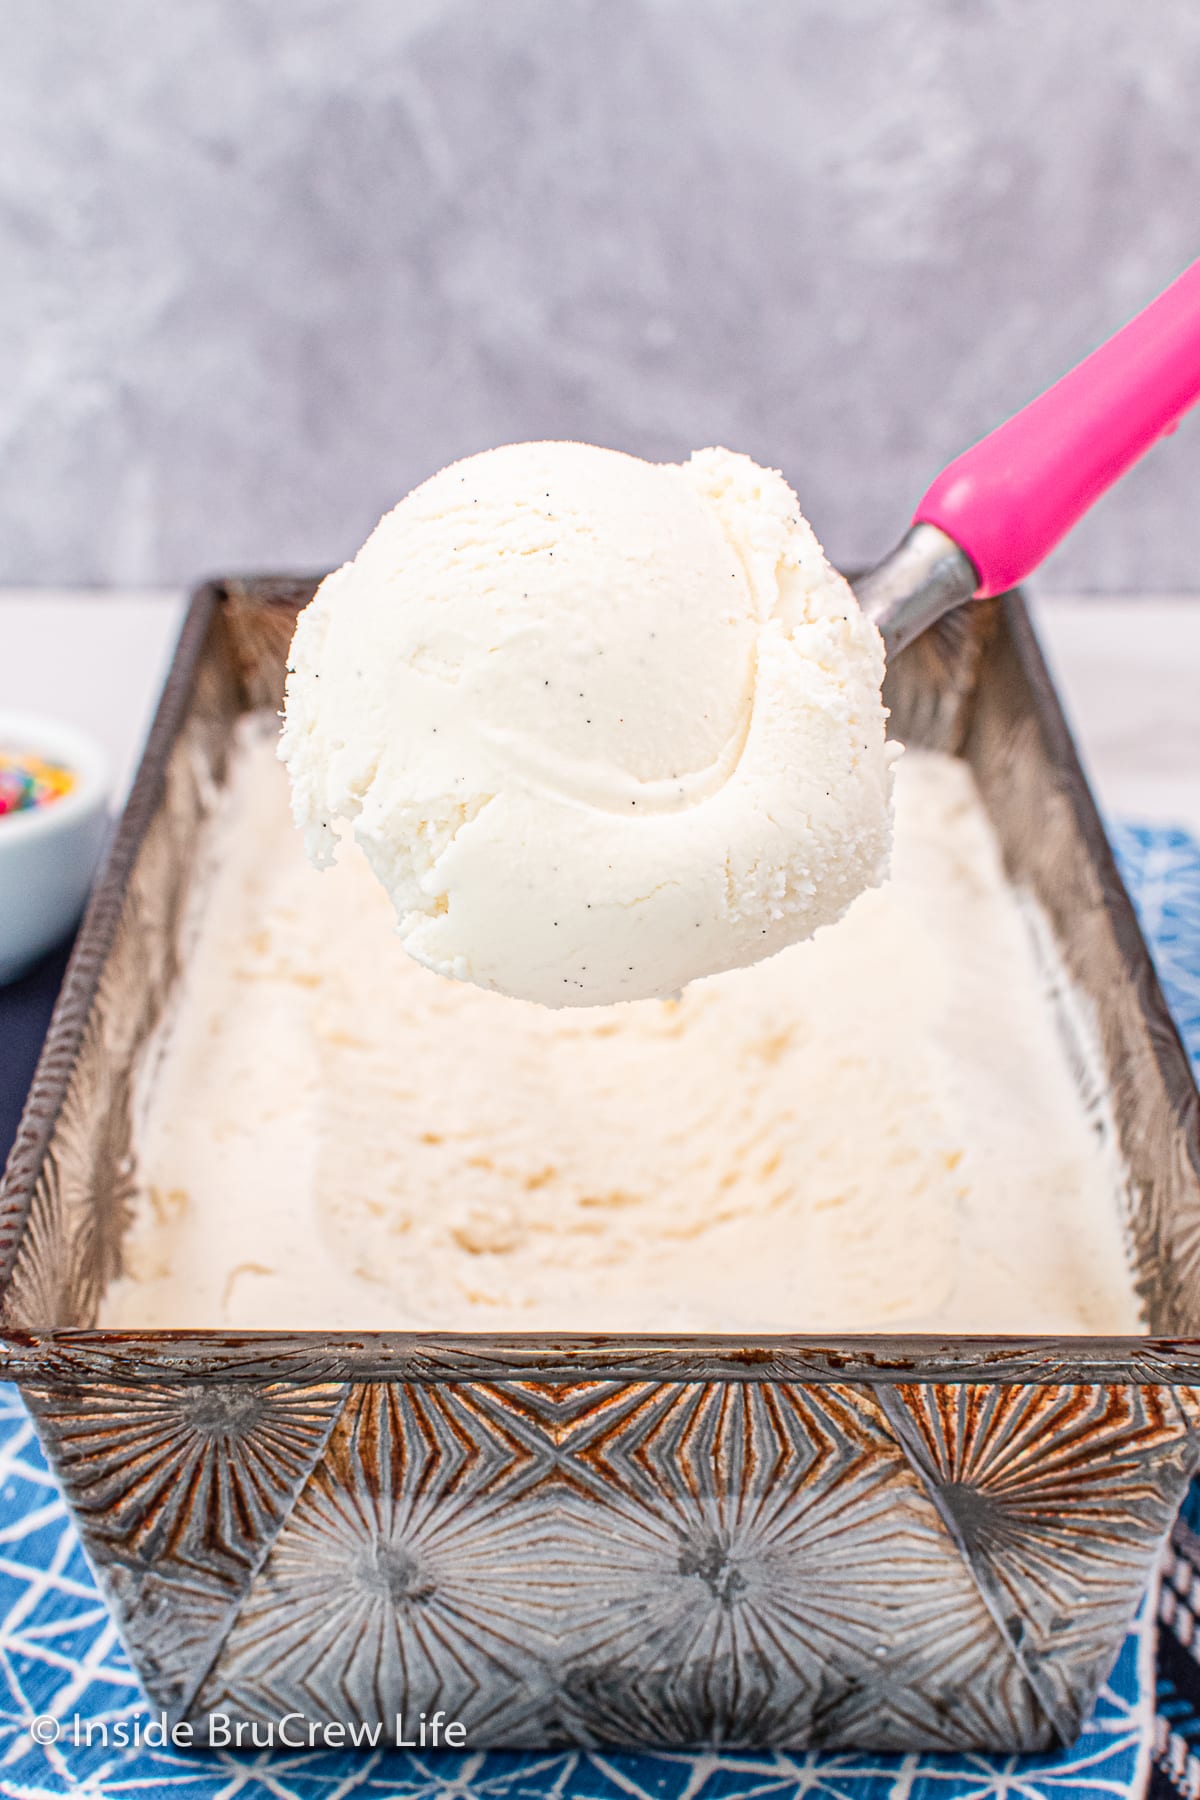
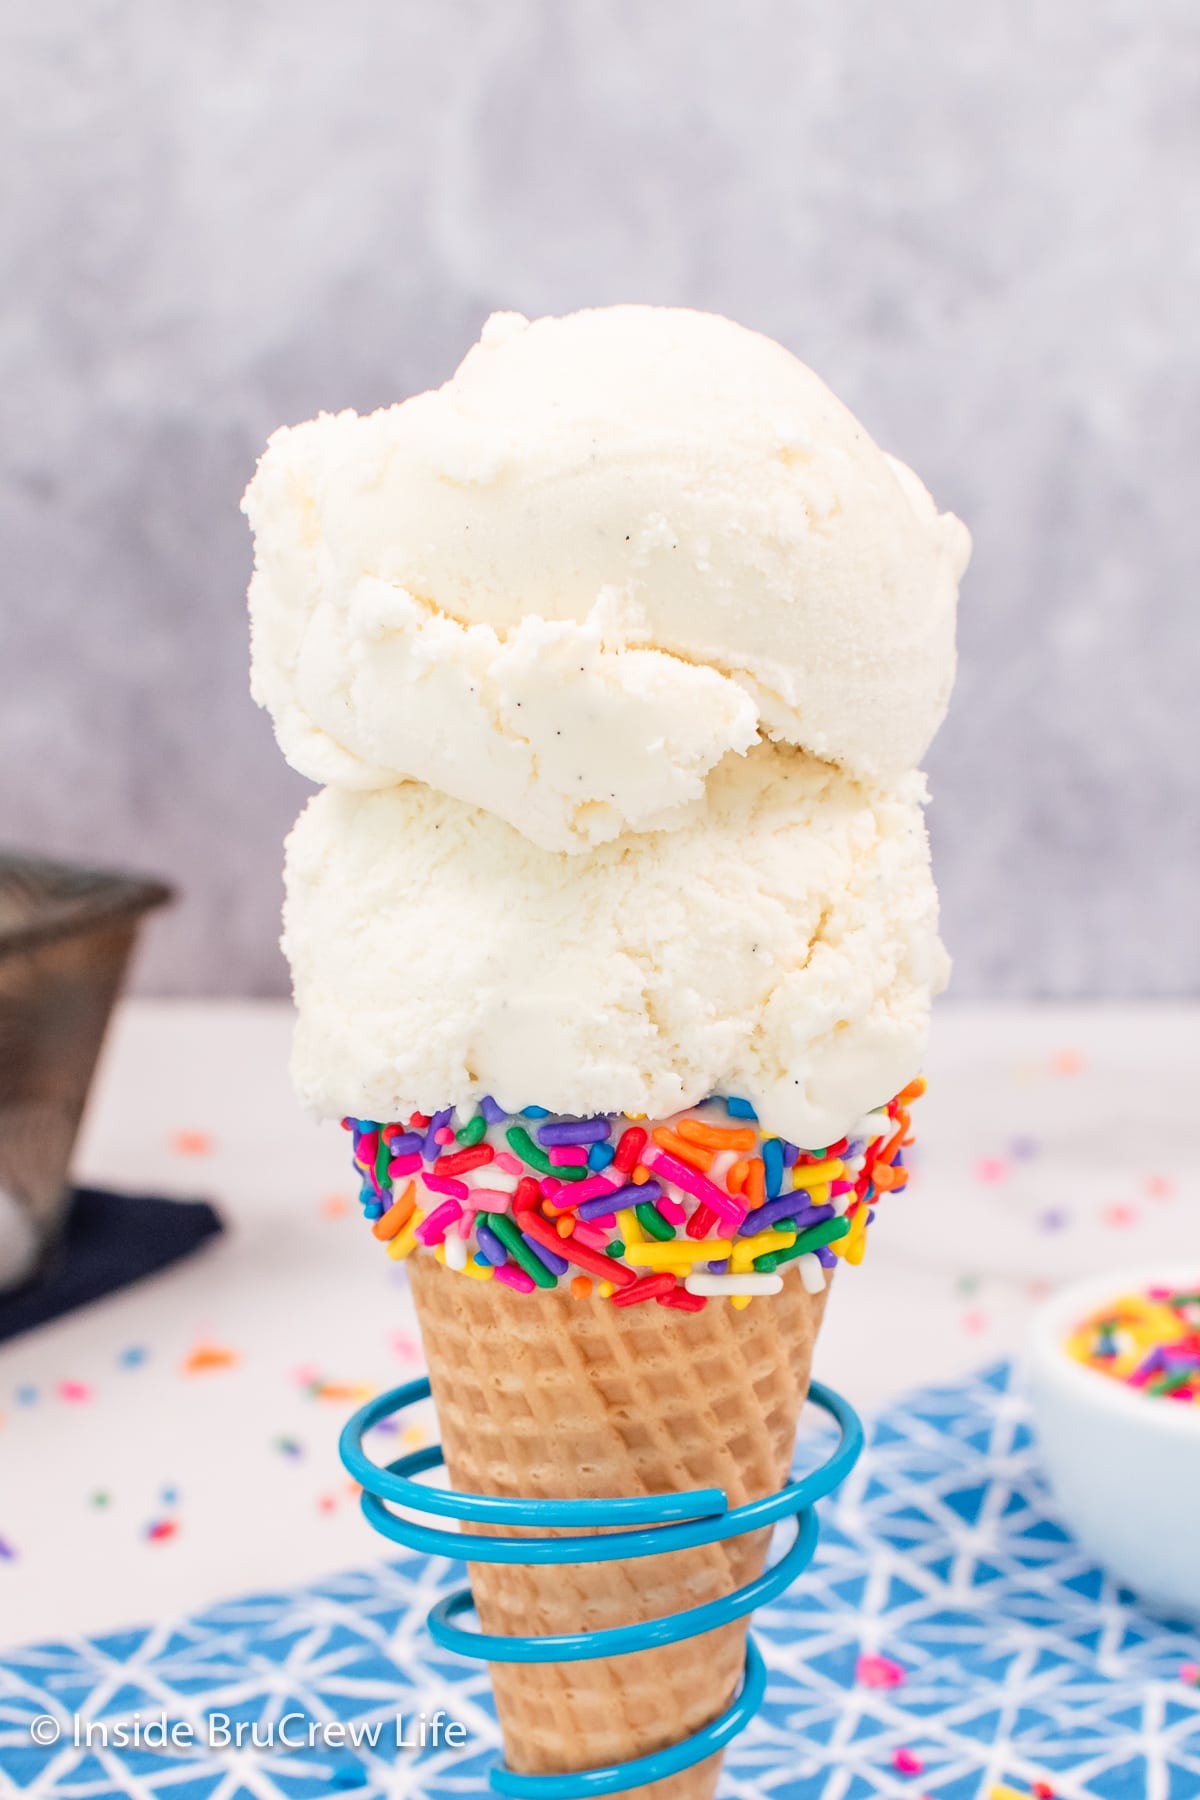
Make a dreamy vanilla bean ice cream with just a few ingredients. This homemade ice cream recipe is rich, creamy, and full of vanilla bean flecks. Trust us, you'll be in love after the first bite!
Jump to:
There is nothing better than a bowl of homemade ice cream on a hot summer day! I usually reach for ones loaded with lots of goodness like fluffernutter ice cream or brownie batter ice cream.
But lately I have been enjoying the simple flavors. There is a reason that vanilla, chocolate, and strawberry ice cream are the three most popular flavors in the country. They are amazing alone or served with your choice of dessert.
Why This is the Best Vanilla Ice Cream
This vanilla bean ice cream is one of the easiest ice creams to make. No eggs or cooking is required for this base. Just whisk the ingredients together and let it churn into a delicious frozen treat.
- No cooking required. There are no eggs in a Philadelphia style ice cream recipe, so you do not need to cook anything. I'm all about simple recipes, so this vanilla ice cream recipe is perfect.
- Rich creamy texture. A mixture of heavy cream, whole milk, and a small amount of cream cheese provides the right amount of fat. The fat is what makes it so creamy, so don't skimp on the ingredients.
- Great vanilla flavor. Using vanilla bean paste gives a more intense and authentic vanilla flavor compared to ice cream flavored with vanilla extract. Plus, it adds those dreamy little black specks.
- Easy to customize. This is an excellent base for adding mix-ins such as chocolate chips, nuts, candies, or fruit. You can create endless flavor combinations without losing the vanilla taste.
Main Ingredients
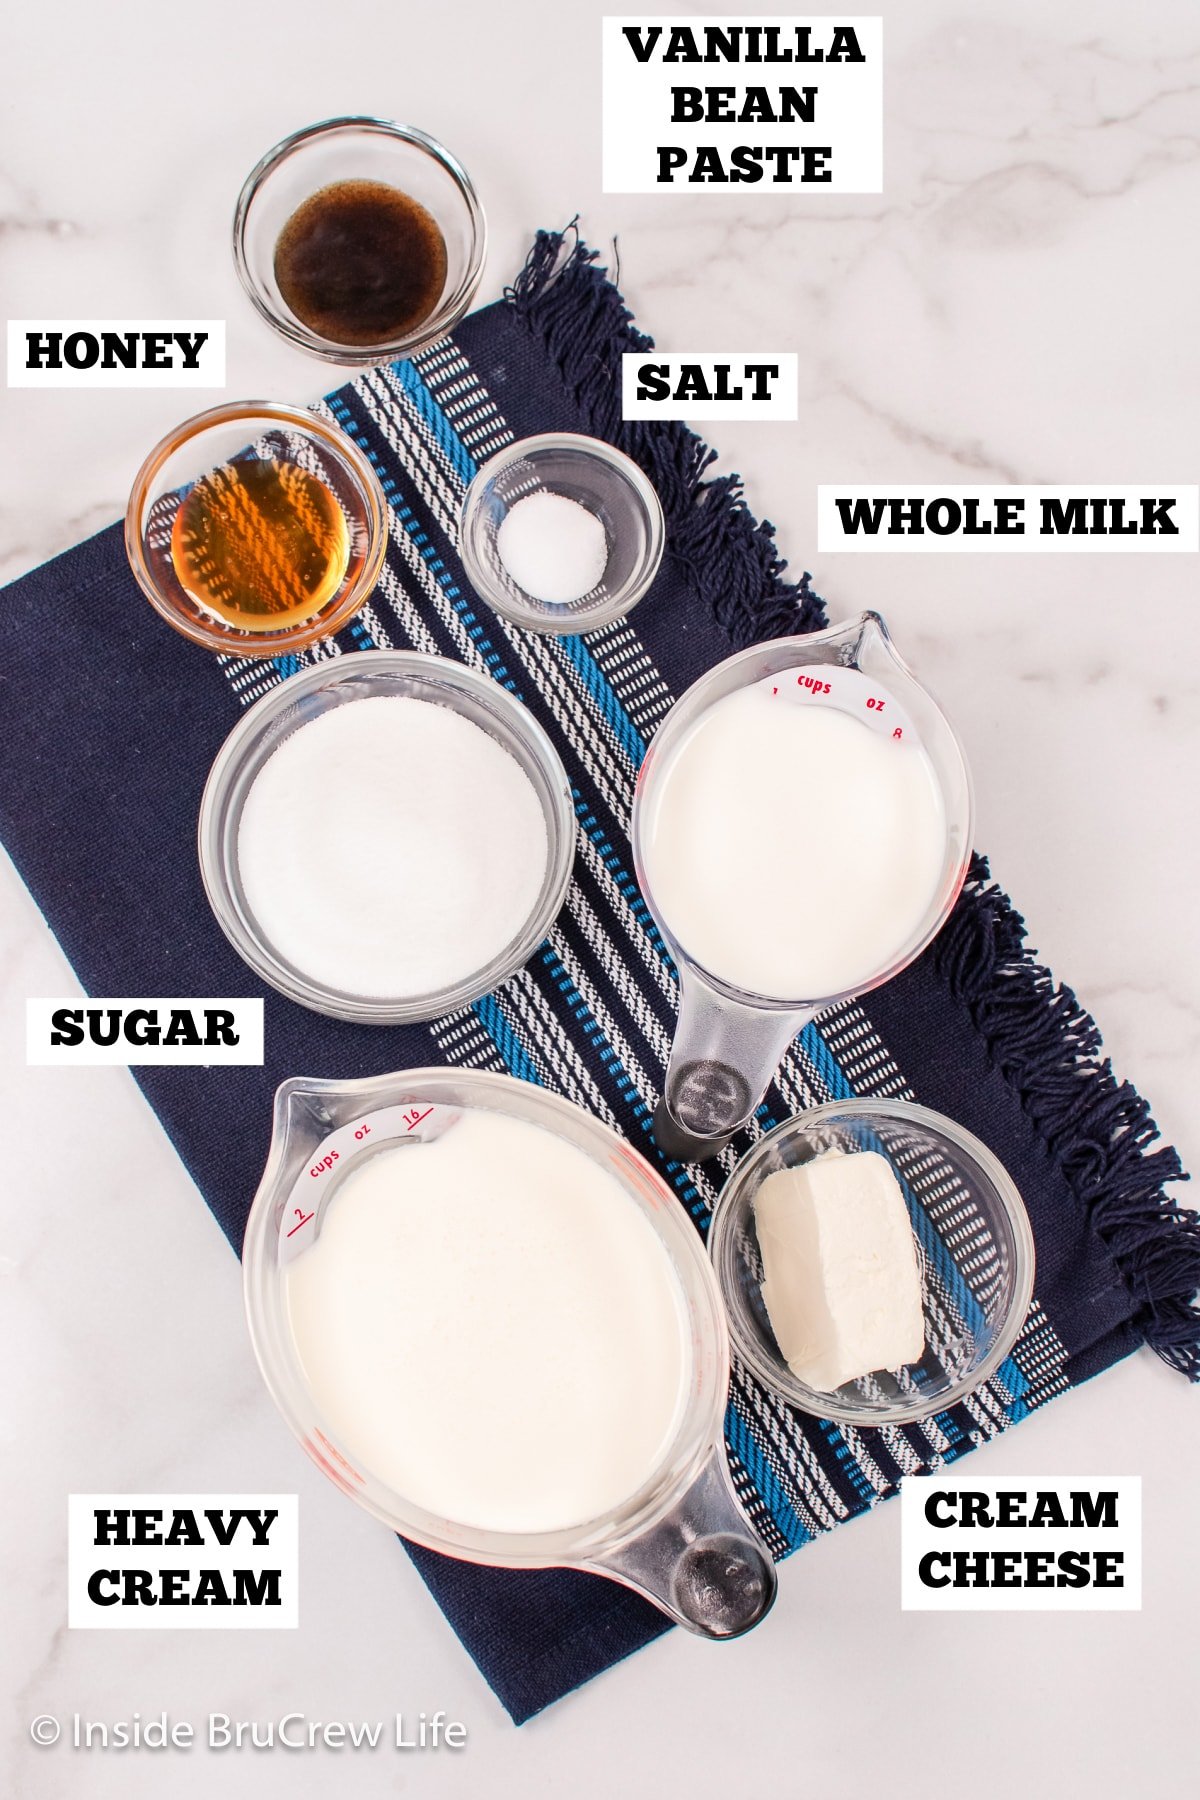
To make this creamy vanilla ice cream without eggs, you will only need a few ingredients. The creaminess comes from the heavy cream and whole milk mixture.
- Milk - A combination of heavy whipping cream and whole milk gives it the creamiest and best tasting texture. You can use other milks, but it may freeze icier.
- Granulated Sugar - Sweetens the ice cream base. Brown sugar could also be used, but it will change the flavor.
- Cream Cheese - Adds a creamy texture and also keeps the ice cream from freezing too hard. Make sure to soften it to room temperature before mixing.
- Honey - Adds sweetness and also keeps the ice cream from freezing rock solid.
- Salt - Just a little bit helps to balance out the sweet ingredients.
- Vanilla Bean Paste - Gives this ice cream an intense vanilla flavor and adds vanilla bean seeds to every scoop. If you can't find it, add 2 tablespoons vanilla extract instead.
BruCrew Tip: You can find vanilla beans or vanilla bean paste in most stores or online.
How to Make Vanilla Ice Cream
Creamy, rich, and bursting with the best vanilla flavor, you don't want to miss out on this vanilla bean ice cream. With only a few ingredients, you can make it in no time. The only challenge? Resisting the temptation to dig in before it freezes to perfection.
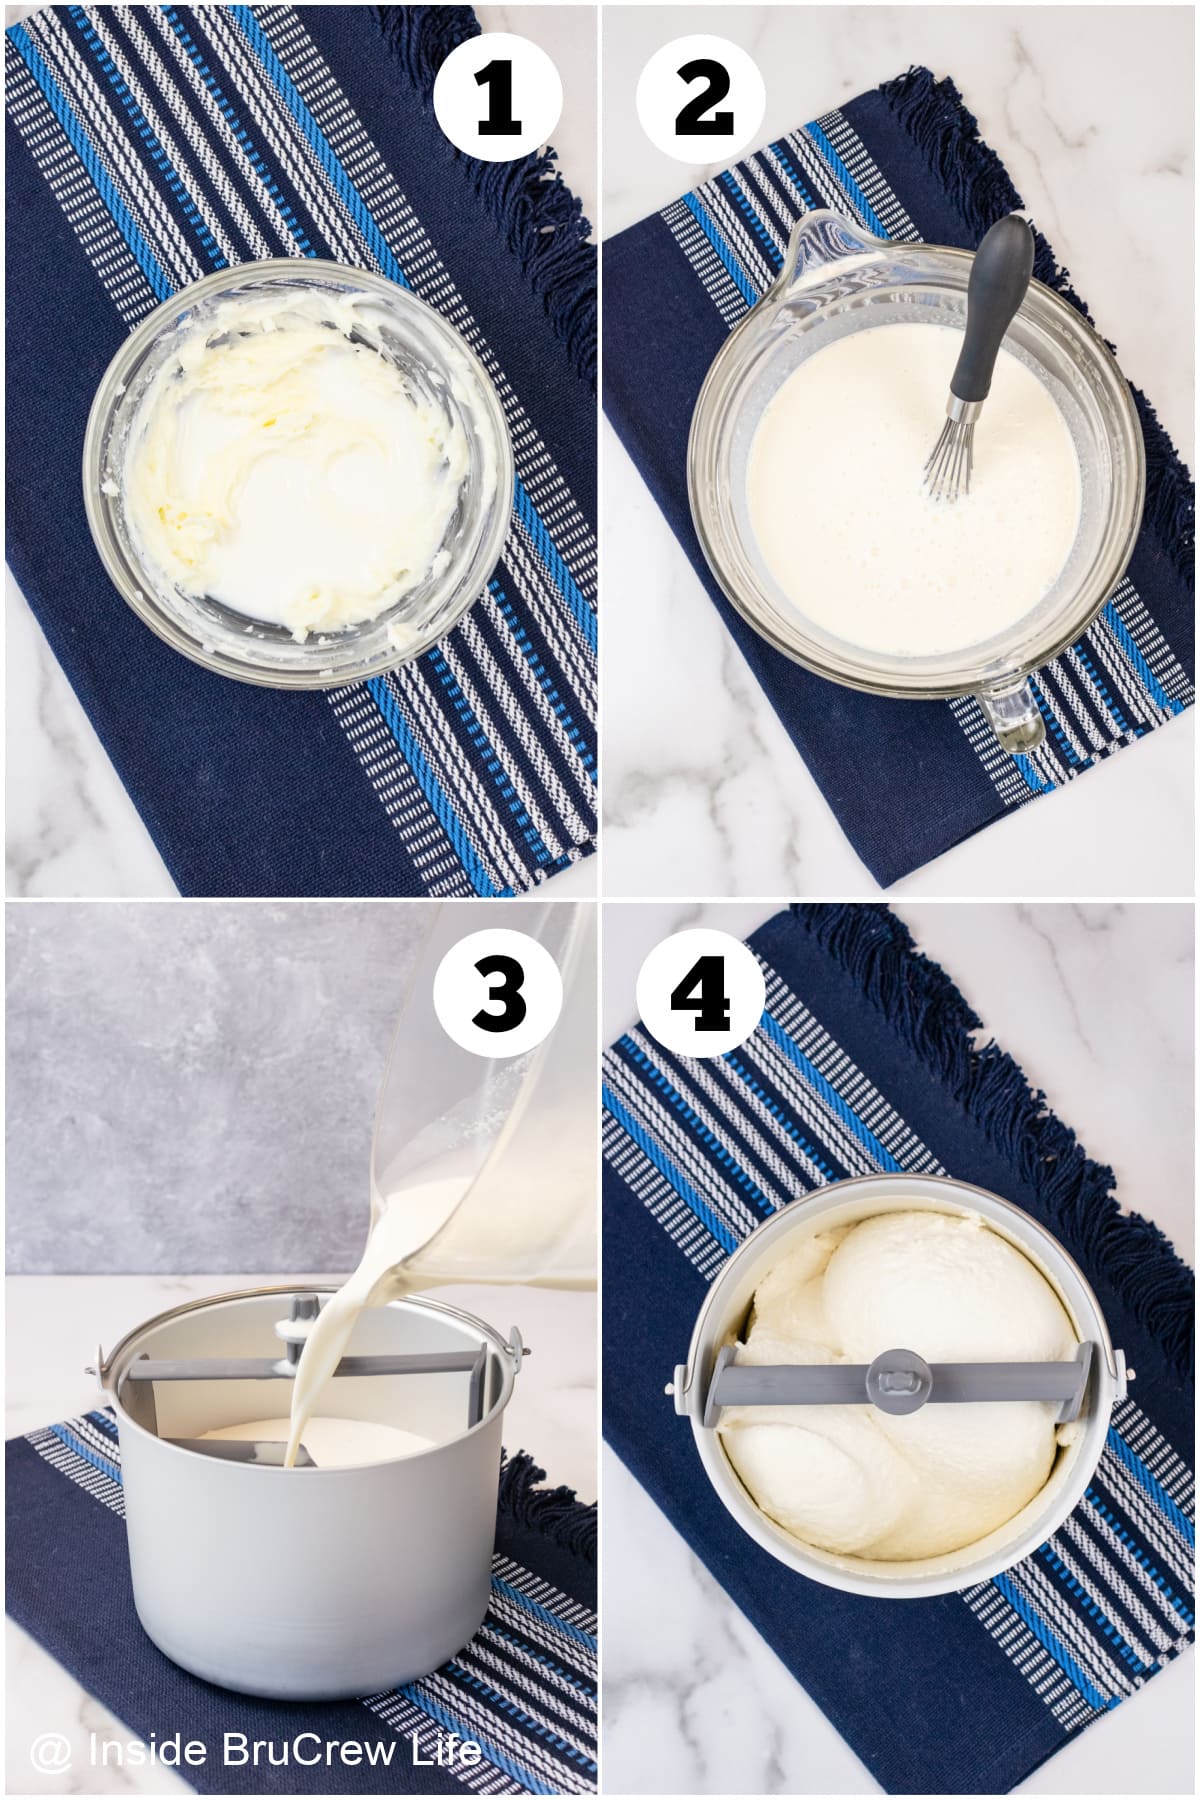
- Make the cream cheese base. Beat the softened cream cheese and sugar in a medium bowl until creamy. Slowly mix in the milk until it is completely mixed in.
- Whisk together the ingredients. Add the honey, salt, and vanilla bean paste to the milk mixture and whisk until everything is smooth. Gently stir in the heavy cream. Refrigerate for an hour to chill the base.
- Churn the ice cream. Pour vanilla ice cream mixture into ice cream machine according to machine directions. Churn until thickened. This will depend on what model and machine you use. I use and love the Cuisinart Ice-100.
- Freeze until solid. Spoon the soft serve ice cream into a freezer safe container. Press parchment paper or wax paper directly on top of the ice cream and cover with a lid. Place in the freezer for several hours or overnight to freeze solid.
Serving Suggestions
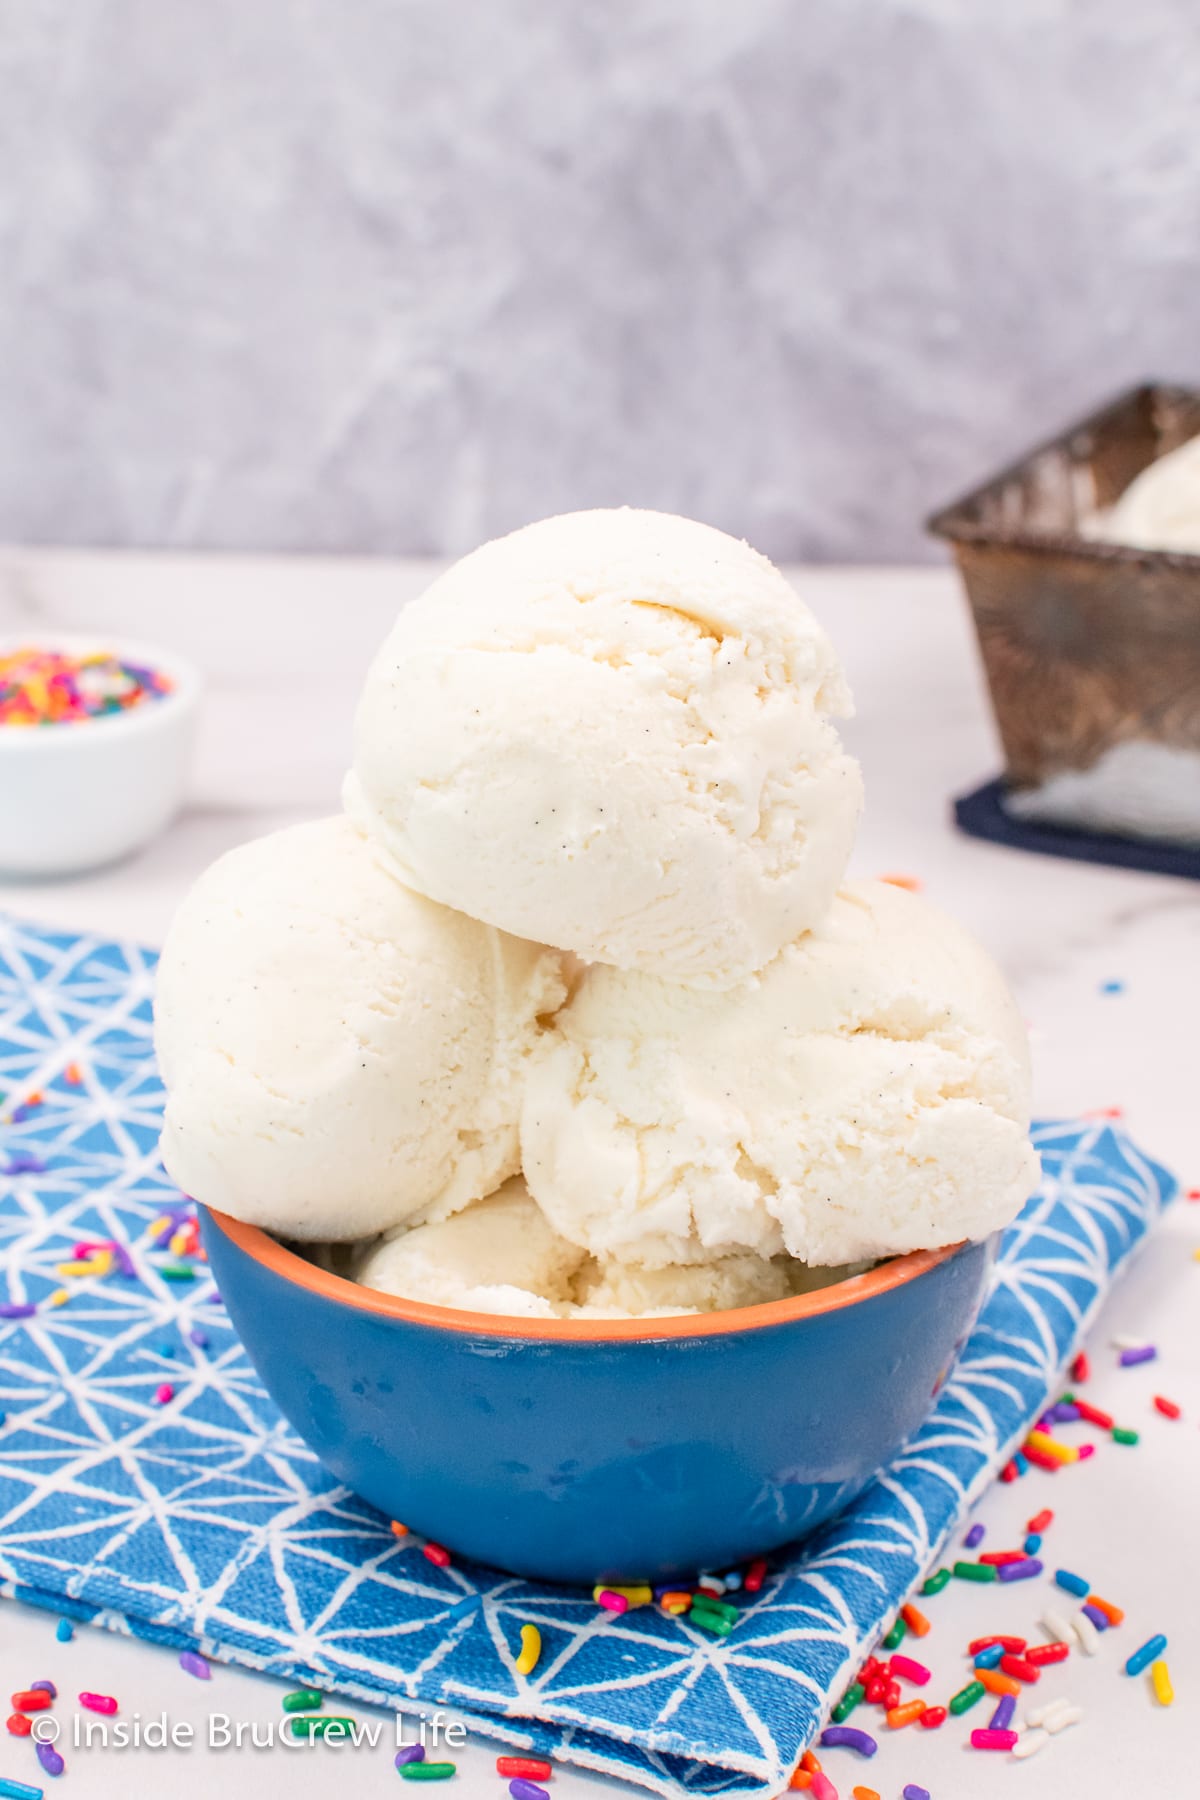
Calling all dessert lovers! Not only is vanilla ice cream amazing all by itself, but it pairs perfectly with toppings, sauces, and so many desserts.
- Add toppings. Drizzle it with hot fudge, caramel, caramelized bananas, or peanut butter.
- Stir in mix-ins. Chocolate chips, chopped nuts, candy bars, toasted coconut, sprinkles, cookie chunks, mini M&M's, or toffee bits.
- Make ice cream sandwiches. Add a scoop between these brownie cookies.
- Layer it in ice cream cakes. Use it as the bottom layer in this mint chocolate chip ice cream cake.
- Serve it with pie or cobbler. Ice cream takes classic desserts such as caramel apple pie, easy cherry pie, and strawberry cobbler to a whole new level.
- Create a sundae. Place a scoop of ice cream on top of chocolate chip brownies or congo bars. Top it with whipped cream and a maraschino cherry.
- Ice Cream Tacos! Loaded with cinnamon and sugar, these are so tasty!
Storage Recommendations
Keep the churned ice cream in a tightly sealed container in the freezer at all times. A metal loaf pan works great too.
Place 2-3 layers of plastic wrap around the pan. This will keep it from getting freezer burned and prevent ice crystals from forming.
Tips and Tricks
- If you are using an ice cream maker with a freezer bowl, freeze the bowl for at least 24 hours before using it. If you are using a compressor ice cream maker, refrigerate the bowl 15 minutes prior to churning.
- You can use whatever milk you have on hand. Just keep in mind that the fat in whole milk and heavy cream will give you the creamiest and richest texture.
- If you are using an ice cream machine with a frozen bowl, add the milk while the machine is moving. This helps keep the base from freezing to the walls of the container before it can churn.
- Do not over churn! Keep an eye on your ice cream maker and turn it off when it gets to soft serve consistency. Churning too long could result in pieces of butter in the mixture.
- You can serve the homemade vanilla ice cream right out of the ice cream maker. Although, it will be very soft and will melt very quickly. If you want the ice cream to have a store-bought texture, freeze it for a few hours.
- Put parchment paper or wax paper directly on top of the ice cream to prevent air from getting in. Air exposure causes ice crystals to form on top of the ice cream. You can protect it even further by placing the container in a freezer safe bag.
FAQs
The difference is in what type of ingredients were used to flavor them. Vanilla ice cream is flavored with vanilla extract. Vanilla bean ice cream uses the actual vanilla bean seeds, giving it a more distinctive vanilla flavor.
This depends on what ice cream maker you are using. Some models will be done in 20-30 minutes, while others could take as long as 30-45 minutes. Keep churning until it reaches a soft serve consistency.
Yes, you can use 2 tablespoons vanilla extract if you cannot find the paste.
More Homemade Ice Cream Flavors
- Fudge Swirl Ice Cream
- Cappuccino Ice Cream
- Peppermint Stick Ice Cream
- Chocolate Peanut Butter Ice Cream
- Coffee Ice Cream
Do you love a recipe you tried from Inside BruCrew Life?
Please leave a 5-star ⭐️ rating and a review in the comments section below.
Recipe

Vanilla Bean Ice Cream
Make a dreamy vanilla bean ice cream with just a few ingredients. This homemade ice cream recipe is rich, creamy, and full of vanilla bean flecks. Trust us, you'll be in love after the first bite!
Ingredients
- 2 ounces cream cheese, softened to room temperature
- ½ cup granulated sugar
- 1 cup whole milk
- 1 tablespoon honey
- 1 ½ tablespoons vanilla bean paste
- ½ teaspoon table salt
- 1 ¾ cups heavy whipping cream
Instructions
- If you are using an ice cream maker with a freezer bowl, make sure to freeze the bowl 24 hours ahead of time. If you are using a compressor ice cream maker, chill the bowl at least 15 minutes prior to churning.
- Beat the cream cheese and sugar until light and creamy. Slowly mix in the milk a little bit at a time until it is completely smooth.
- Gently whisk in the honey, vanilla bean paste, salt, and heavy cream. Refrigerate the mixture for at least 1 hour.
- Pour into ice cream maker according to manufacturer directions. Churn 20-40 minutes, depending on the machine.
- Spoon into a chilled ice cream container. Press a piece of wax paper directly on top of the ice cream, then cover tightly with a lid or plastic wrap. Freeze for a few hours or until hard enough to scoop.
Notes
- If you are using an ice cream maker with a freezer bowl, freeze the bowl for at least 24 hours before using it. If you are using a compressor ice cream maker, refrigerate the bowl 15 minutes prior to churning.
- You can use whatever milk you have on hand. Just keep in mind that the fat in whole milk and heavy cream will give you the creamiest and richest texture.
- If you are using an ice cream machine with a frozen bowl, add the milk while the machine is moving. This helps keep the base from freezing to the walls of the container before it can churn.
- Do not over churn! Keep an eye on your ice cream maker and turn it off when it gets to soft serve consistency. Churning too long could result in pieces of butter in the mixture.
- You can serve the homemade vanilla ice cream right out of the ice cream maker. Although, it will be very soft and will melt very quickly. If you want the ice cream to have a store-bought texture, freeze it for a few hours.
- Put parchment paper or wax paper directly on top of the ice cream to prevent air from getting in. Air exposure causes ice crystals to form on top of the ice cream. You can protect it even further by placing the container in a freezer safe bag.
Nutrition Information:
Yield: 12 Serving Size: 1Amount Per Serving: Calories: 189Total Fat: 15gSaturated Fat: 9gTrans Fat: 0gUnsaturated Fat: 4gCholesterol: 46mgSodium: 121mgCarbohydrates: 12gFiber: 0gSugar: 12gProtein: 2g
Nutrition facts are an estimate and are not guaranteed to be accurate. If you need special diet advice, please see a registered dietician.


Rehoboth says
Wonderful Post Thanks