cake
-
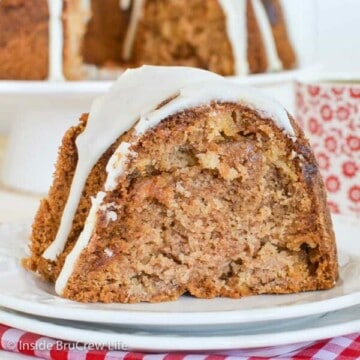
Apple Bundt Cake
-
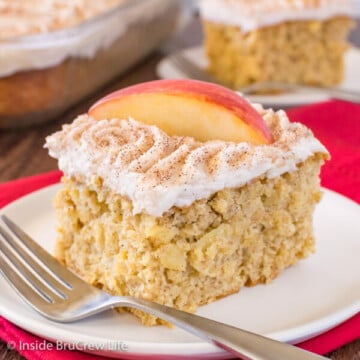
Easy Snickerdoodle Apple Cake Recipe
-
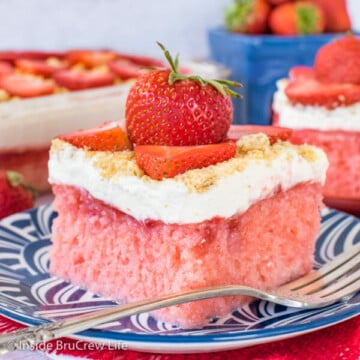
Strawberry Cheesecake Poke Cake
-
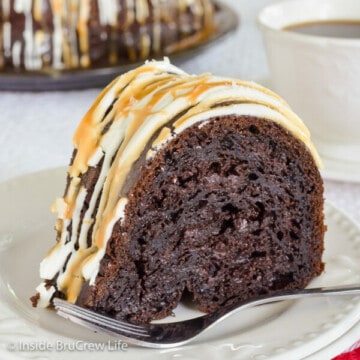
Salted Caramel Mocha Bundt Cake
-
Chocolate Peppermint Cake
-
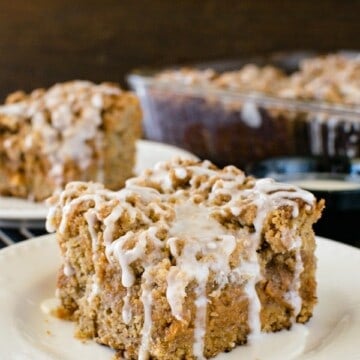
Banana Caramel Coffee Cake
-
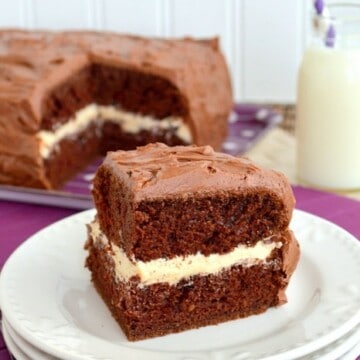
Peanut Butter Mousse Cake
-
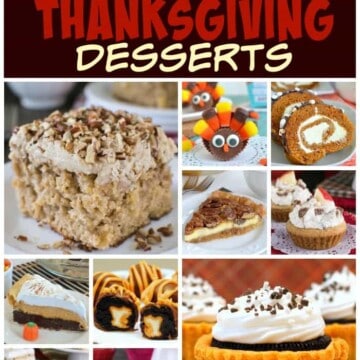
15 Thanksgiving Dessert Ideas
-
Chocolate Peppermint Cheesecake Cake
-
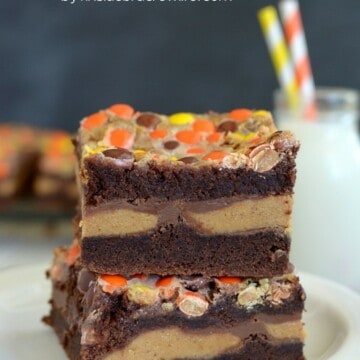
Reese's Gooey Cake Bars
-
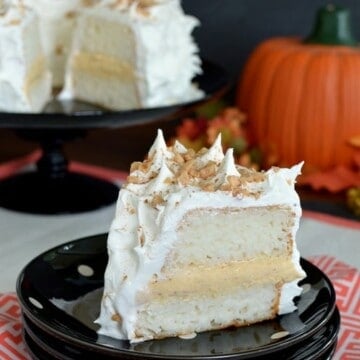
Angel Food Cake with Pumpkin Filling
-
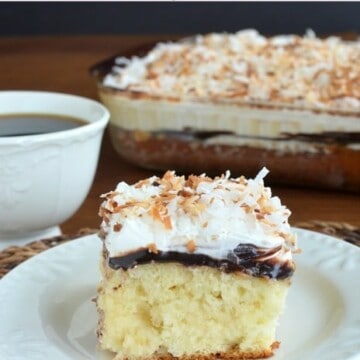
Coconut Fudge Poke Cake
-
Salted Caramel Chocolate Cake
-
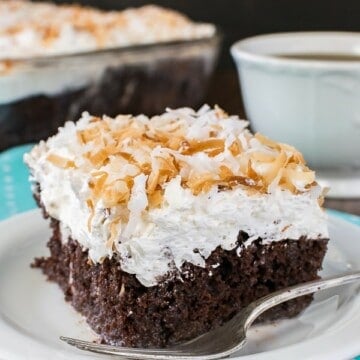
Chocolate Coconut Poke Cake