marshmallow
-
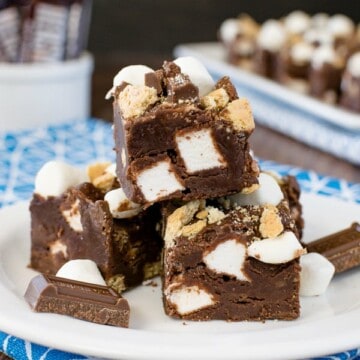
Milk Chocolate S'mores Fudge
-
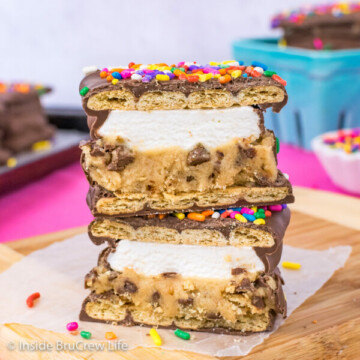
No Bake Cookie Dough S'mores
-
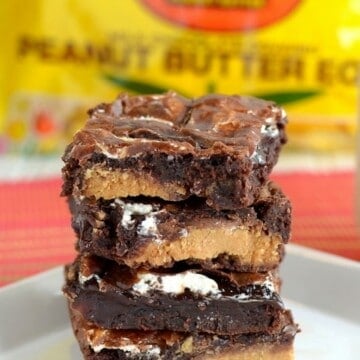
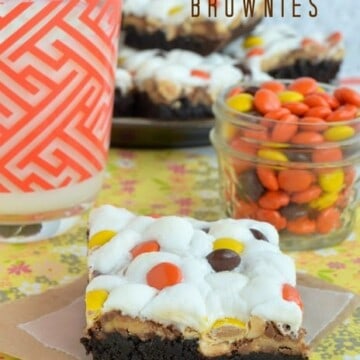
Marshmallow Reese's Brownies
-
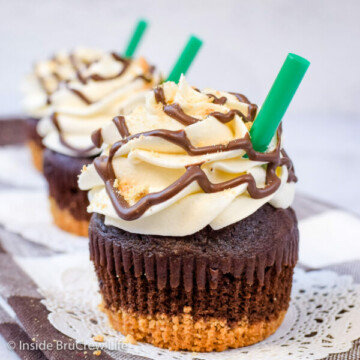
S'mores Frappuccino Cupcakes Recipe
-
Almond Joy Krispie Treats
-
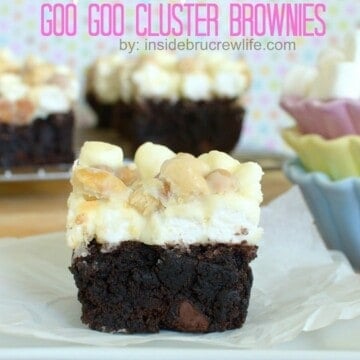
White Chocolate Goo Goo Cluster Brownies
-
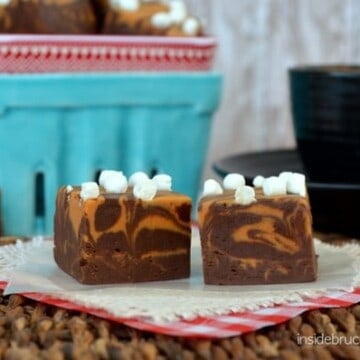
Caramel Hot Chocolate Fudge
-
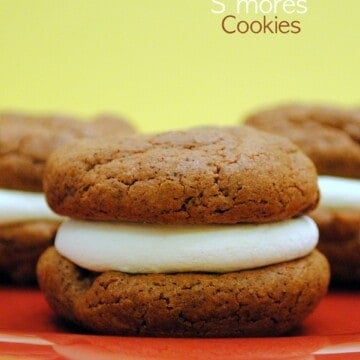
Espresso S'mores Cookies
-
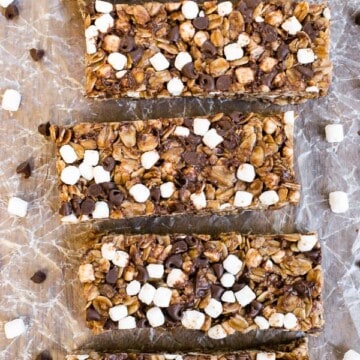
Nutella S'mores Granola Bars
-
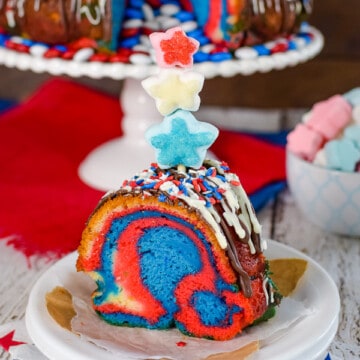
Red White and Blue Bundt Cake
-
Reese's Rocky Road Brownies
-
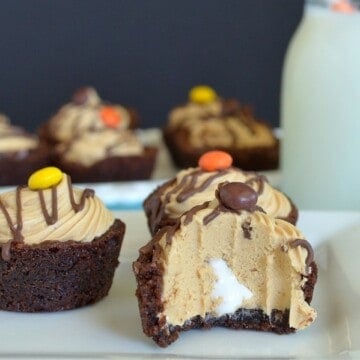
Peanut Butter Marshmallow Brownie Cups
-
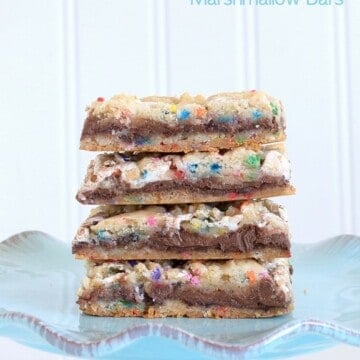
Nutella Marshmallow Bars