Brownies & Bars
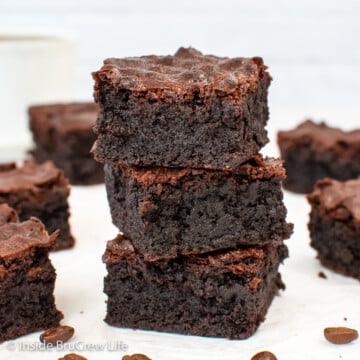
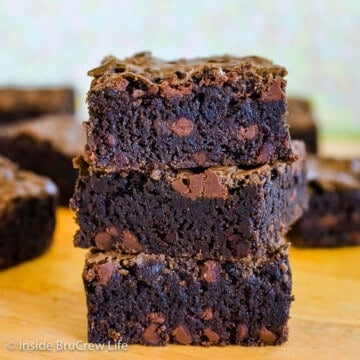
Looking for the Best Brownie? Here you will find these Homemade Chocolate Chip Brownies. While perfect and fudgy on their own, they also work as the base for so many more Chewy brownie recipes like these Coffee Brownies.
Not only will you find brownies, but we also have fruit bars, sugar cookie bars, and the Best Lemon Bars around!
So what are you waiting for? Let's get baking!
-
Lemon Cookie Bars
-
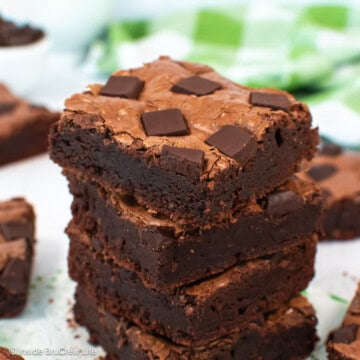
Double Chocolate Brownies
-
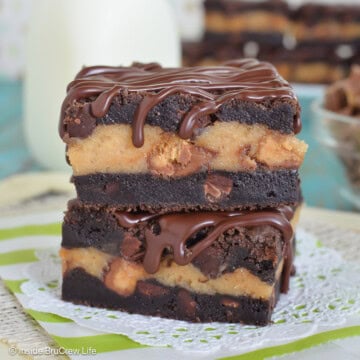
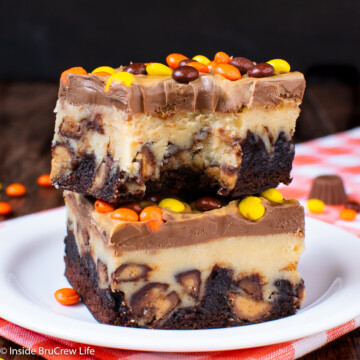
Chocolate Peanut Butter Cheesecake Cookie Bars
-
Butterscotch Pecan Blondies
-
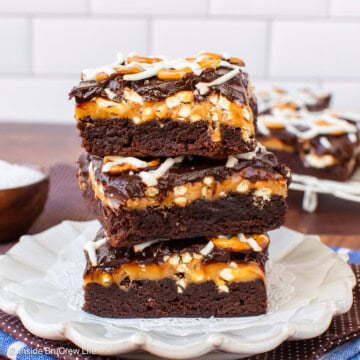
Salted Caramel Brownies
-
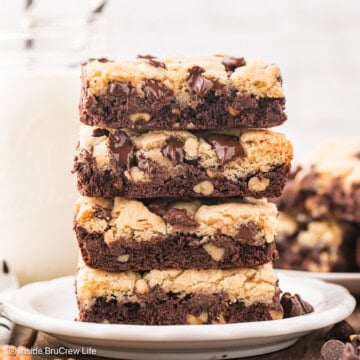
Brookies
-
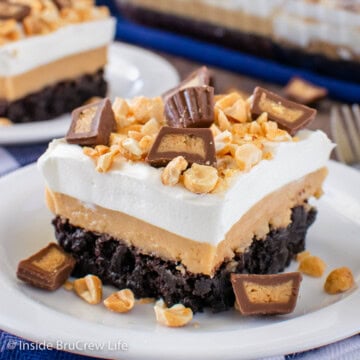
Layered Peanut Butter Brownie Dessert
-
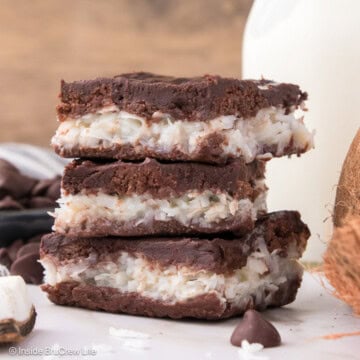
Chocolate Coconut Bars
-
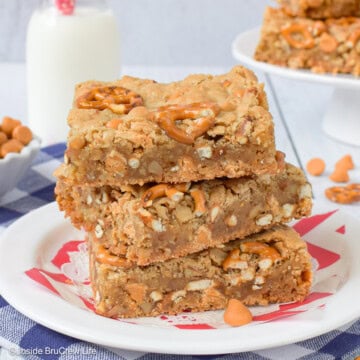
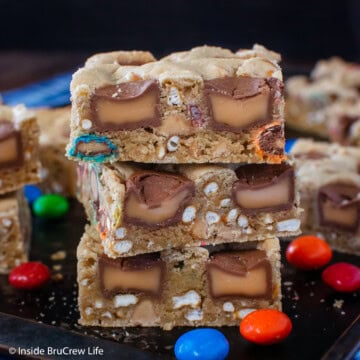
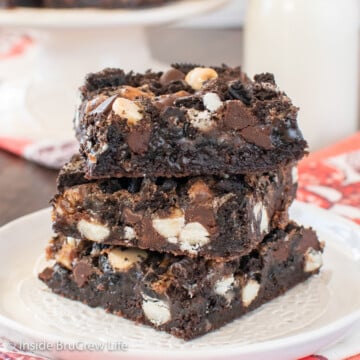
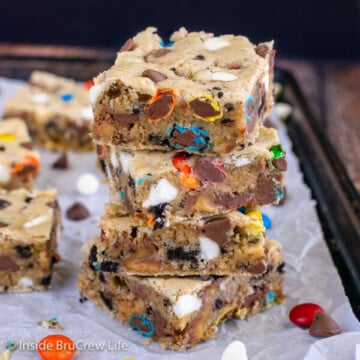
Kitchen Sink Bars
-
Mocha Brownies with Coffee Frosting
-
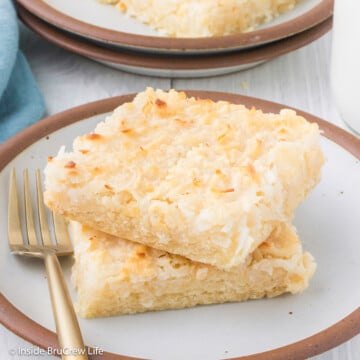
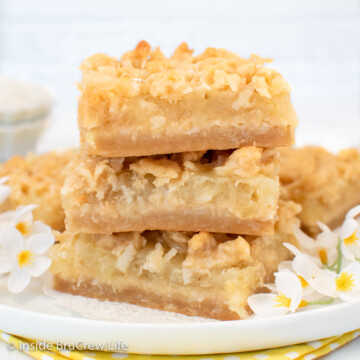
Coconut Bars
-
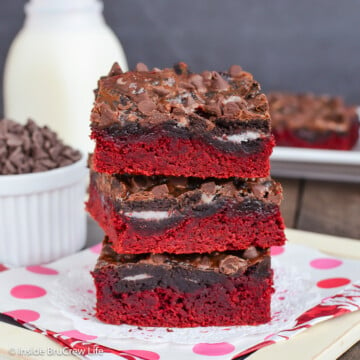
Red Velvet Bars
-
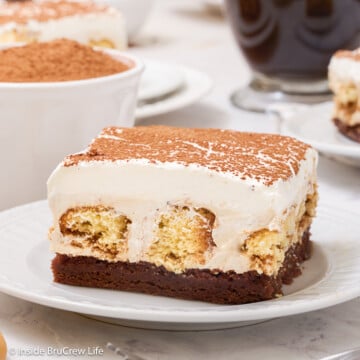
Tiramisu Brownies
-
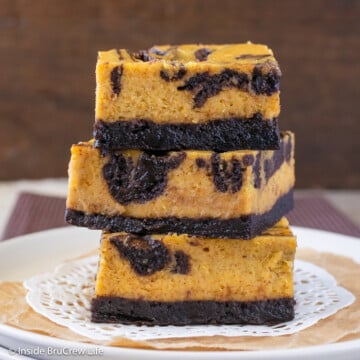
Pumpkin Cheesecake Brownies
-
Peanut Butter Cheesecake Brownies
-
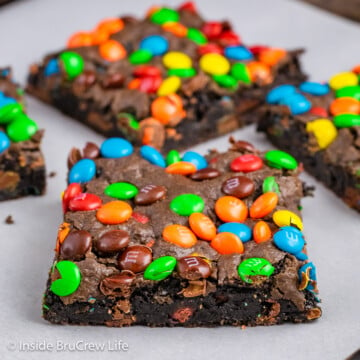
M&M Brownies
-
Peanut Butter Cookie Bars
-
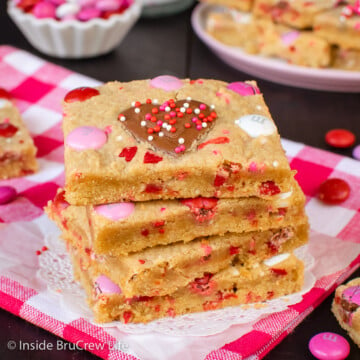
Valentine Peanut Butter Cookie Bars
-
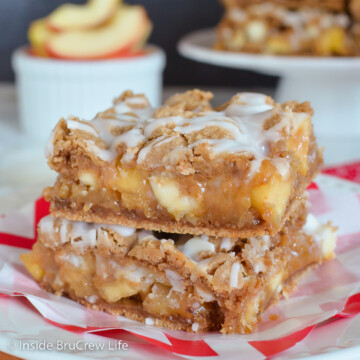
Caramel Apple Bars
-
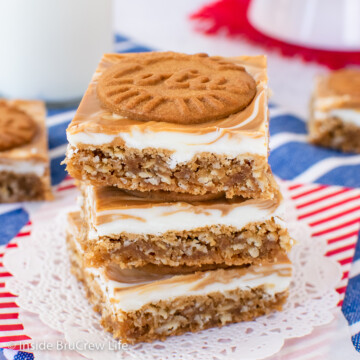
Biscoff Cookie Butter Bars
-
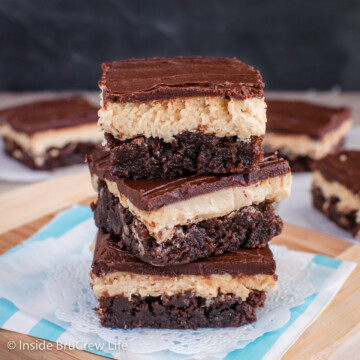
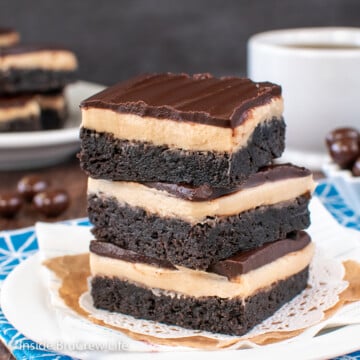
Peanut Butter Truffle Buckeye Brownies
-
Coffee Brownies
-
Ooey Gooey Brownies
-
Dark Chocolate Espresso Brownies
-
Pineapple Coconut Bars
-
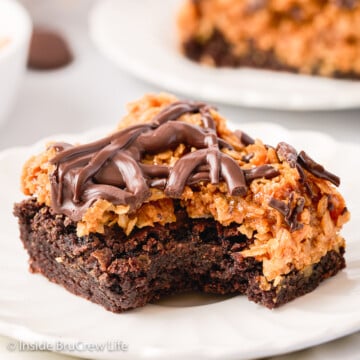
Samoas Brownies
-
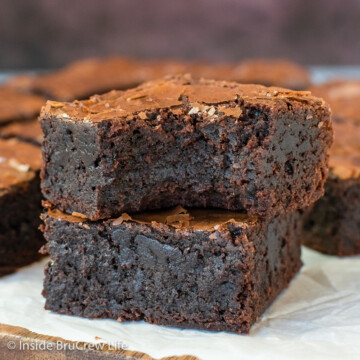
Fudge Brownies
-
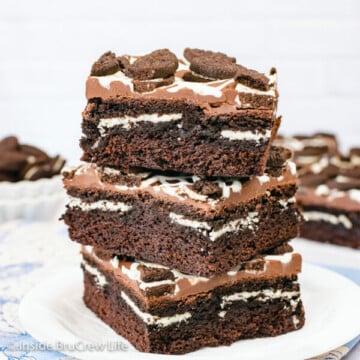
Oreo Brownies Recipe
-
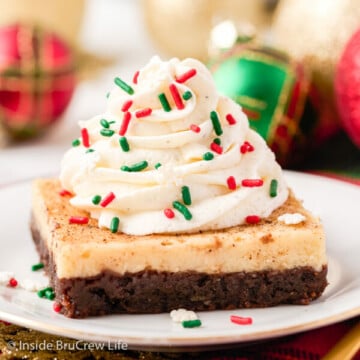
Eggnog Cheesecake Brownies
-
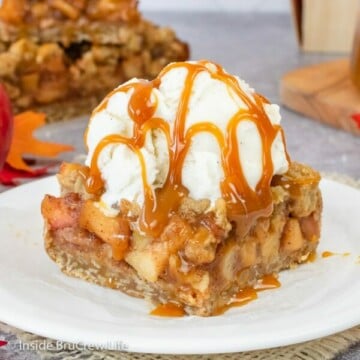
Salted Caramel Apple Pie Bars
-
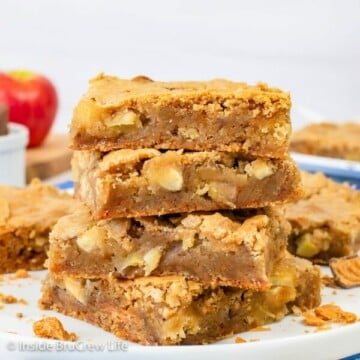
Butterfinger Apple Blondies
-
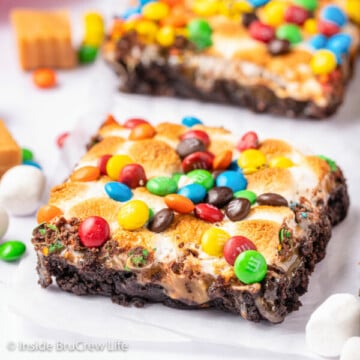
Caramel Marshmallow Topped Brownies
-
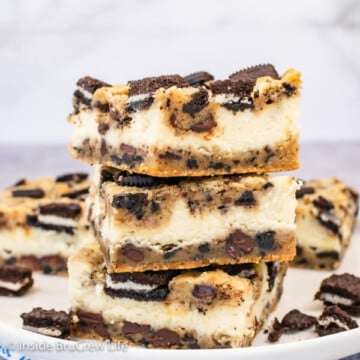
Oreo Chocolate Chip Cheesecake Bars
-
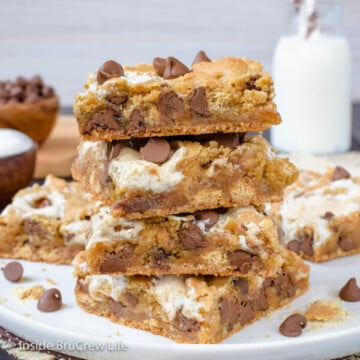
S'mores Blondies
-
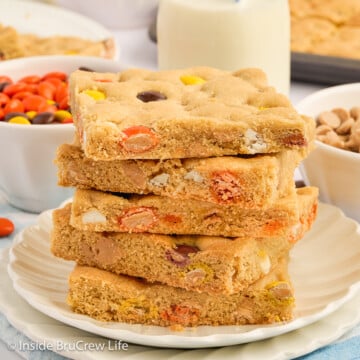
Loaded Blonde Brownies
-
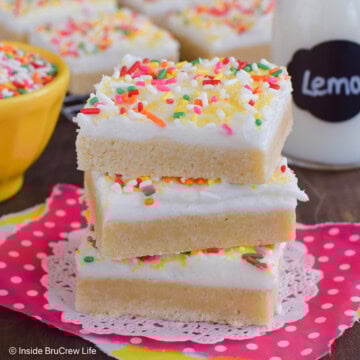
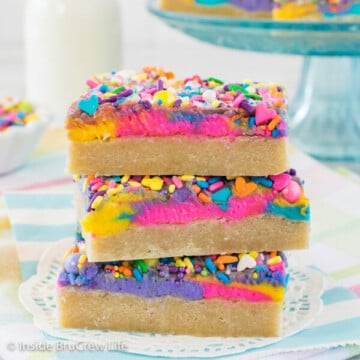
Unicorn Sugar Cookie Bars
-
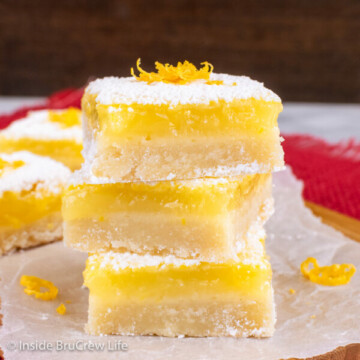
Best Lemon Bars
-
Homemade Chocolate Chip Brownies
-
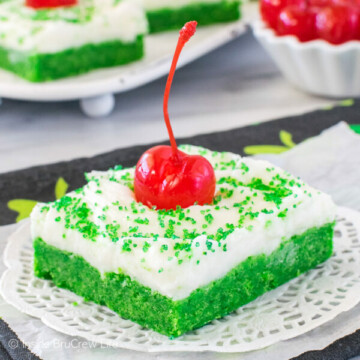
Shamrock Shake Sugar Cookie Bars
-
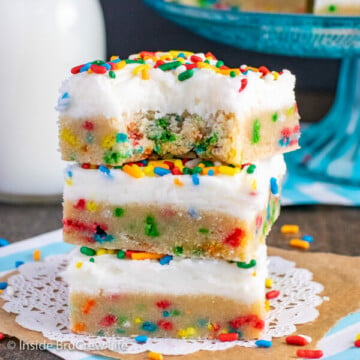
Funfetti Sugar Cookie Bars