Pie
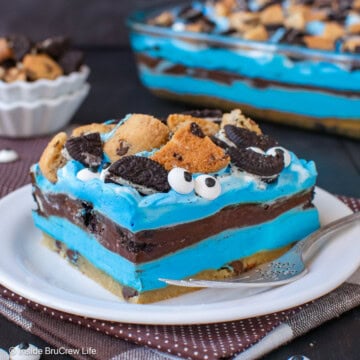
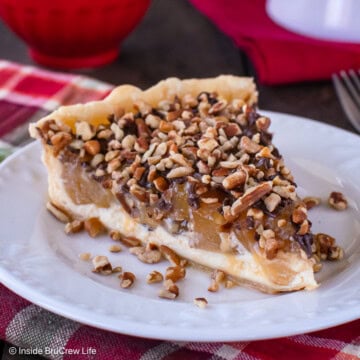
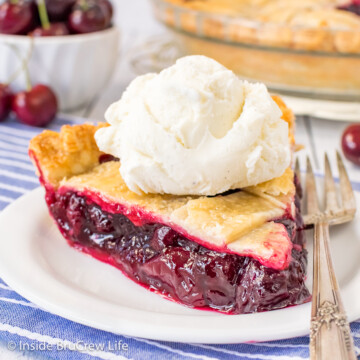
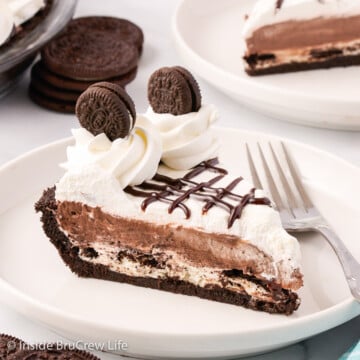
Choose from easy chocolate pies like this cookies and cream chocolate pie. Or how about a fruit pies like a classic cherry pie. Love nuts? One of our favorites is this scrumptious pecan cheesecake pie.
So let's make some pie!
-
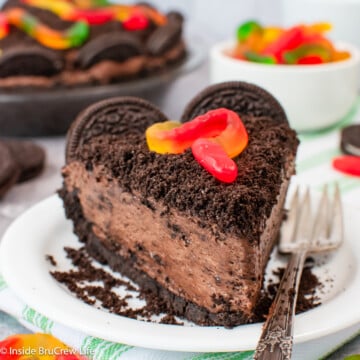
Cookie Monster Dessert
-
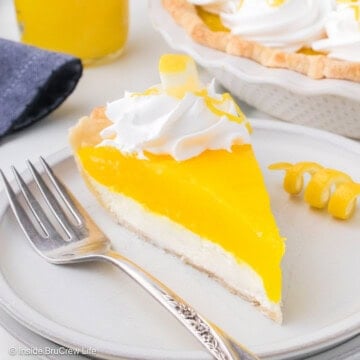
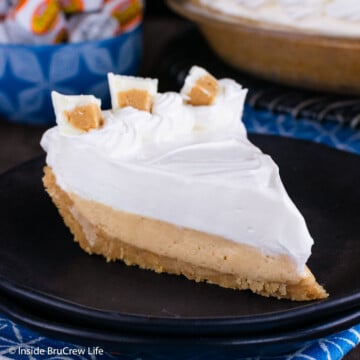
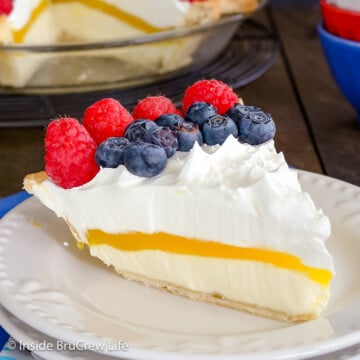
Lemon Supreme Pie
-
Cream Cheese Apple Tart
-
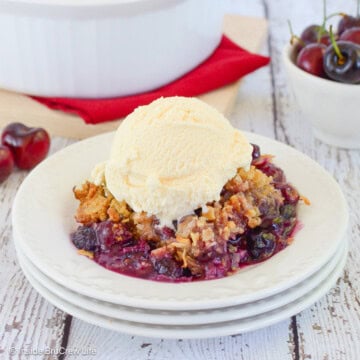
Cherry Berry Crisp
-
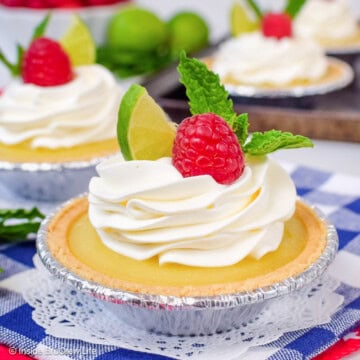
Mini Key Lime Pies
-
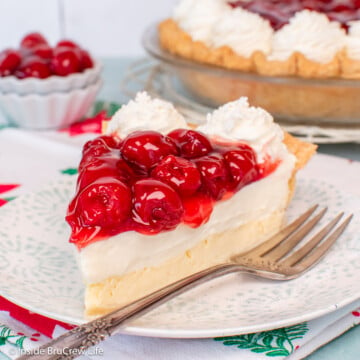
Cherry Cream Cheese Pie
-
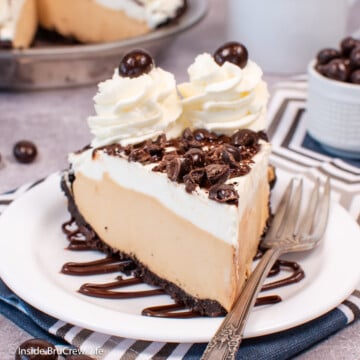
Mudslide Pie
-
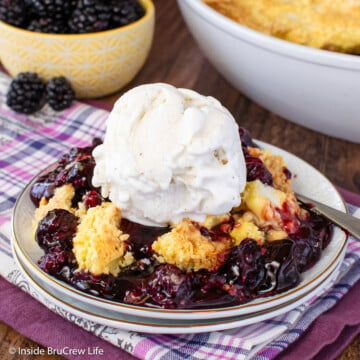
Blackberry Dump Cake
-
Peanut Butter Pudding Pie
-
Dirt Pie
-
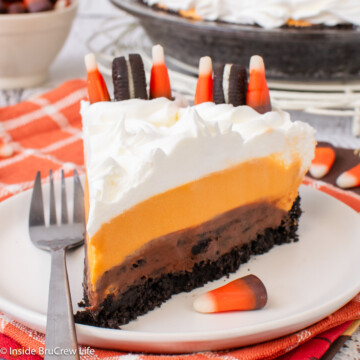
No Bake Halloween Cream Pie
-
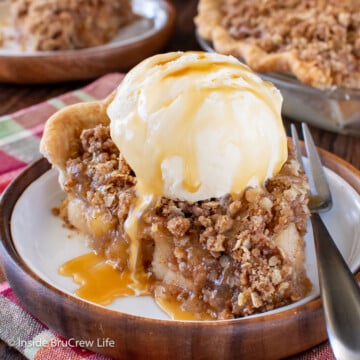
Apple Crisp Pie Recipe
-
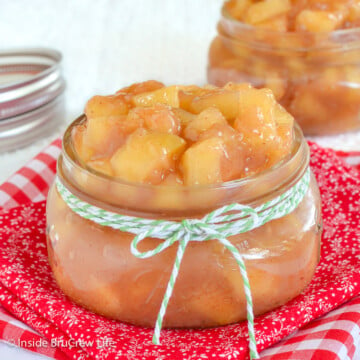
Homemade Apple Pie Filling
-
Apple Cheesecake Pie
-
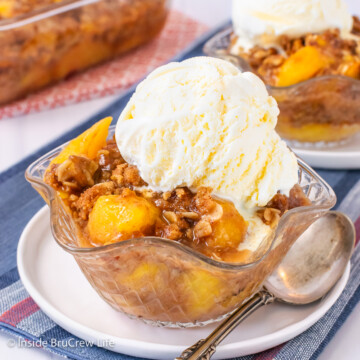
Peach Crisp
-
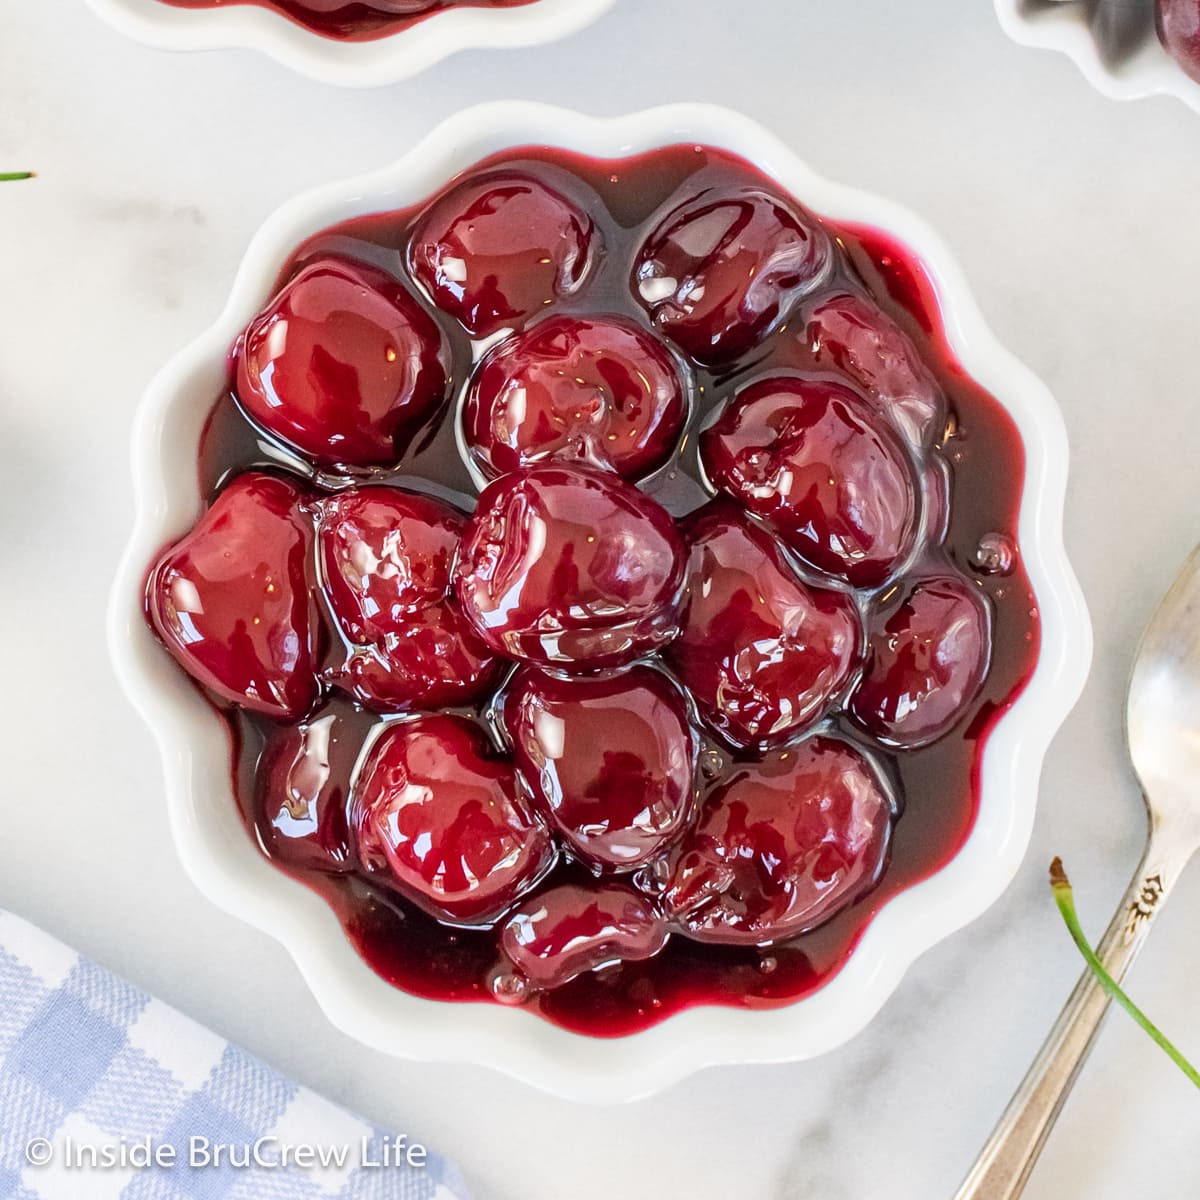
Cherry Pie Filling
-
Easy Cherry Pie
-
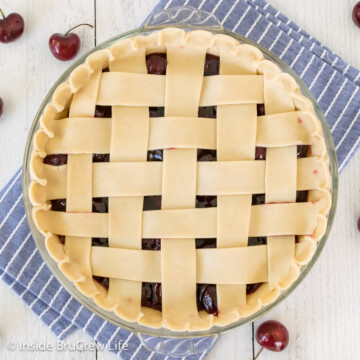
Lattice Pie Crust
-
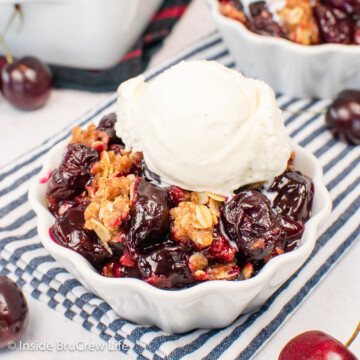
Cherry Crisp Recipe
-
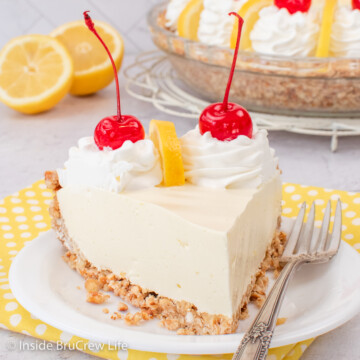
Lemon Cream Cheese Pie
-
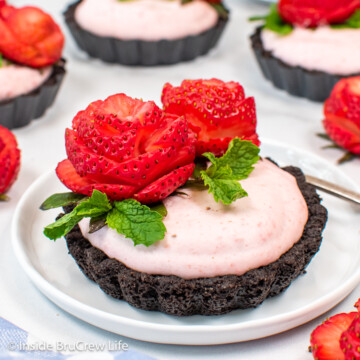
Strawberry Tartlets
-
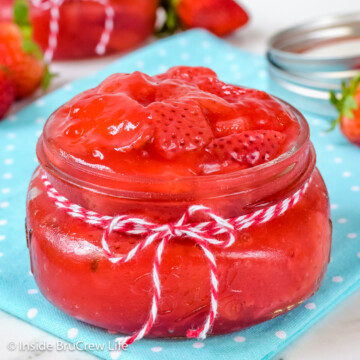
Strawberry Pie Filling
-
No Bake Eggnog Pie
-
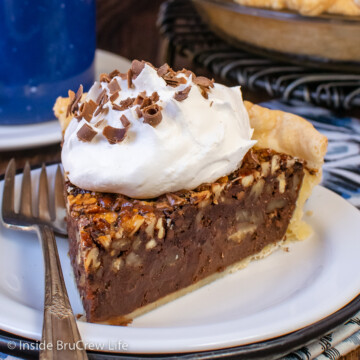
Chocolate Pecan Pie
-
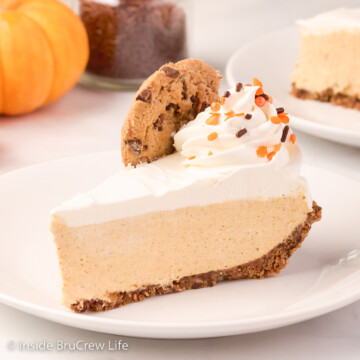
No Bake Pumpkin Cheesecake Pie
-
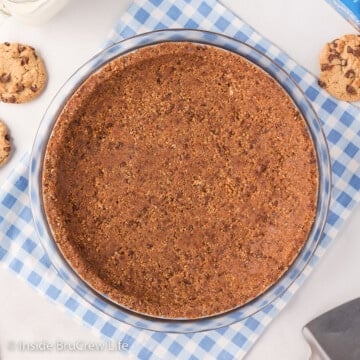
Chocolate Chip Cookie Pie Crust
-
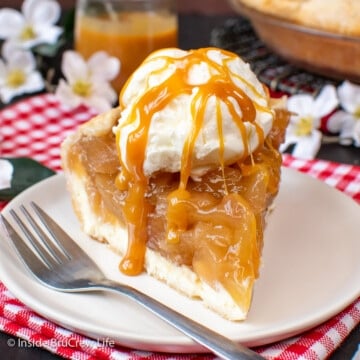
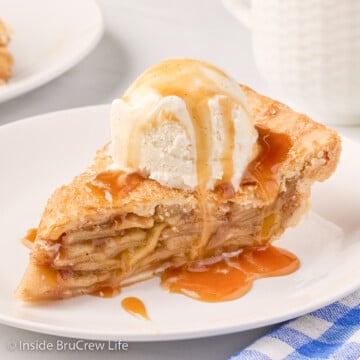
Caramel Apple Pie
-
No Bake Chocolate Cream Pie
-
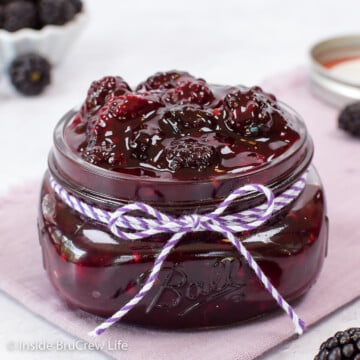
Blackberry Pie Filling Recipe
-
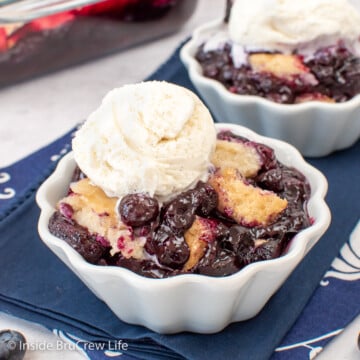
Bisquick Blueberry Cobbler
-
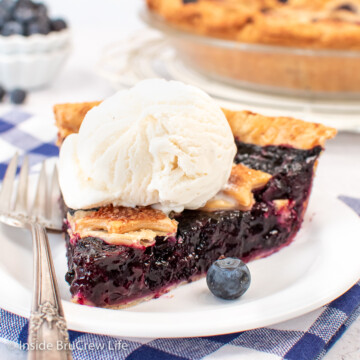
Easy Blueberry Pie
-
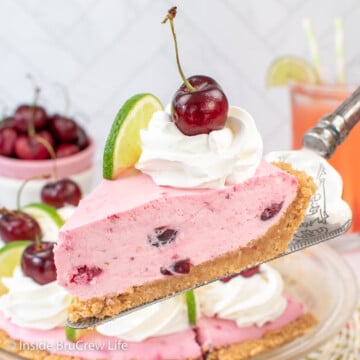
Cherry Limeade Pie
-
Easy Strawberry Cobbler
-
Lemon Jello Pie
-
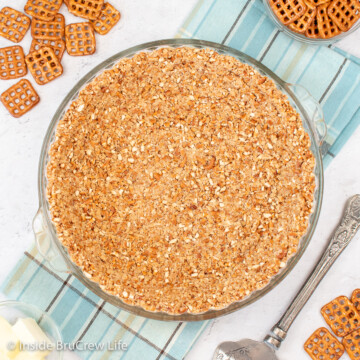
Pretzel Pie Crust
-
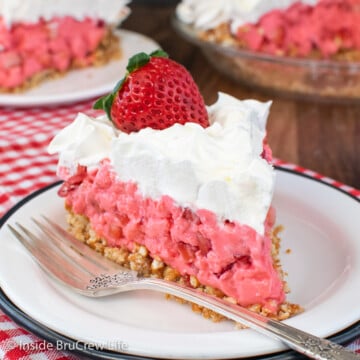
Strawberry Pretzel Pie
-
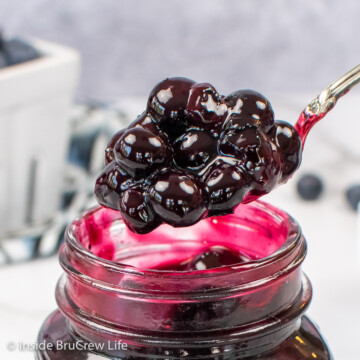
Homemade Blueberry Pie Filling
-
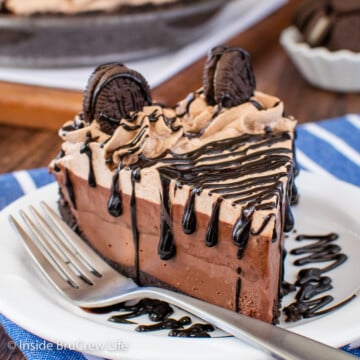
Cookies and Cream Chocolate Pie
-
Pineapple Filling
-
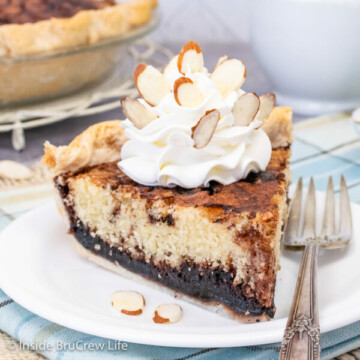
Funny Cake Recipe