banana
-
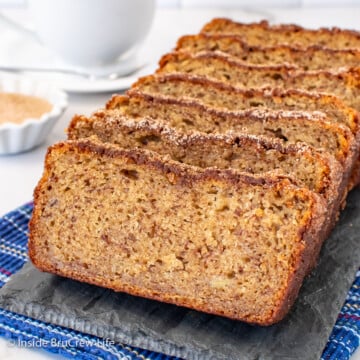
Cinnamon Banana Bread
-
How to Ripen Bananas
-
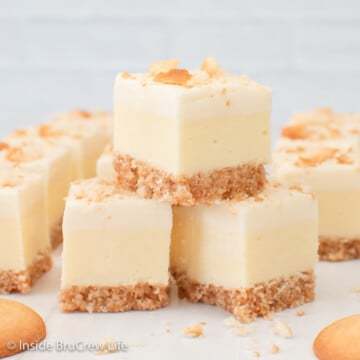
Banana Fudge
-
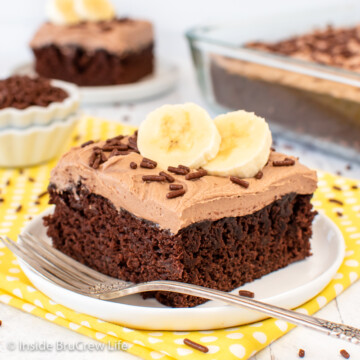
Chocolate Banana Cake
-
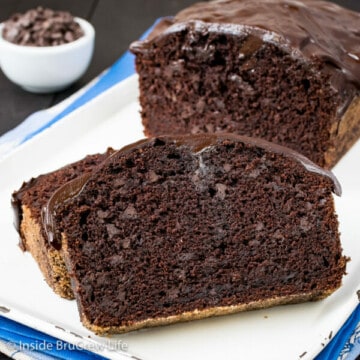
Double Chocolate Banana Bread
-
Banana Malt Cupcakes
-
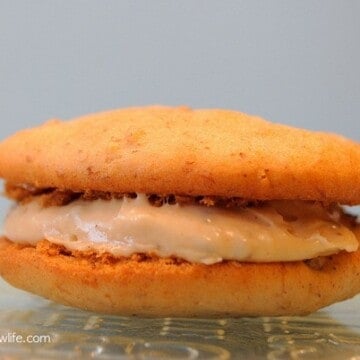
Banana Coffee Whoopie Pies
-
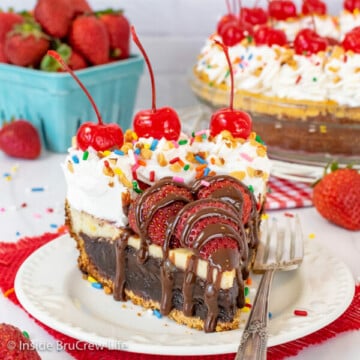
Banana Split Pie Recipe
-
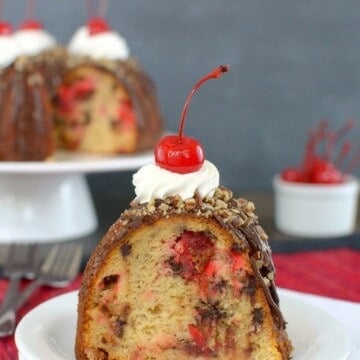
Banana Split Bundt Cake
-
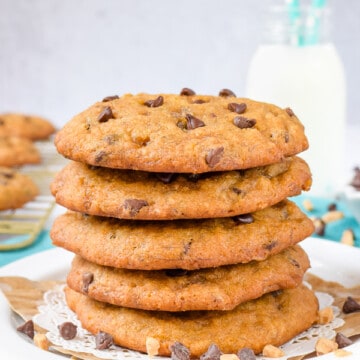
Banoffee Chocolate Chip Cookies
-
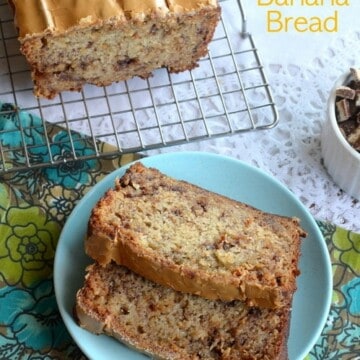
Java Twix Banana Bread
-
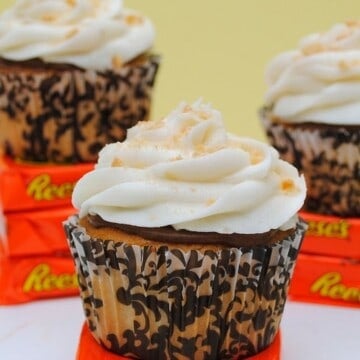
Peanut Butter Cupcakes with Banana Butter Cream
-
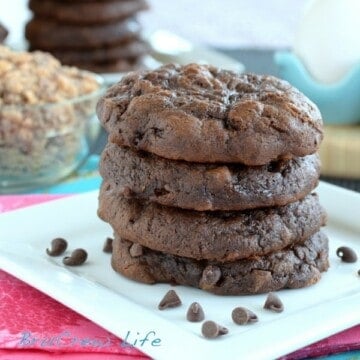
Chocolate Banana Cookies
-
Banana Nutella Snack Cake
-
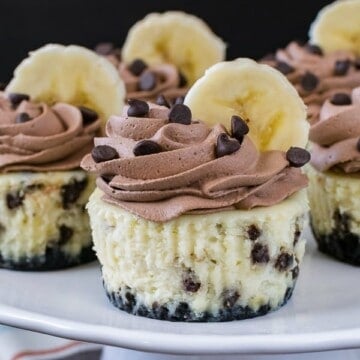
Mini Banana Chocolate Chip Cheesecakes
-
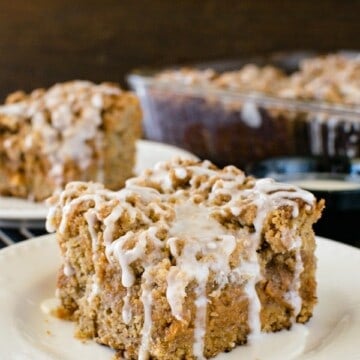
Banana Caramel Coffee Cake
-
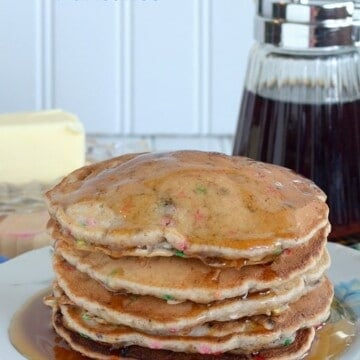
Banana Oreo Pancakes
-
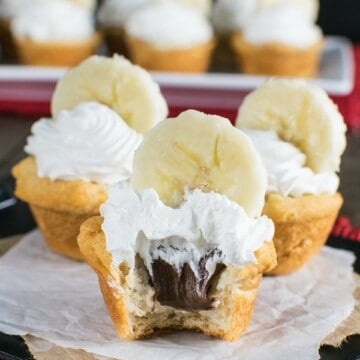
Banana Nutella Crescent Cups
-
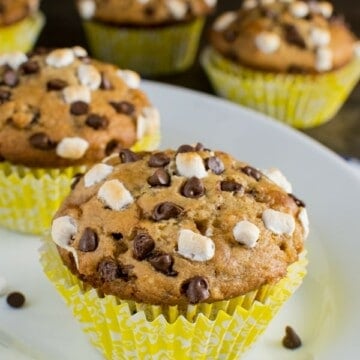
Banana S'mores Muffins
-
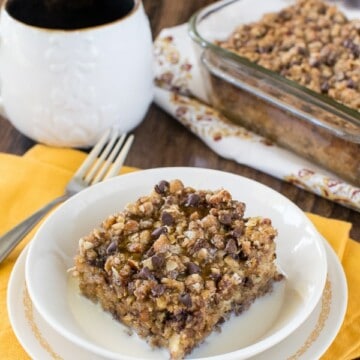
Chocolate Chip Banana Streusel Baked Oatmeal
-
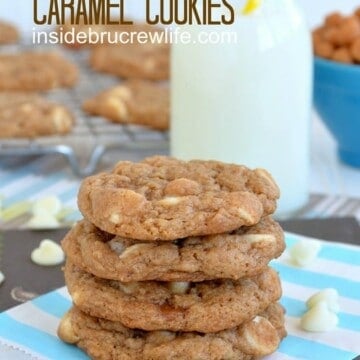
Banana Caramel Cookies
-
Loaded Butterfinger Banana Muffins
-
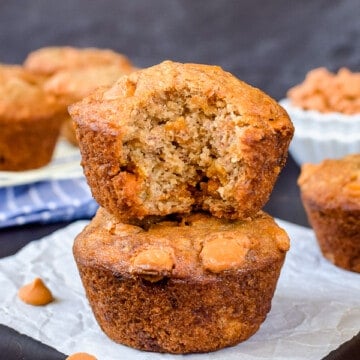
Butterscotch Banana Muffins
-
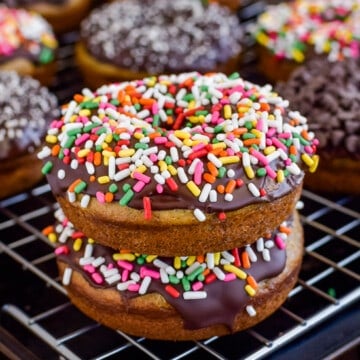
Sour Cream Banana Donuts
-
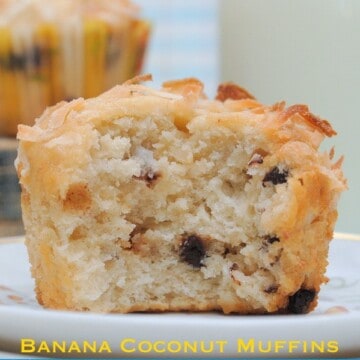
Banana Coconut Muffins
-
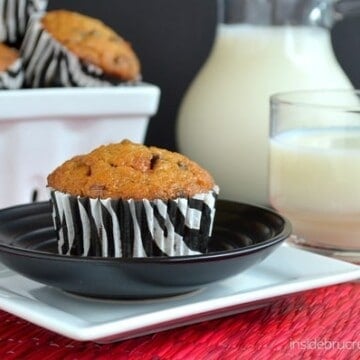
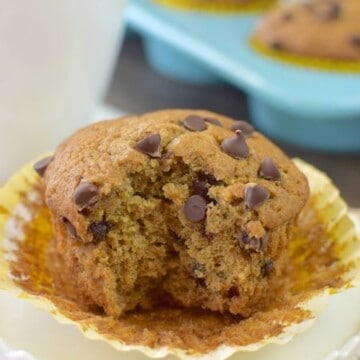
Caramel Mocha Chip Banana Muffins
-
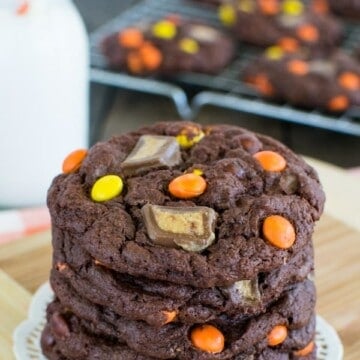
Banana Reese's Cookies
-
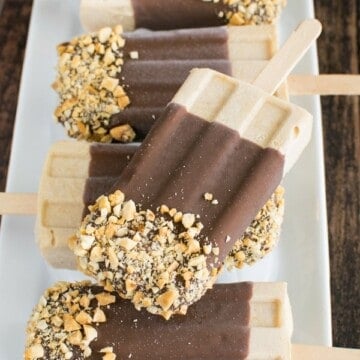
Peanut Butter Banana Popsicles