peanut butter
-
Buckeye Pretzels
-
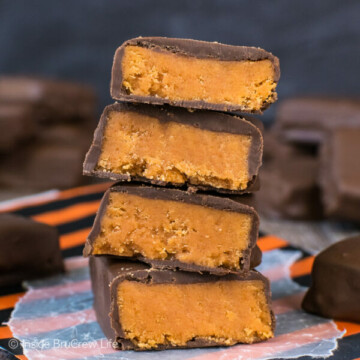
Homemade Butterfingers Recipe
-
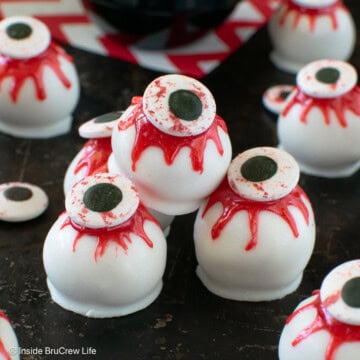
Spooky Halloween Eyeballs
-
White Chocolate Reese's Rice Krispie Hearts
-
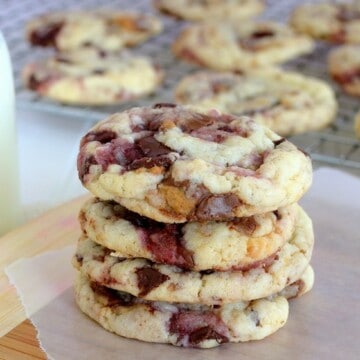
Caramel Peanut Butter Snickers Cookies
-
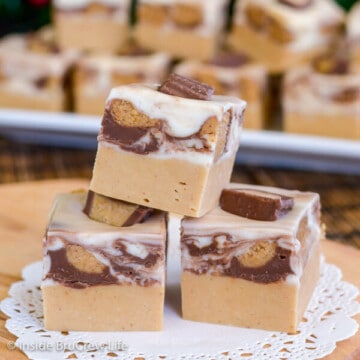
White Chocolate Peanut Butter Cup Fudge
-
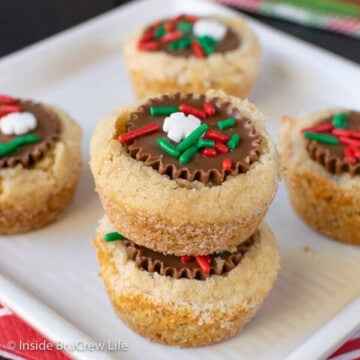
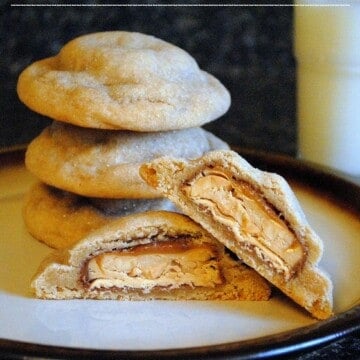
Best Peanut Butter Cup Cookies
-
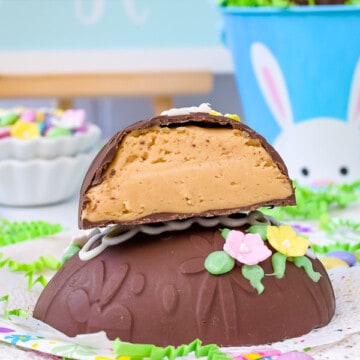
Peanut Butter Eggs
-
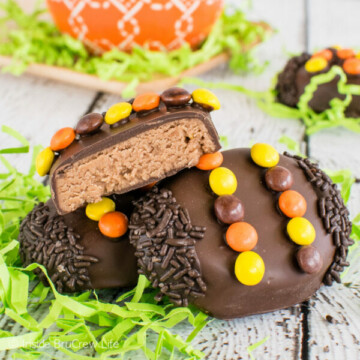
Homemade Reese's Eggs
-
Peanut Butter Reindeer
-
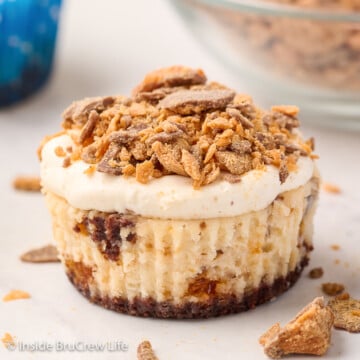
Mini Butterfinger Cheesecakes
-
Honey Peanut Butter Frosting
-
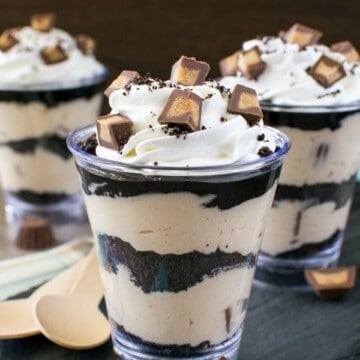
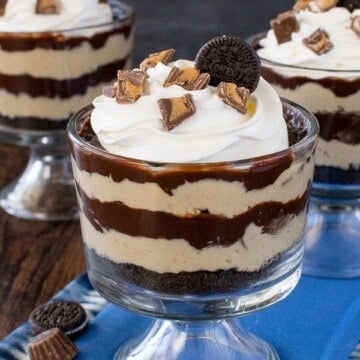
No Bake Peanut Butter Fudge Cheesecake Parfaits
-
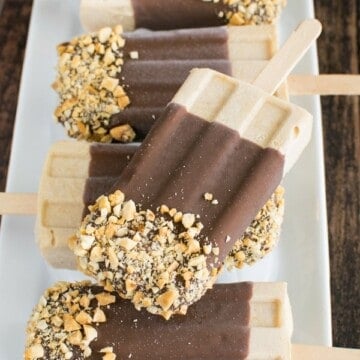
Peanut Butter Banana Popsicles
-
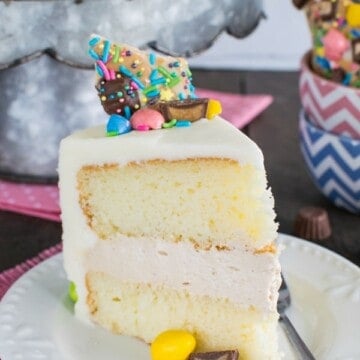
Peanut Butter Mousse Cake
-
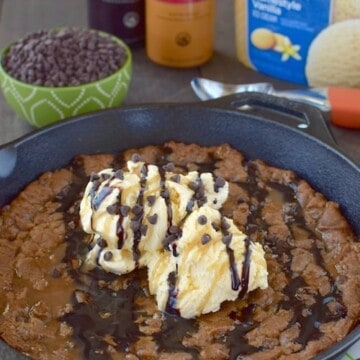
Peanut Butter Skillet Cookie
-
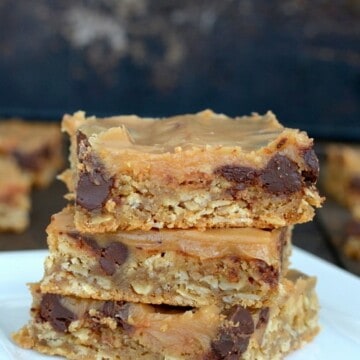
Peanut Butter Bars
-
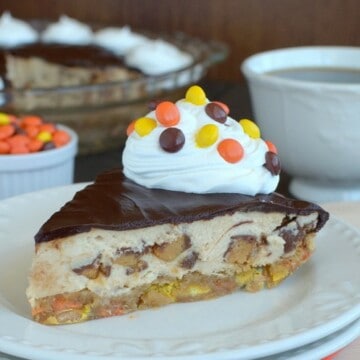
Triple Peanut Butter Cookie Pie
-
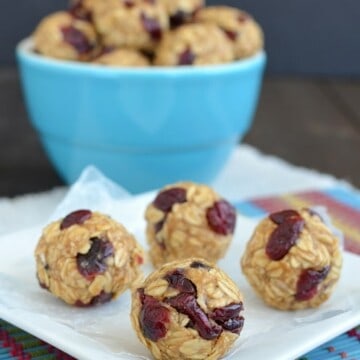
Peanut Butter Cranberry Granola Bites
-
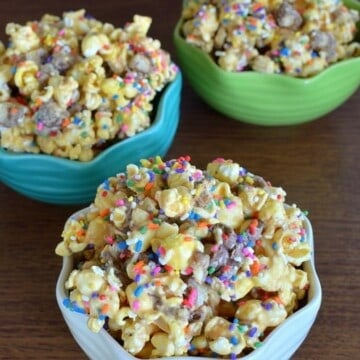
Peanut Butter Popcorn
-
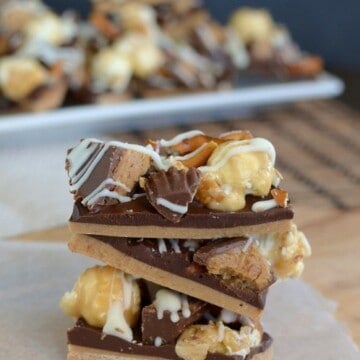
Reese's Peanut Butter Bark
-
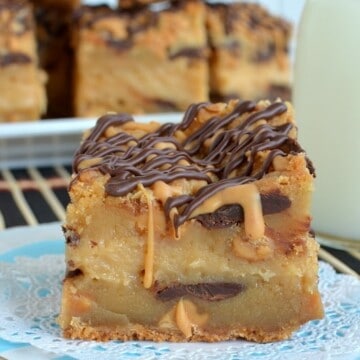
Reese's Gooey Cake Bars
-
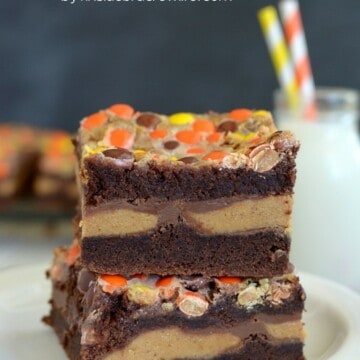
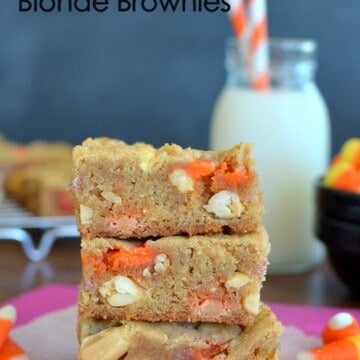
Peanut Butter Candy Corn Blonde Brownies
-
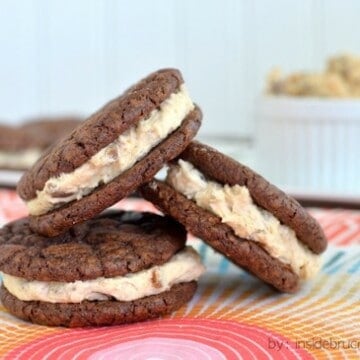
Reese's Brownie Whoopie Pies
-
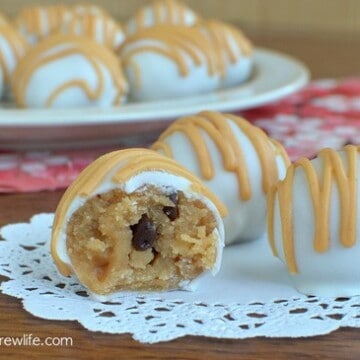
Peanut Butter Cookie Dough Truffles
-
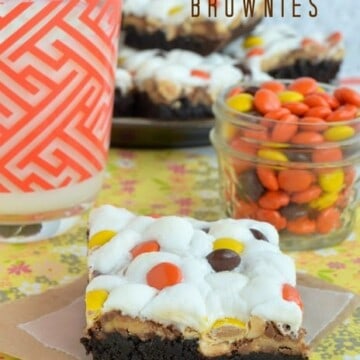
Reese's Rocky Road Brownies
-
Peanut Butter Cheesecake Cookie Bars
-
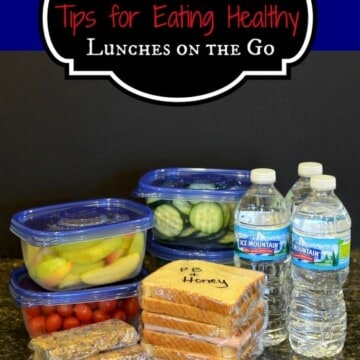
10 Tips For Eating Healthy Lunches on the Go
-
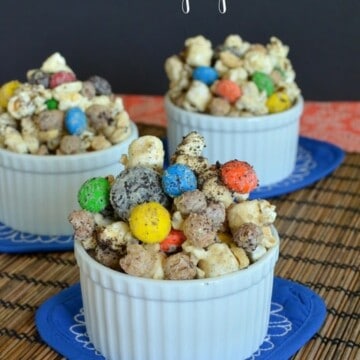
Peanut Butter Oreo Popcorn
-
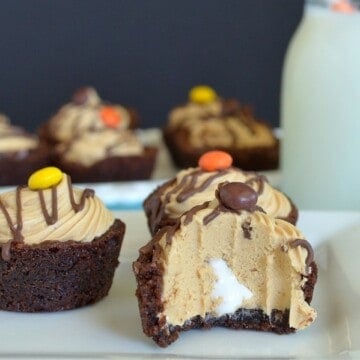
Peanut Butter Marshmallow Brownie Cups
-
Peanut Butter Kit Kat Ice Cream Sandwiches
-
Peanut Butter and Jelly Cookies
-
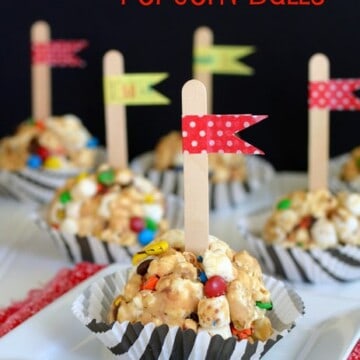
Fluffernutter Popcorn Balls
-
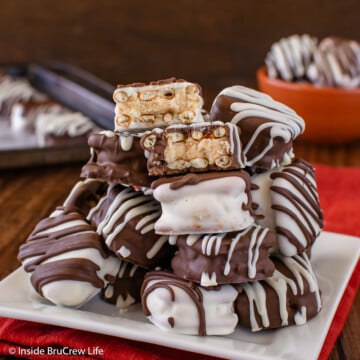
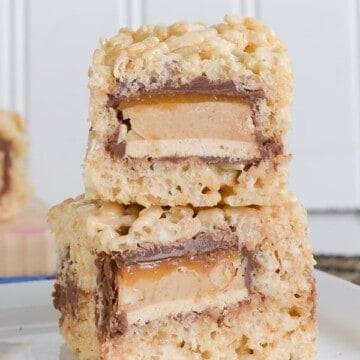
Candy Bar Stuffed Rice Krispie Treats
-
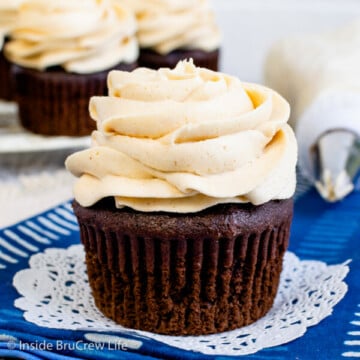
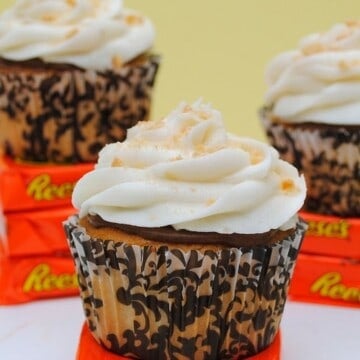
Peanut Butter Cupcakes with Banana Butter Cream
-
Peanut Butter Oreo Truffle Cookie Cups
-
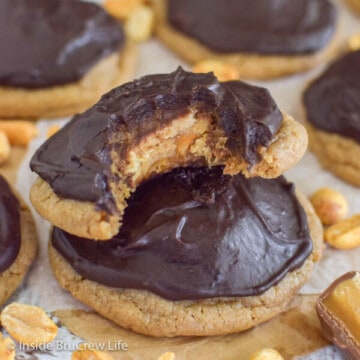
Peanut Butter Snickers Cookies
-
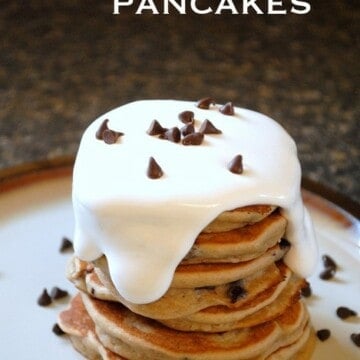
Fluffernutter Pancakes
-
Peanut Butter Parfaits